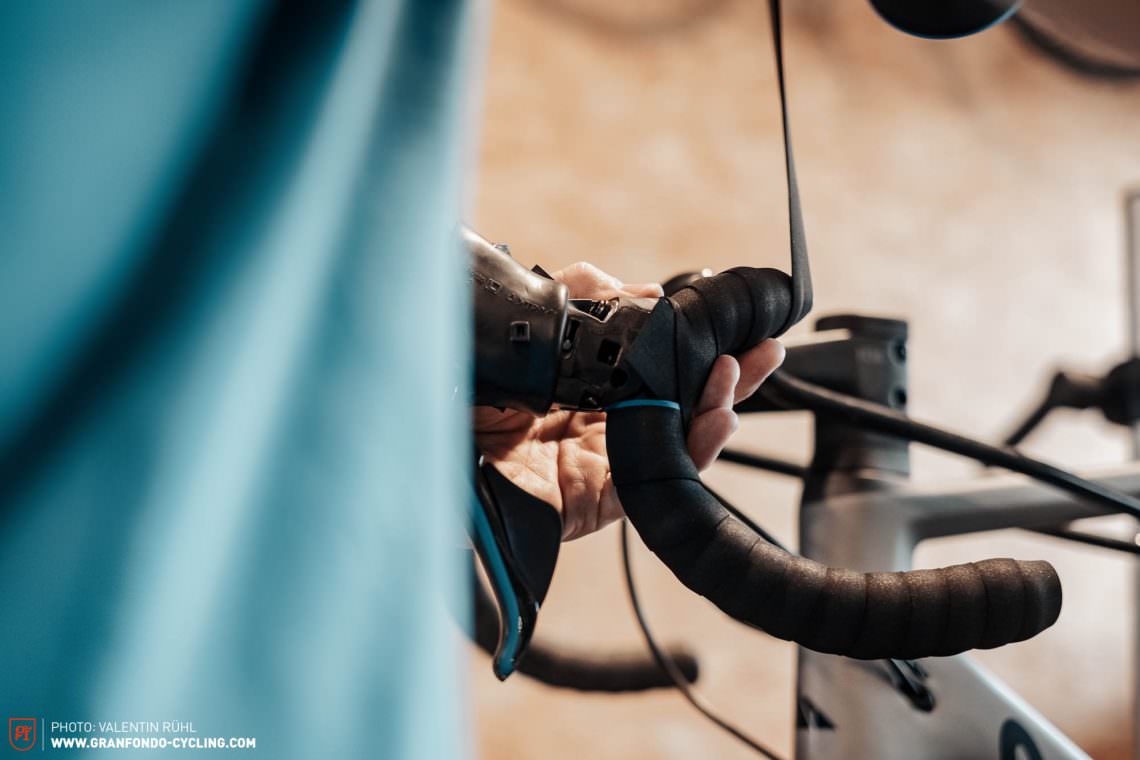
Together with the saddle, your handlebars are one of your bike’s main contact points. That’s why you want to make sure the grip is spot on. You should change the tape regularly for both aesthetic reasons and to avoid dangerous loss of grip. We will show you how to wrap fresh bar tape correctly.
Difficulty
Easy (not much harder than getting into compression socks)
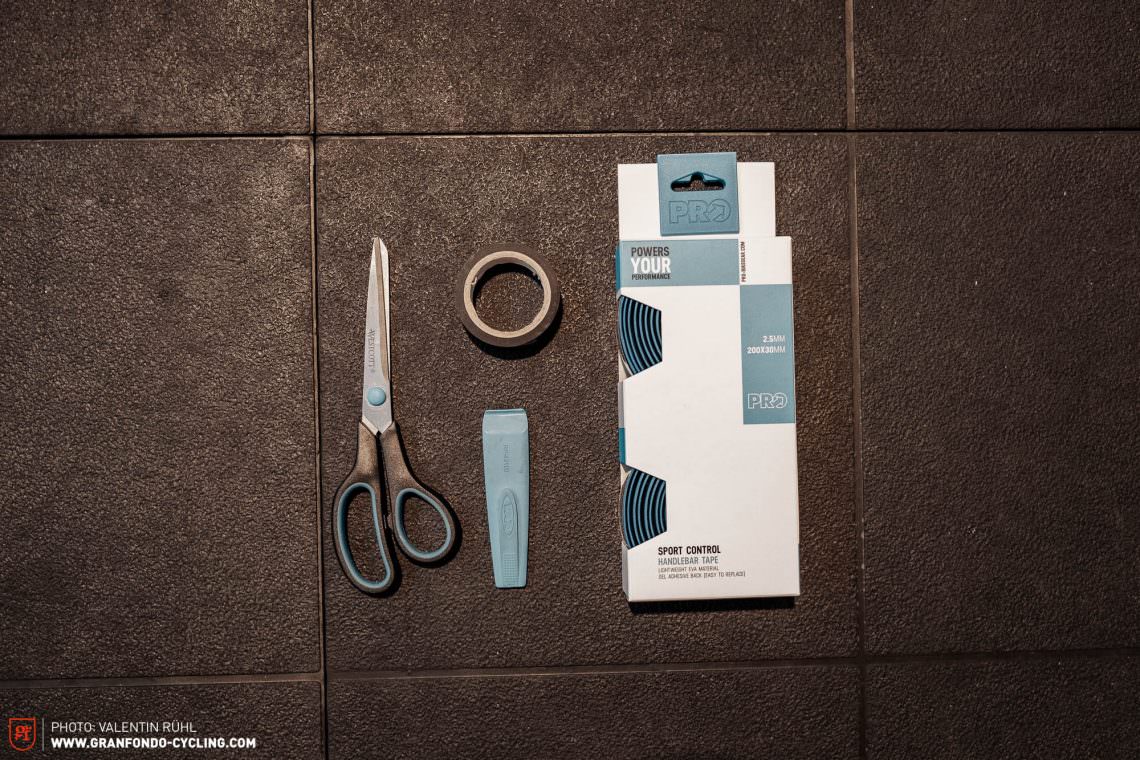
Required tools
Bar tape
Electrical tape
Scissors
Tire levers
Instructions
If you’re wrapping a new handlebar you can skip the part in which we explain how you remove the old tape and jump directly to the next section
First you have to get rid of your old bar tape. Fold back the rubber hoods and remove the bar plugs with a tire lever.Remove the old bar tape starting from the stem.
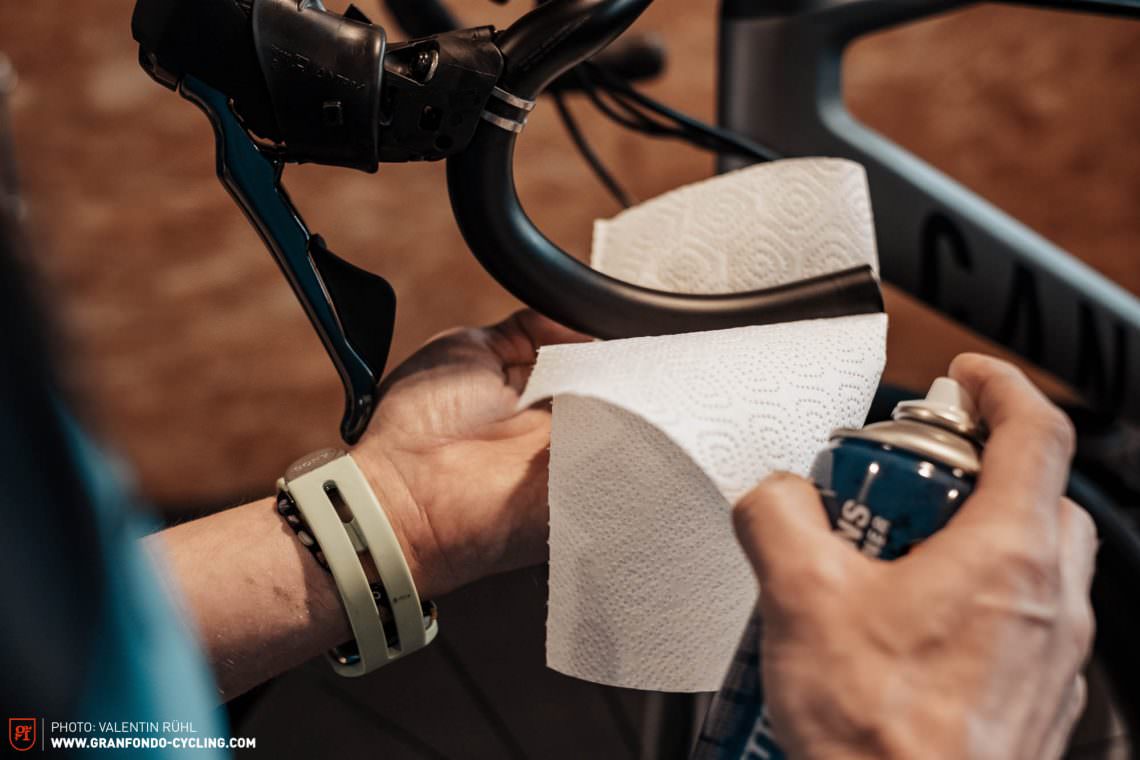
If you want the new bar tape to stick properly you have to remove all adhesive residues. While you’re changing the bar tape it’s a good idea to check the shifting cables and cable housings and change them if they’re worn-out. Clean your handlebars with alcohol or brake cleaner and remove any old adhesive residue.
Next step:
Make sure the brake and gear cables are secured neatly against the bars. This will guarantee optimal grip and a great look. In addition, you can give it a couple of rounds of electrical tape to help the bar tape stick even better.
Attention: if you wrap it too far inboard at the stem, the bar tape won’t cover all of the electrical tape.
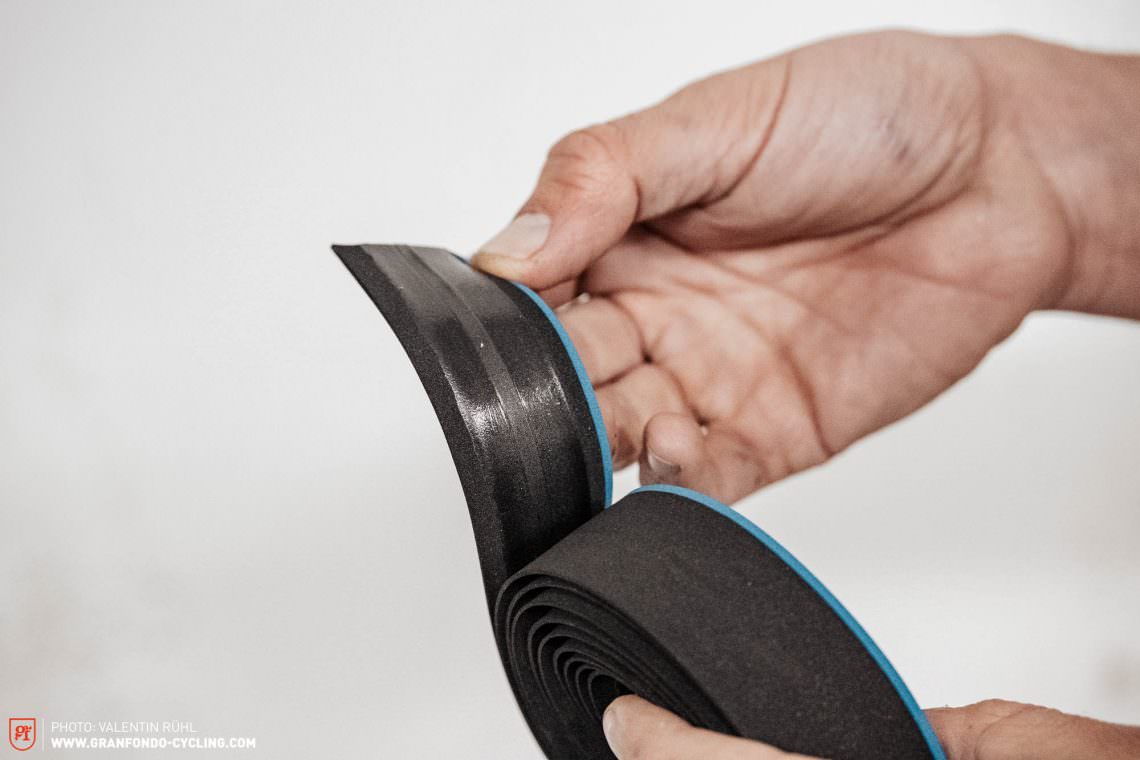
Peel back the protective paper from the adhesive strip (if existent) of your new bar tape.
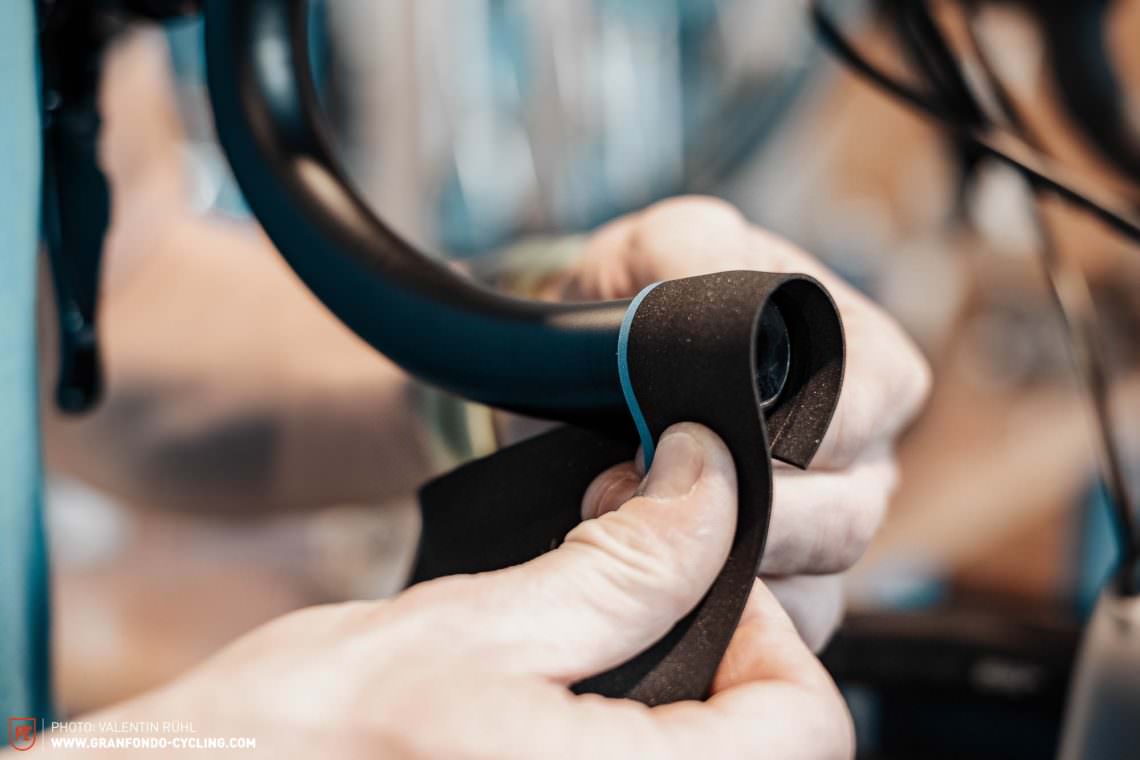
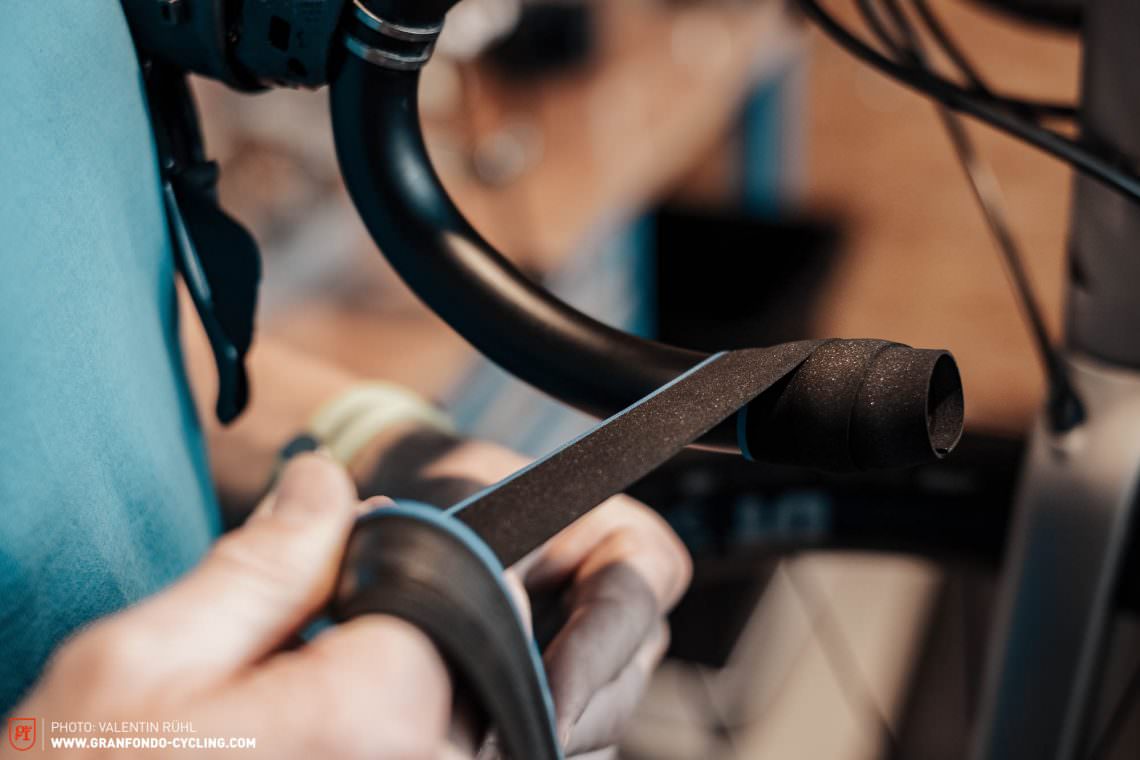
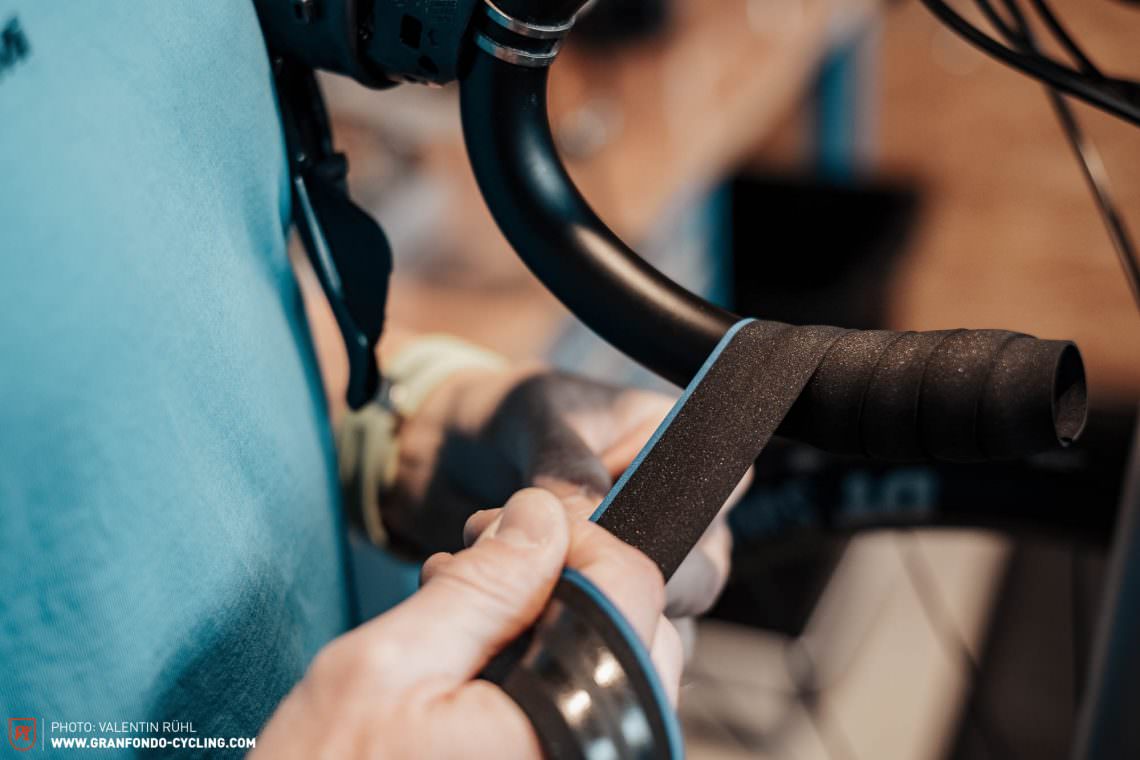
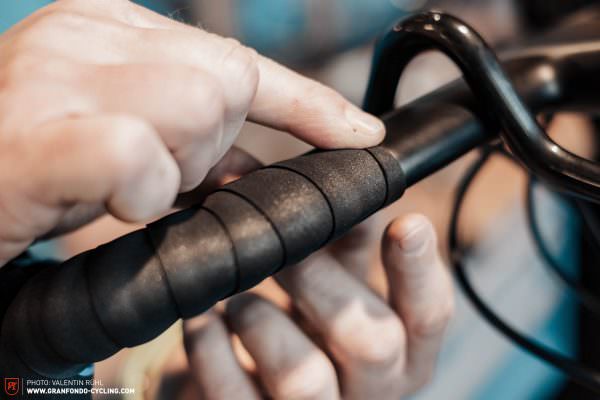
Don’t remove the whole protective paper at once but do it 30 cm at a time.Start wrapping from the end of the drops. Place the tape on the underside of the bars and wrap from the outside towards the inside. In other words the tip of the tape should be pointing towards your body while the rest of the tape-roll should be pointing towards the bike. When you start wrapping, make sure the edge of the bars sits right in the middle of the adhesive strip. The first round of tape should be almost straight: this way you’ll have enough tape to tuck into the bar ends when you insert the bar plugs.Always keep the bar tape under tension but never overstretch it. Note that every bar tape will behave differently depending on the material. However, if you notice that the perforation holes become oval, you’re definitely stretching the tape too much.Make sure you keep an even overlap at all times. Rule of thumb: use the outer bend as a reference for the overlap to avoid gaps and achieve an even wrapping pattern.
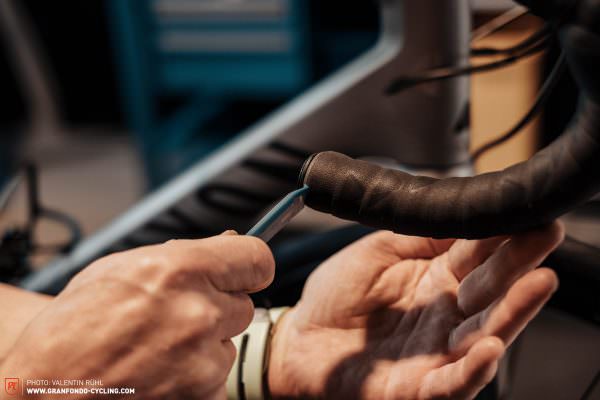
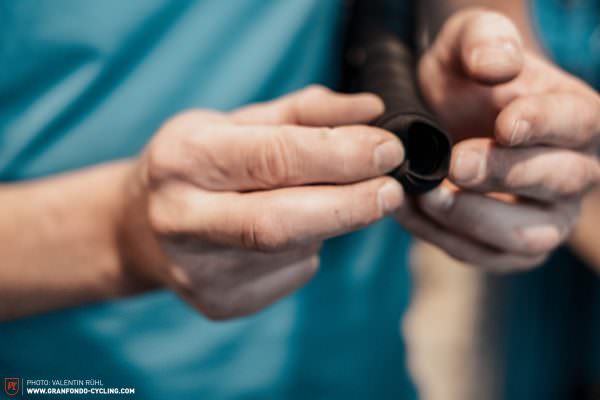
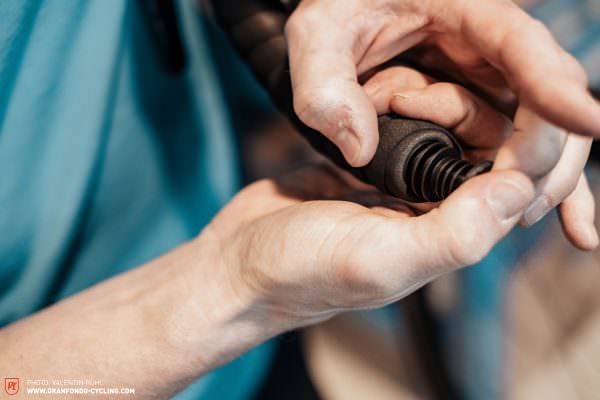
Before you wrap the entire handlebar and can no longer make adjustments, we recommend inserting the bar plugs. When you do this, press the excess tape into the bar end …… and insert the bar plug. Tip: with very grippy bar-tapes a splash of water might help to insert the bar plugs.
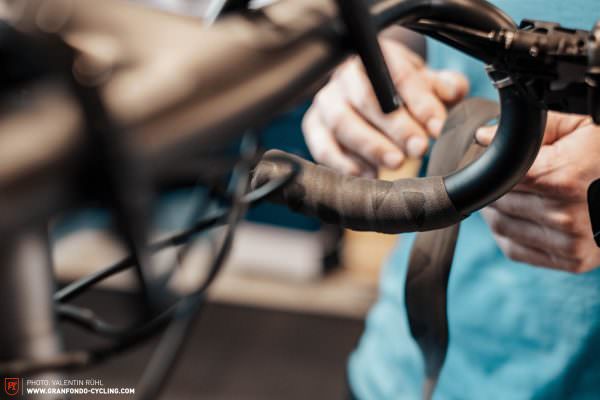
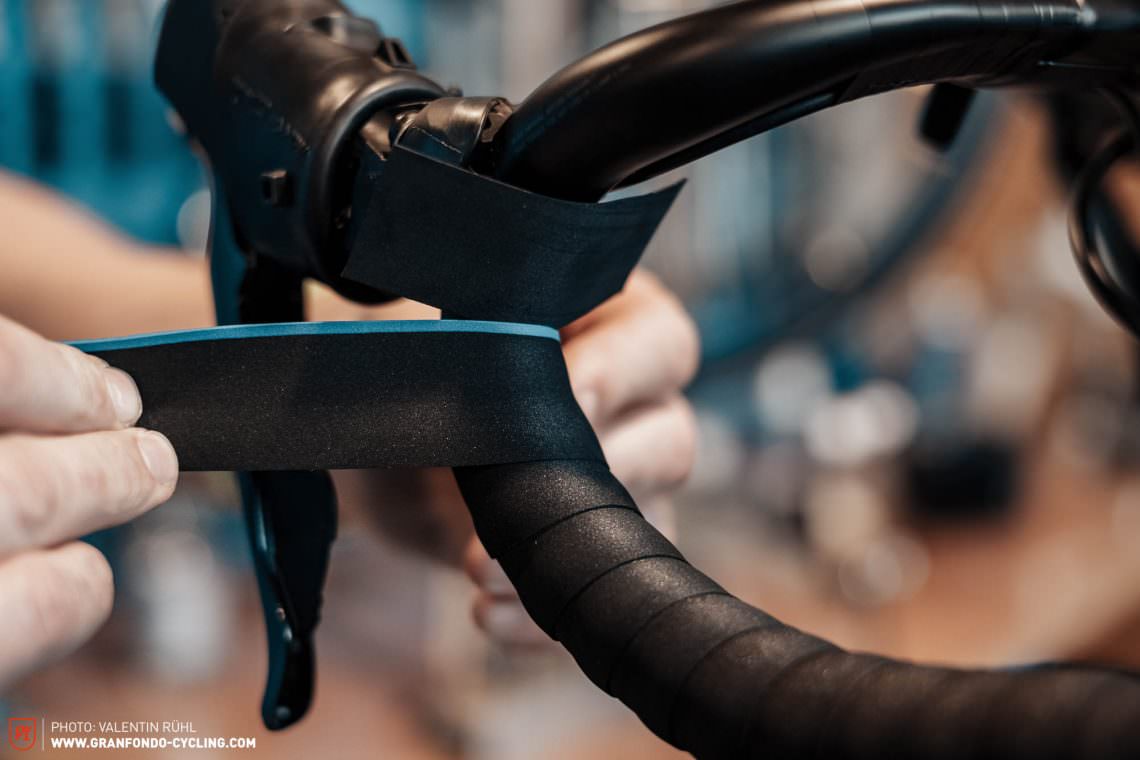
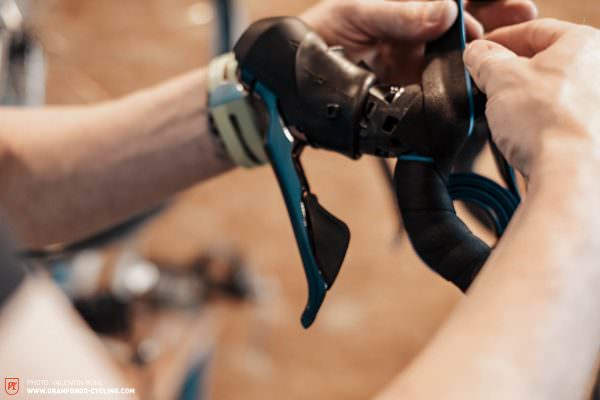
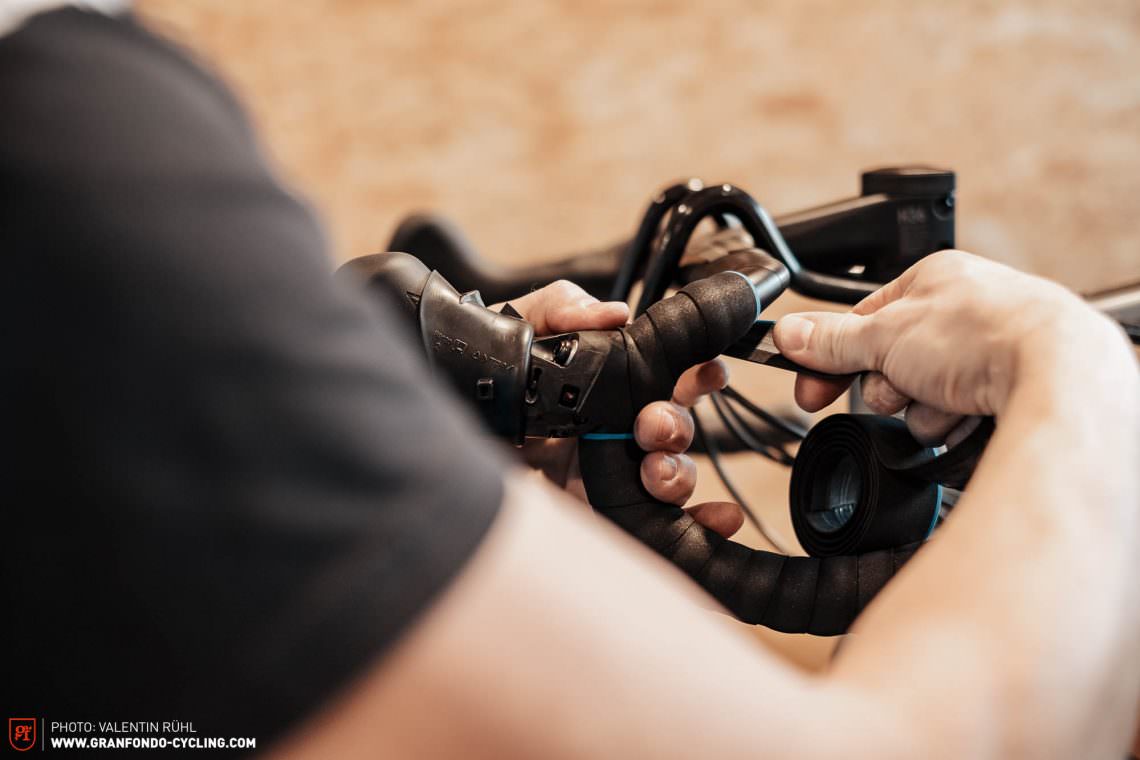
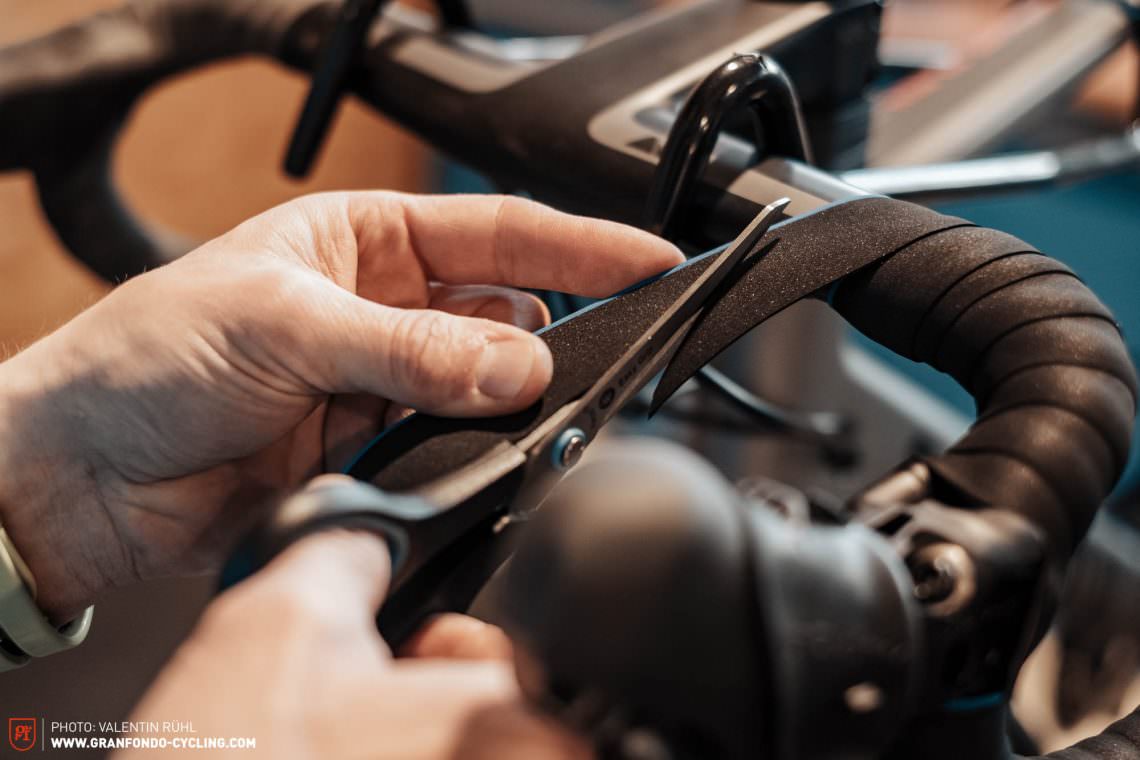
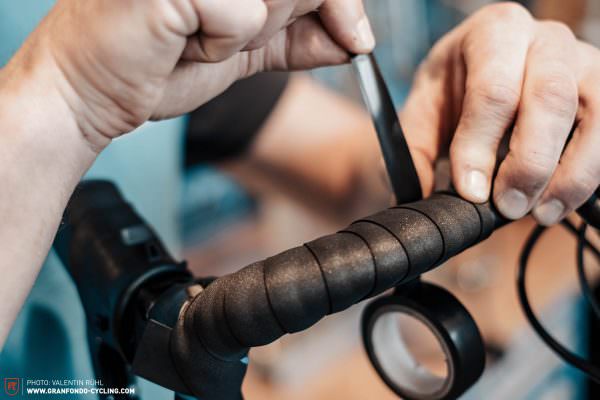
Prepare an extra strip of tape to place behind the shifters. Some manufacturers already include this in the box. Make sure you cut the strip to size to fit it snuggly behind the shifter. To do this place the strip around the shifter-clamp and cut it at the height of the folded rubber hoods.Wrap the tape with a consistent overlap from the end of the bars and work your way towards the shifters. The last wrap should be relatively close to the lower edge of the shifter.In the next step you want to try and keep a bigger gap to pass straight over the shifter. If you get this right the gap should be filled by the additional strip of tape. If that’s not the case you can try to adjust the position of the tape below or above the shifter. The closer you stick to the shifter, the smaller the gap will be – and the better it will look.Once you’re past the shifters you can carry on wrapping normally keeping a consistent overlap. Remember to use the outer bend as reference for the overlap.Once you approach the point you want the tape to finish you’ll have to trim it for the finish. Cut it diagonally over a length of 10 cm. To get the right angle for your cut hold the tape at your wrapping angle and make sure the cut is perpendicular to the bars.
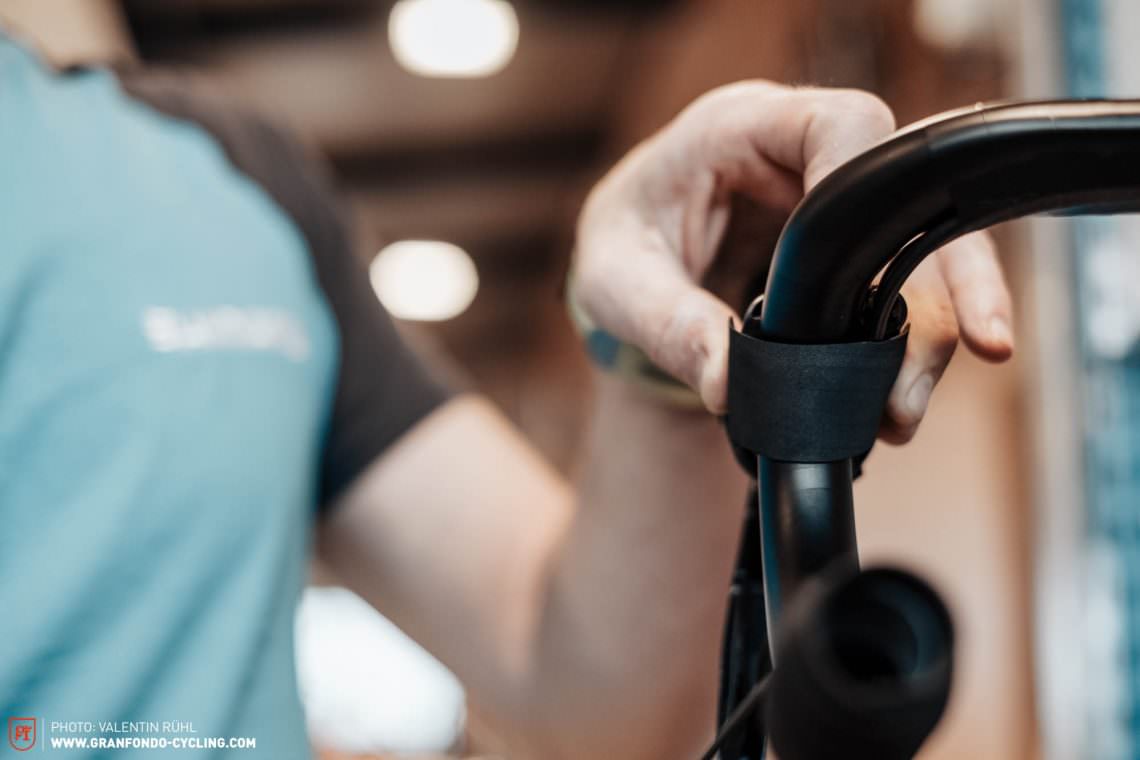
Now wrap the end around the bars and secure it with electrical tape.Tip: wrap the electrical tape in the same direction as the bar tape to maintain the tension.
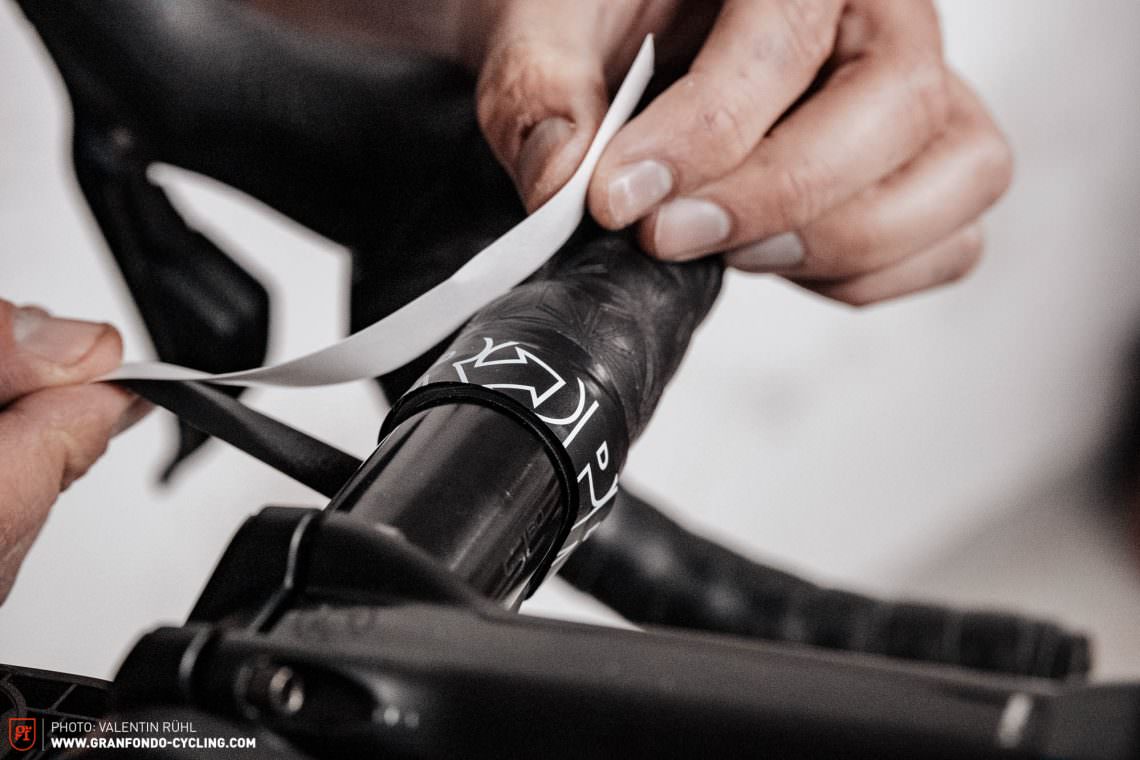
Once the bar-tape is secured, it’s time to make the last adjustments. Always keep a good amount of tension on the finishing tape, but make sure you don’t over-stretch it. This way you avoid distorting the manufacturer logos. Tip: since you want the closing edge to be on the bottom side of the bars you should determine the length of tape you need before removing the protective film.
Job done!
Now that the first side is done follow the same procedure to get the other one sorted – make sure to mirror the wrapping direction! When you stick the bar tape to the bottom of the bars, the direction should be from the inside to the outside. In other words, the tip of the bar tape should be pointing towards your bike while the tape roll should be pointing towards your body.
Did you enjoy this article? If so, we would be stoked if you decide to support us with a monthly contribution. By becoming a supporter of GRAN FONDO, you will help secure a sustainable future for high-quality cycling journalism. Click here to learn more.