It isn’t easy finding the optimal balance in life, a way to simultaneously calm your soul and keep your body fit, yet it does exist: bikepacking! But what even is bikepacking and what equipment do you need to do it? To answer these and other questions, we’ve written the ultimate guide on bikepacking bikes, bags, gear, route planning and accommodation.
Overview
- What exactly is bikepacking? Our definition
- What is the best bikepacking bike?
- The origins – Bikepacking with a mountain bike
- What kind of drivetrain is best for a bikepacking bike?
- The best bikepacking bags
- Star rated hotel or starry night sky – Where and how do you sleep?
- Back to the roots – Self-reliant with a bikepacking tent and sleeping bag
- Indoor accommodation – Cabins, B&Bs, eco-lodges, bike hotels
- Essential gear for every bikepacking adventure
- The kitchen – Food and drinks on the go
- The wardrobe – What should I wear for bikepacking?
- The basement – Which tools and spare parts do I need?
- The living room – Smartphone, electronics and luxury items
- The bathroom – Grooming and hygiene while bikepacking
- Europe’s most beautiful bikepacking regions and routes
- Where can you go bikepacking?
- How long should a bikepacking trip be?
- Our route recommendation
- Planning bikepacking routes with Komoot
- How do I navigate during a bikepacking trip?
- The GRAN FONDO bikepacking mindset
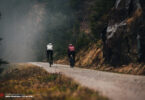
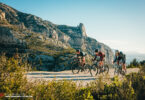
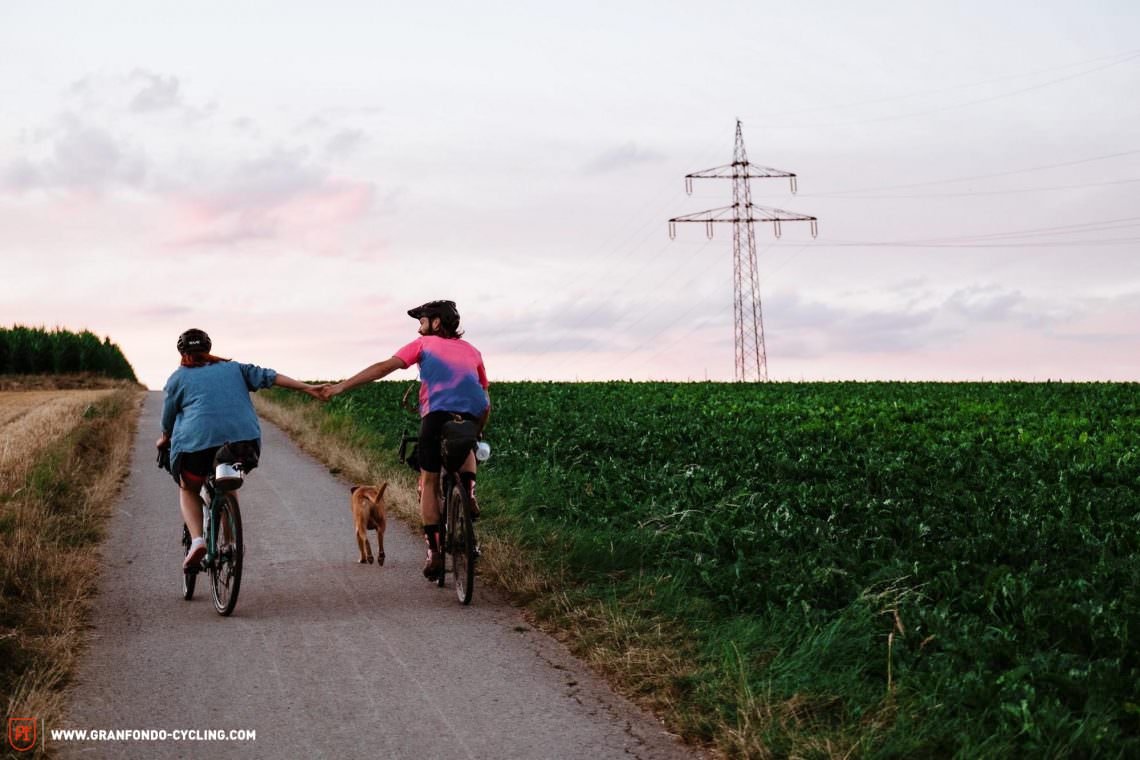
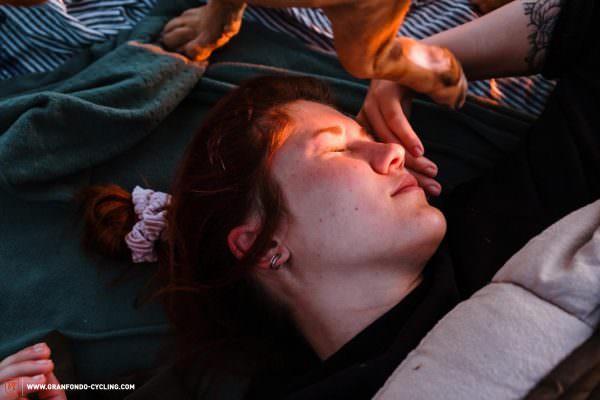
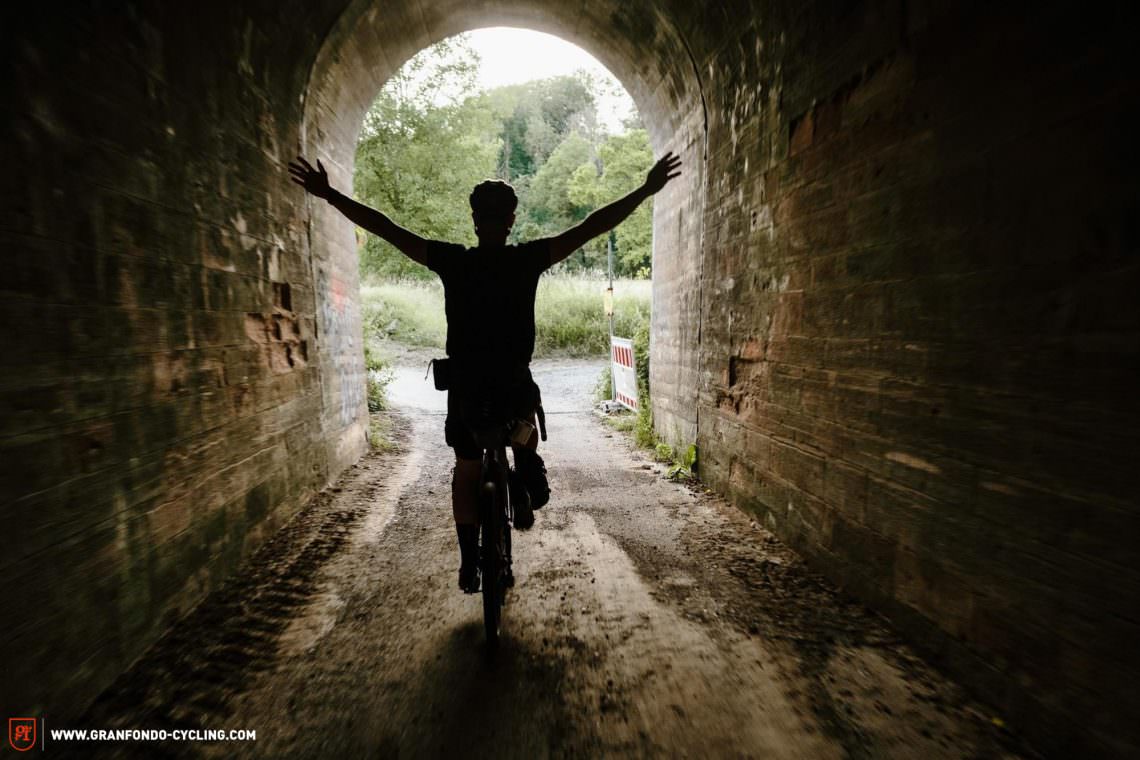
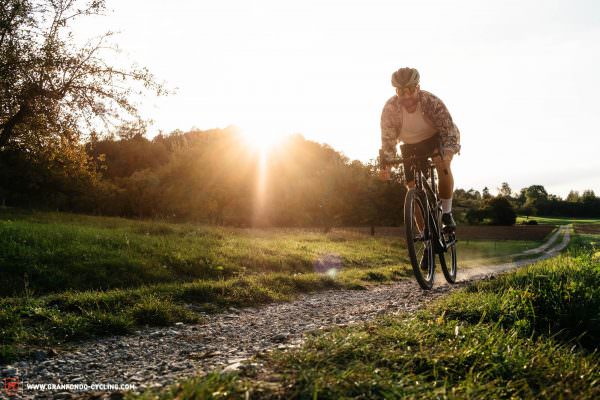
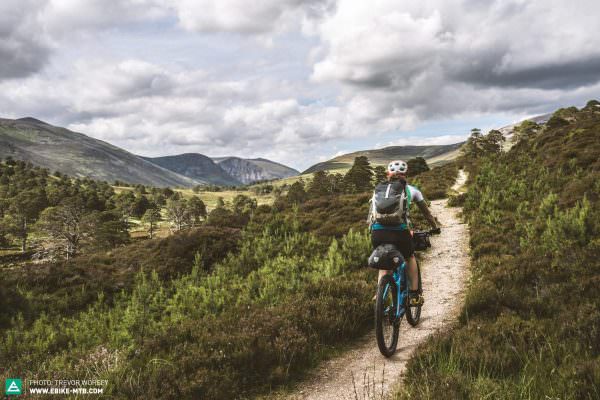
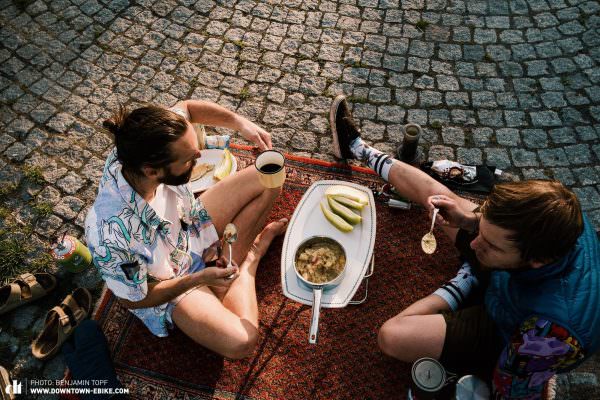
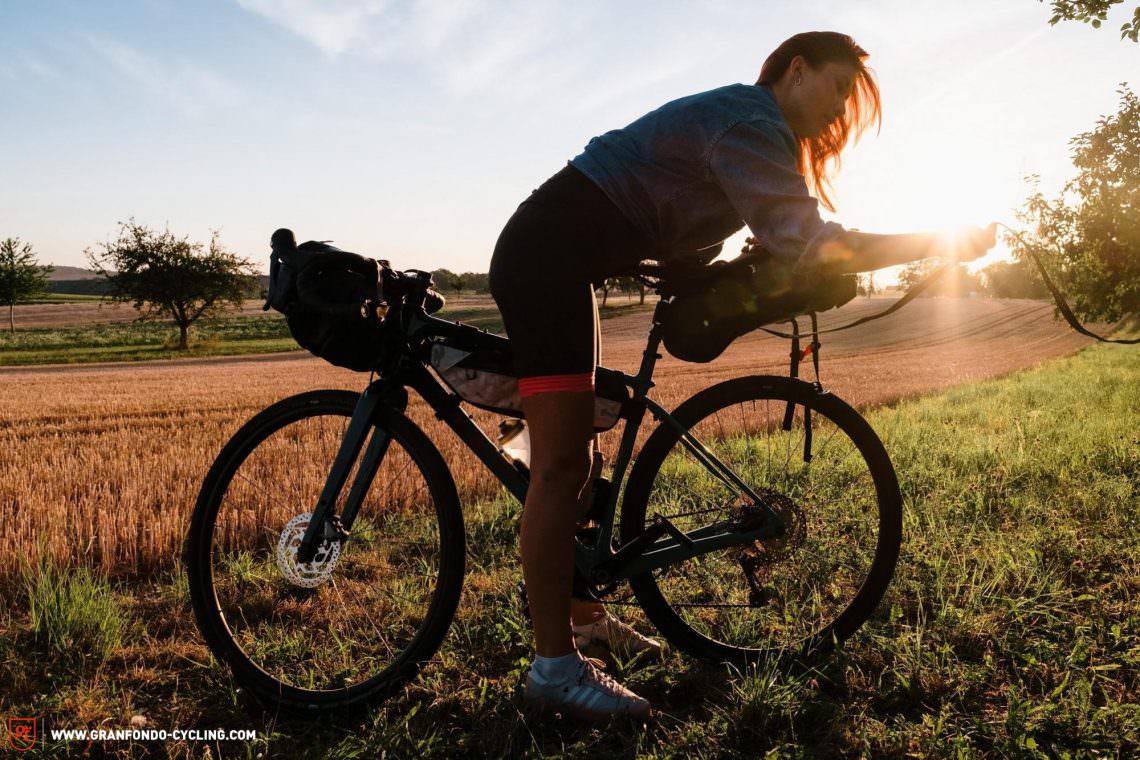
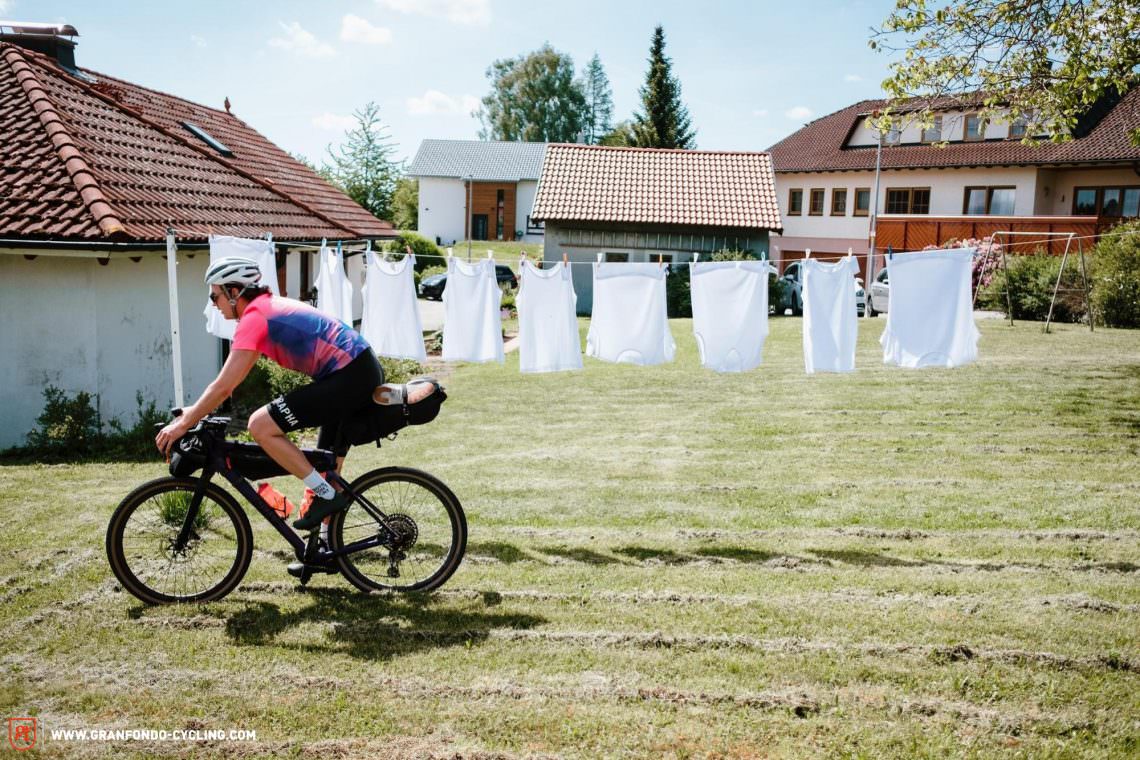
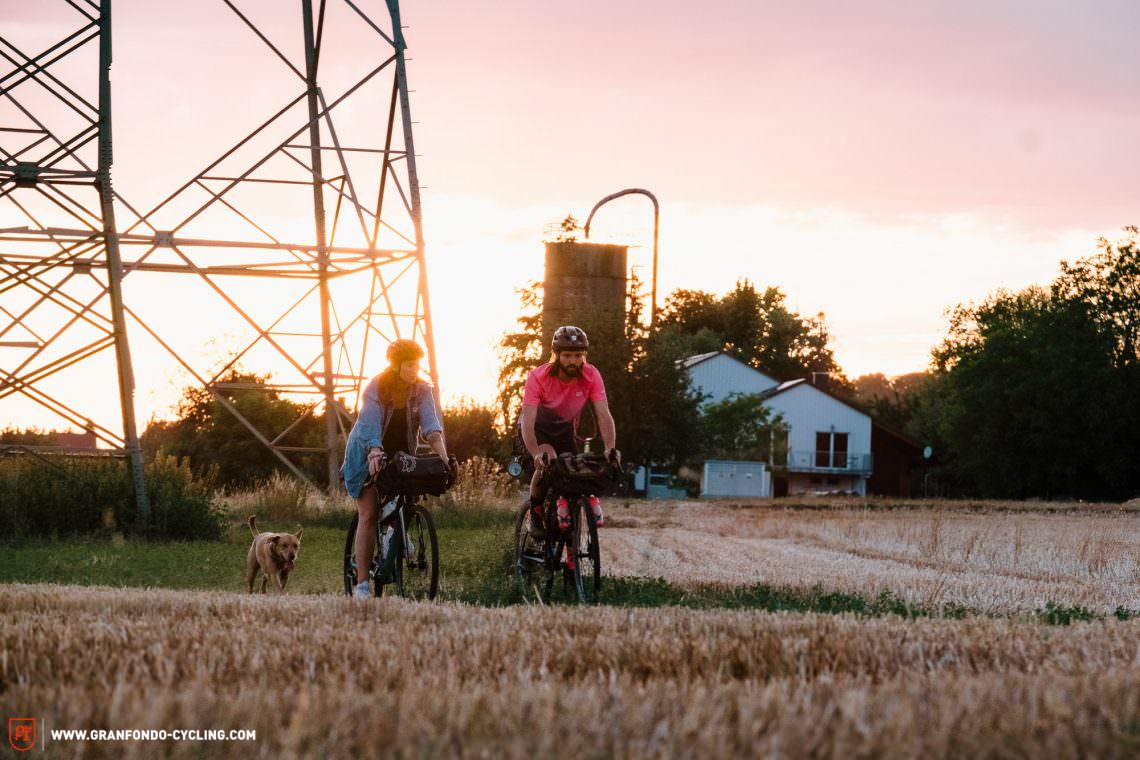
Blue skies, the wind in your hair, the crunch of gravel under your tires, birds flying along beside you and the knowledge that you can sleep wherever you want… You’ll be hard pushed to find anything as uniquely good for both body and soul, yet as accessible, as a bikepacking trip, whether alone, with your partner in crime, or a group of good friends. If anything, 2020 proved how important it is to feel free, autonomous and find mental balance. Due to the pandemic and resulting lockdowns, people around the world have realised more than ever how important it is to get outdoors to find this and, above all, how surprisingly easy it is to do with something as simple as a bicycle. If you have a sense of adventure, curiosity or the urge to explore, you’ll almost inevitably stumble upon bikepacking.


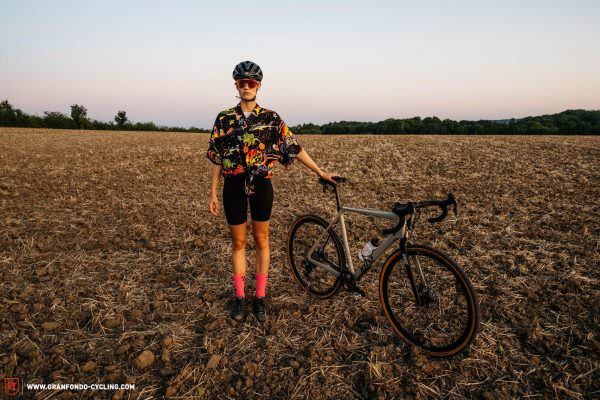
What exactly is bikepacking? Our definition
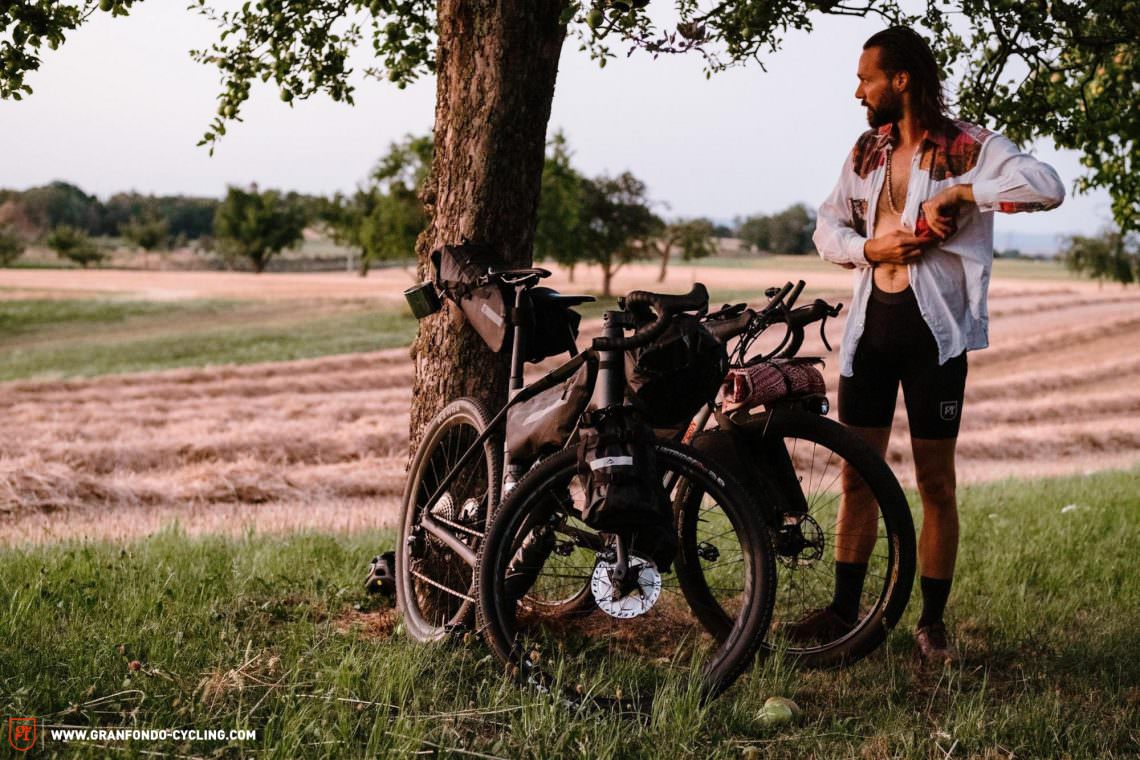
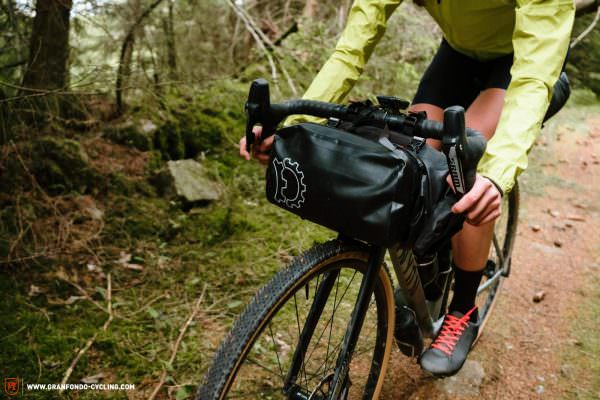
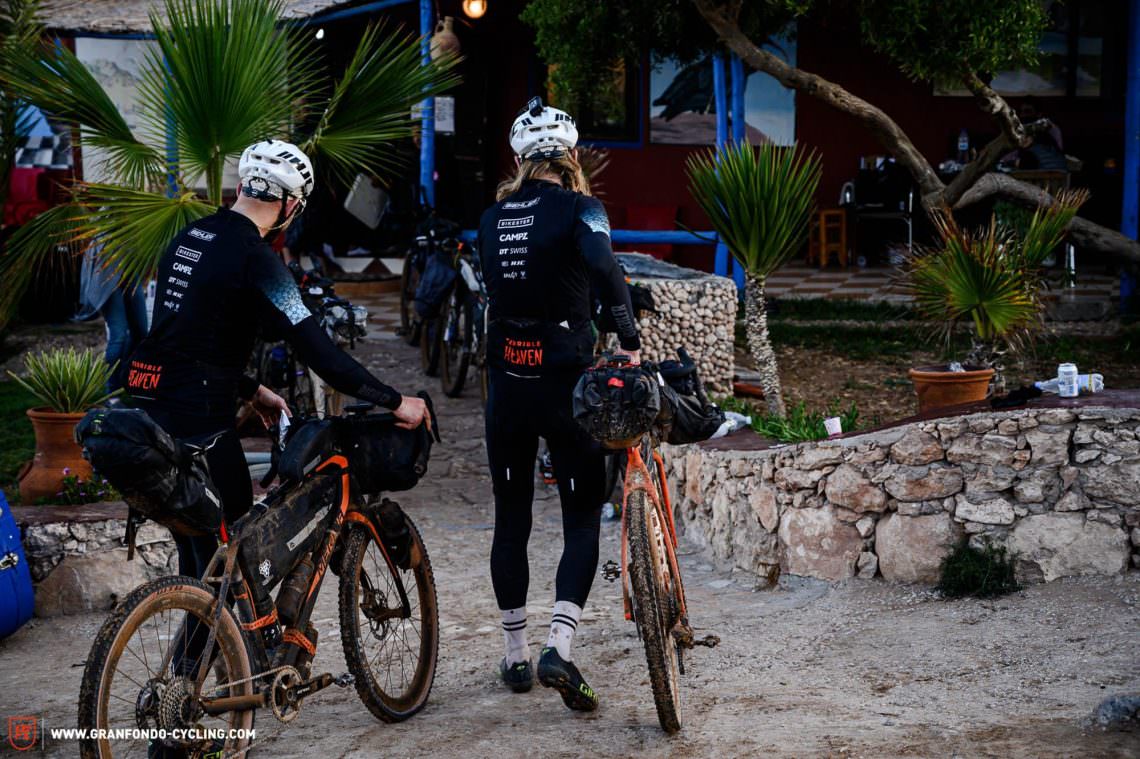
In the original sense of the word, bikepacking is a combination of two long-standing outdoor activities. As you might have guessed from the name, these are mountain biking and backpacking. In contrast to a traditional touring bike setup with luggage racks and large panniers, bikepacking puts more of an emphasis on the ride and having fun on your bicycle. For this reason, the things you carry with you while bikepacking are reduced to a minimum and distributed on the bike in special bikepacking bags to preserve as much of the bike’s unladen handling as possible. Doing so allows you to ride more demanding routes that would be difficult or impossible to do on a trekking or touring bike, or you can simply enjoy the ride more. In addition to having fun on the bike, another important aspect of bikepacking is being self-sufficient as you explore the world. You want to be as independent as possible, carrying everything you need on your bike.
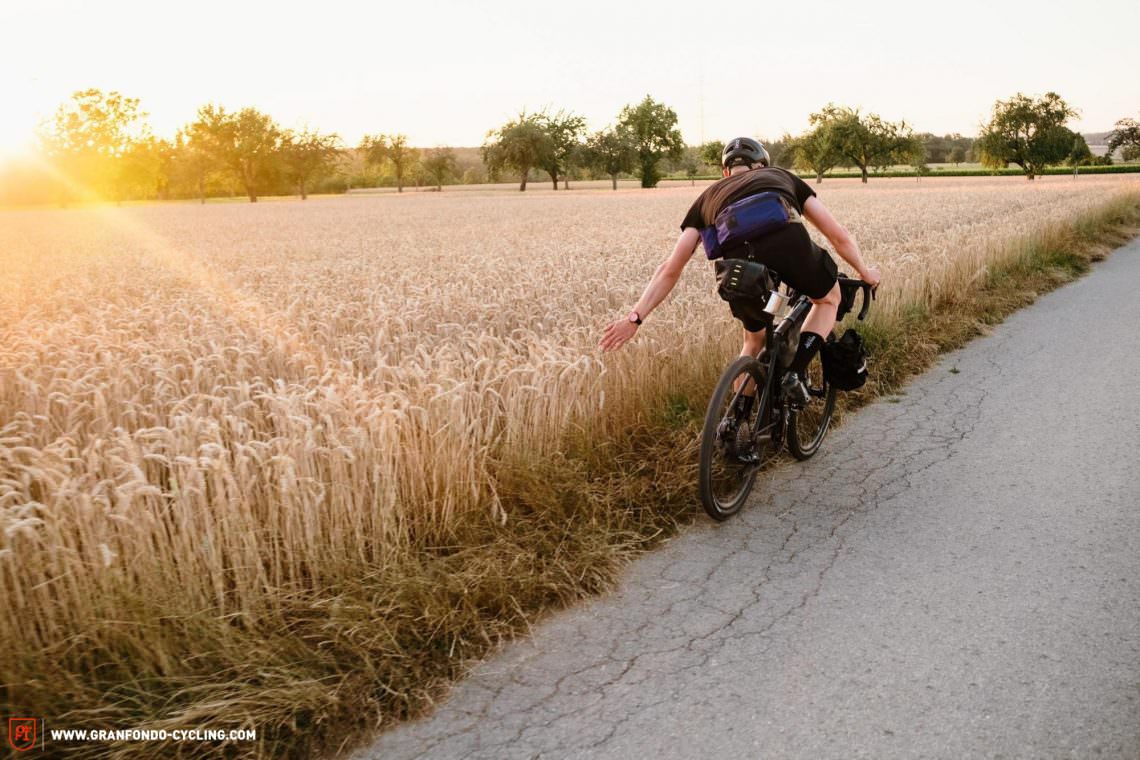
Bikepacking is all about the ride. You carry only the essentials needed to be self-sufficient and ride for more than a day.

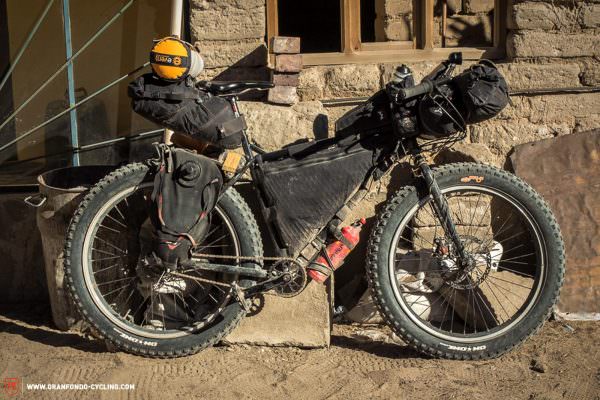
As it grows in popularity, the term is being applied to a much wider range of bikes and uses. Regardless of whether it’s a fat bike expedition to the remotest corners of the earth, an ultra-endurance race, a relaxed ride along local gravel paths or credit card camping aboard an ebike, the basic goal remains the same: having fun on your bike and exploring the world on two wheels.
What is the best bikepacking bike?
If you’re new to bikepacking and just want to see what all the fuss is about, the answer is surprisingly simple: the bike you already own. Every bike can be a bikepacking bike, at least for an easy overnighter (a two-day trip with an overnight stay). Just strap your luggage to the bike and off you go! We’ll go into more detail about bikepacking bags later, including tips and tricks for getting started, sleep systems and setups and all the gear you need for bikepacking.

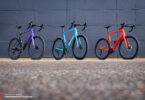
Depending on where you normally ride or want to ride, there are bikepacking bikes specifically designed to tackle certain kinds of terrain, noticeably improving the overall experience. Whether gravel, mountain, fat or ebike, the range of products currently available on the market is vast. From robust, affordable and versatile beginner bikes to ultra-light models designed specifically for racing, there is a suitable option for every budget and purpose.
The best bikepacking bike is the one you already own. However, purpose-built bikes are significantly more comfortable and fun to ride when fully loaded.
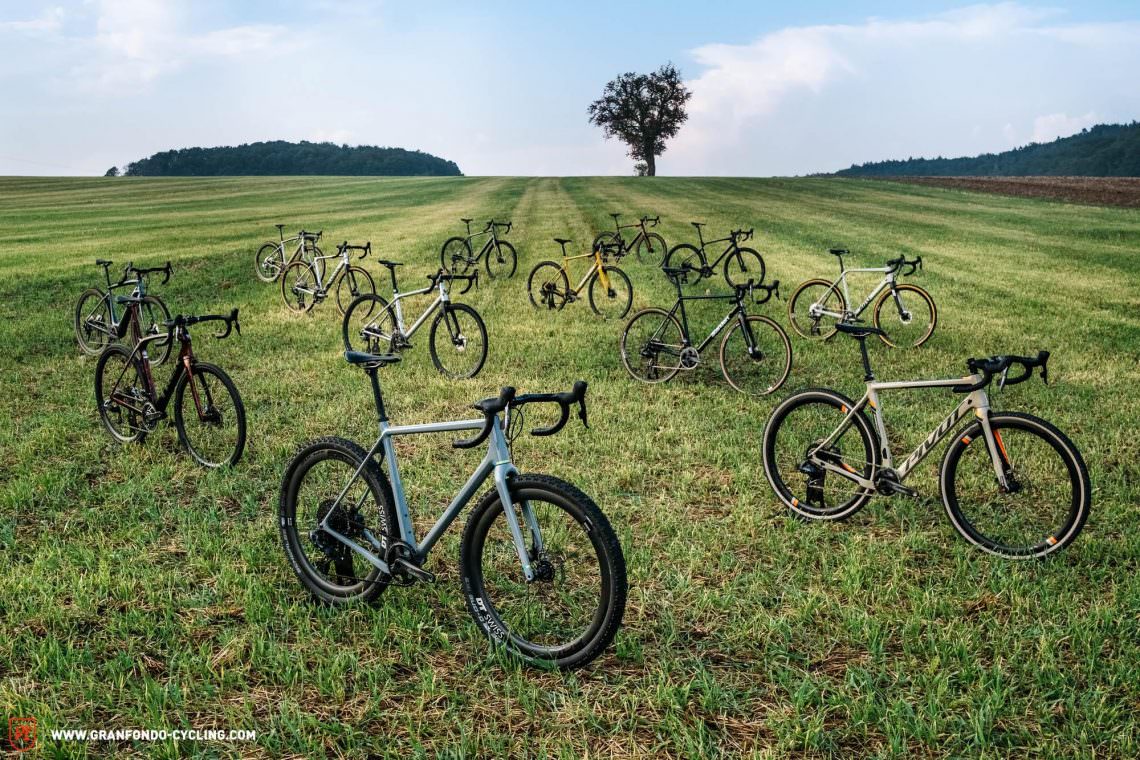
The best bikepacking bike – Our group test
Of course, there are many bikepacking specific bikes on the market. For those that want to get into it more seriously, there are many good reasons to take a closer look at these bikes. They are the ideal combination of gravel and mountain bike, offering plenty of storage space and luggage mounting points, comfortable geometry and components designed for long days in the saddle. In our group test, we compared 12 of the hottest bikepacking bikes currently on the market, with the Salsa Cutthroat V2 coming out on top as the best all-rounder.
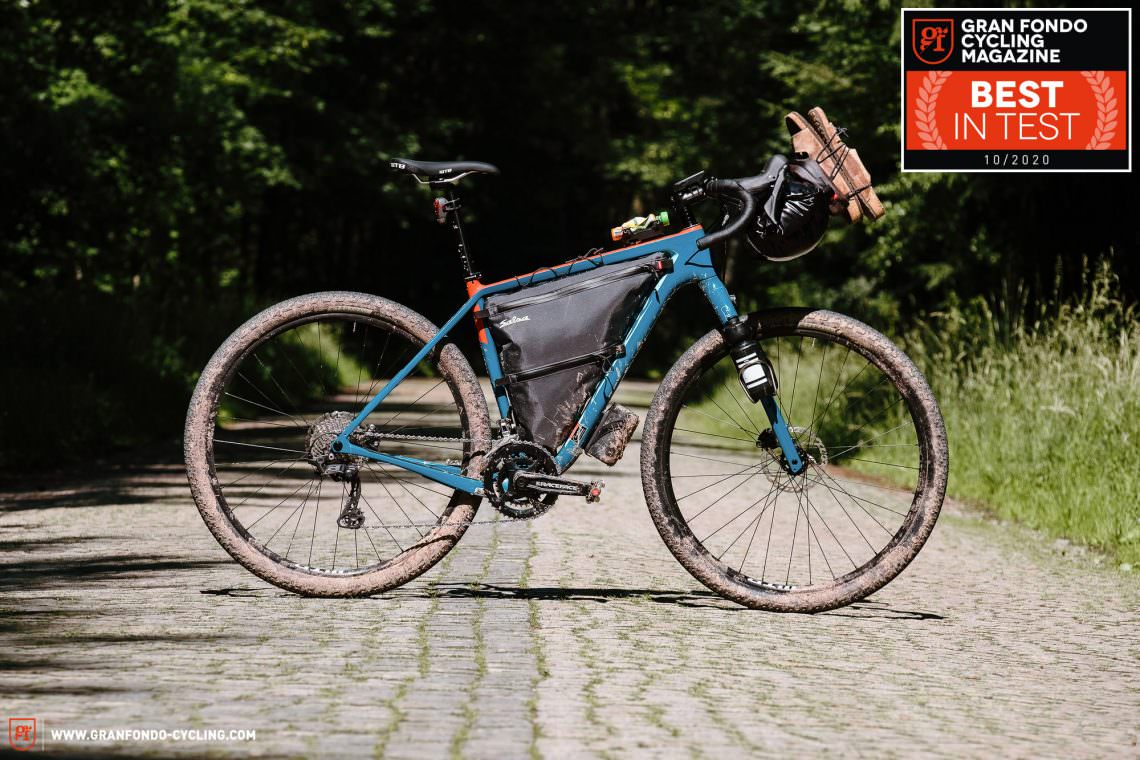

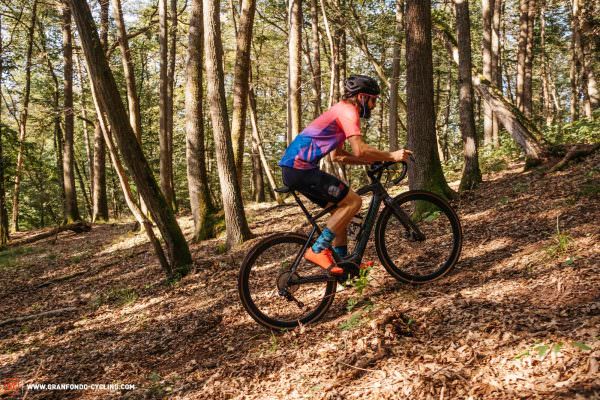
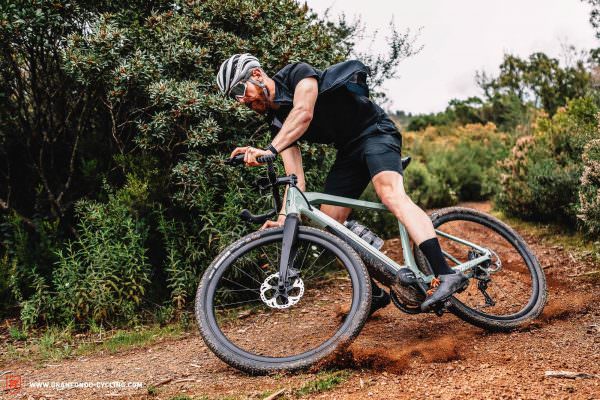
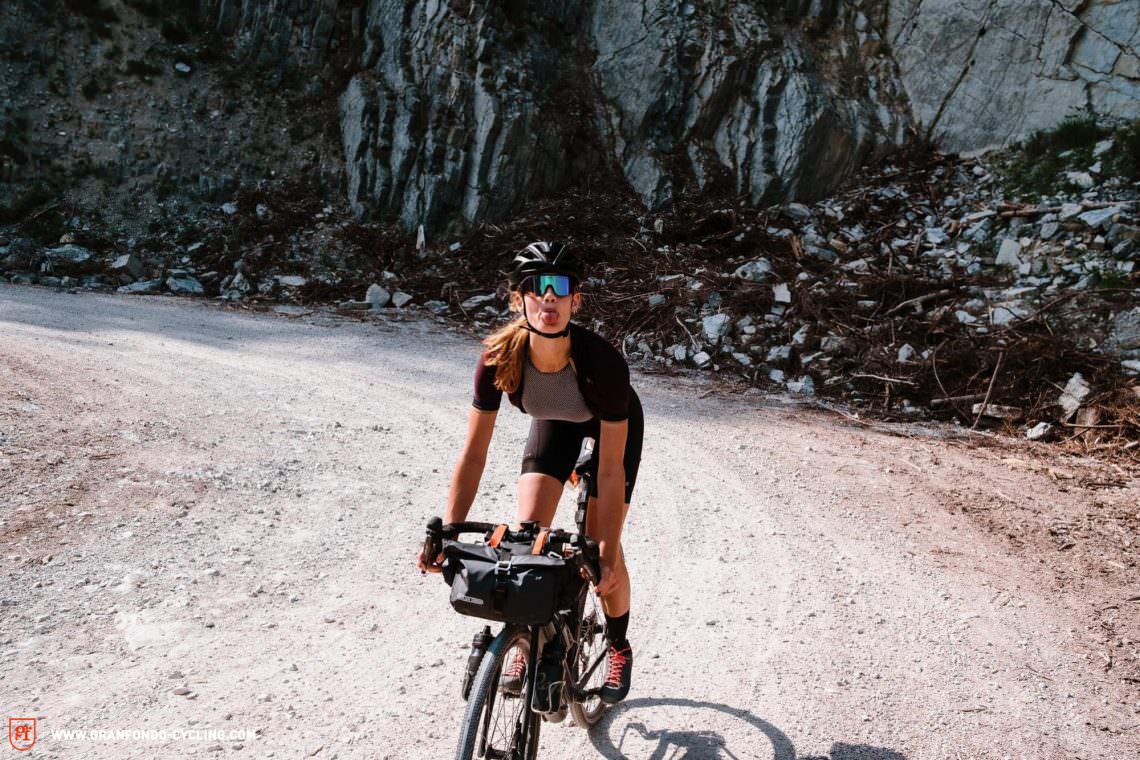
Fast and light – Gravel bikes
Gravel bikes are the perfect all-rounders, bridging the gap between bikes used purely for fun and sports, and everyday practicality. Many models are ideal candidates for short or fast bikepacking trips. However, they can’t offer the same level of comfort as purpose-built bikepacking bikes and luggage mounting options are limited too. On the other hand, they’re usually quite a bit lighter, making them faster and livelier. Many gravel bikes are compatible with both 700C and 650B wheels, which increases their versatility. If you’re new to the world of gravel, we recommend checking out our big gravel bike buyer’s guide. Our gravel bike group test features the 14 most exciting models currently available, many of which lend themselves brilliantly to bikepacking. You’ll find a lot of good, affordable gravel bikes from brands including Canyon, ROSE and Bombtrack. In the upper price bracket, we can wholeheartedly recommend the incredibly versatile OPEN U.P. or U.P.P.E.R..
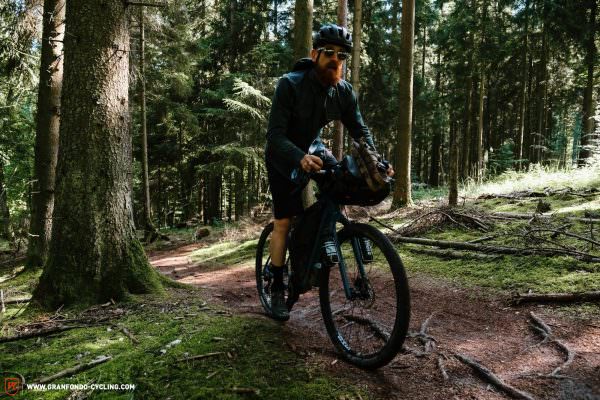
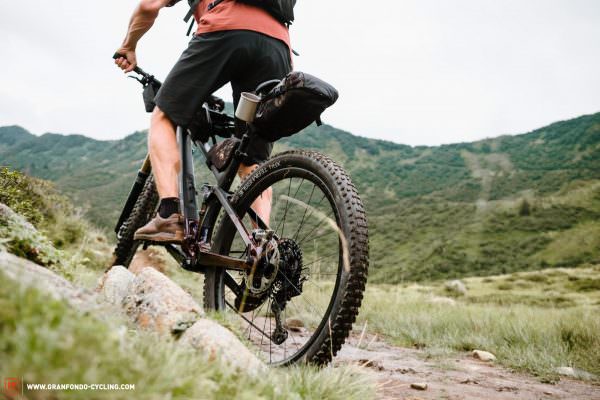
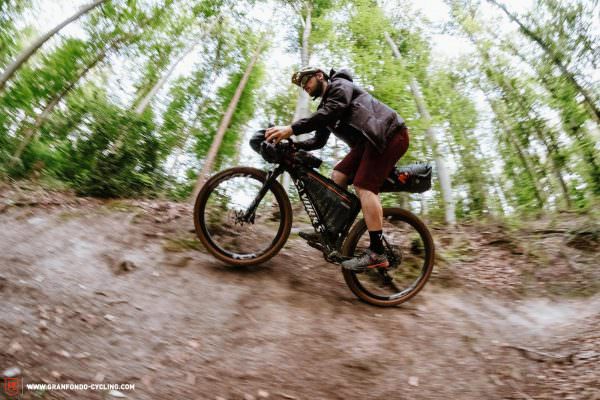
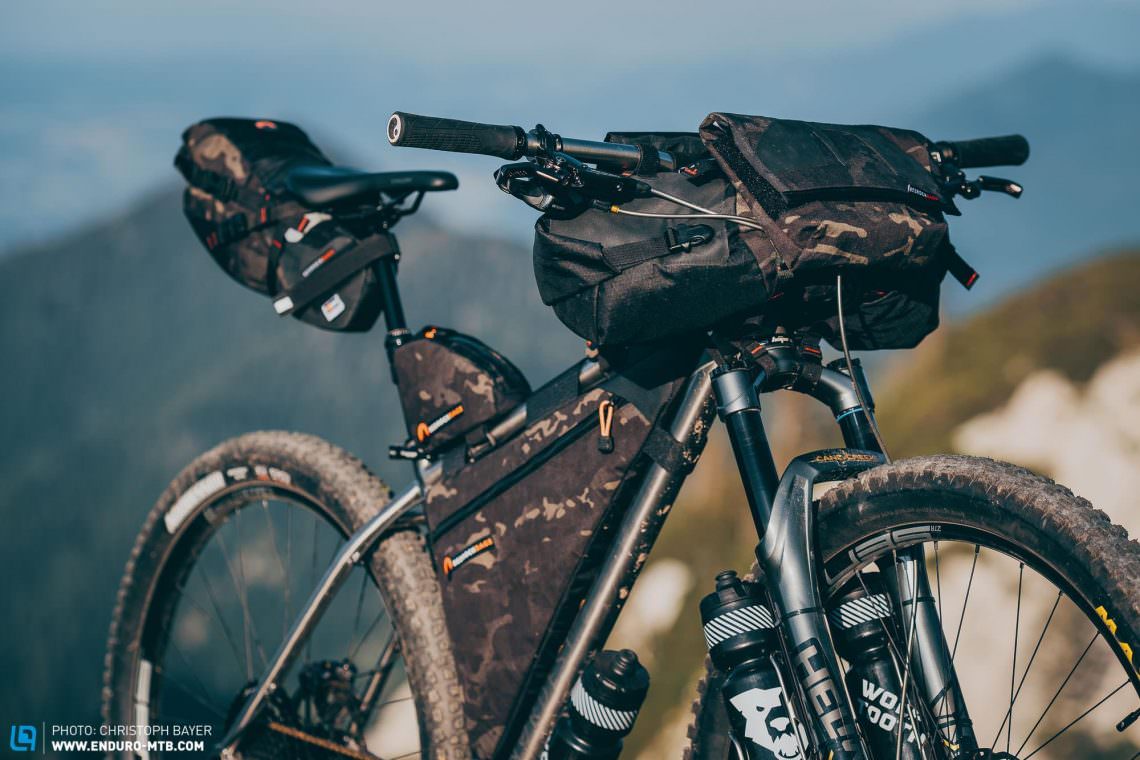
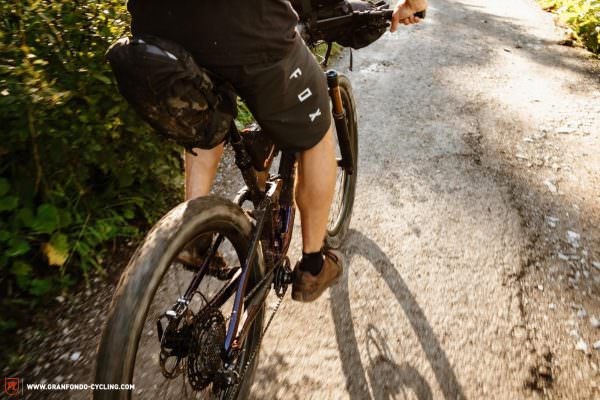
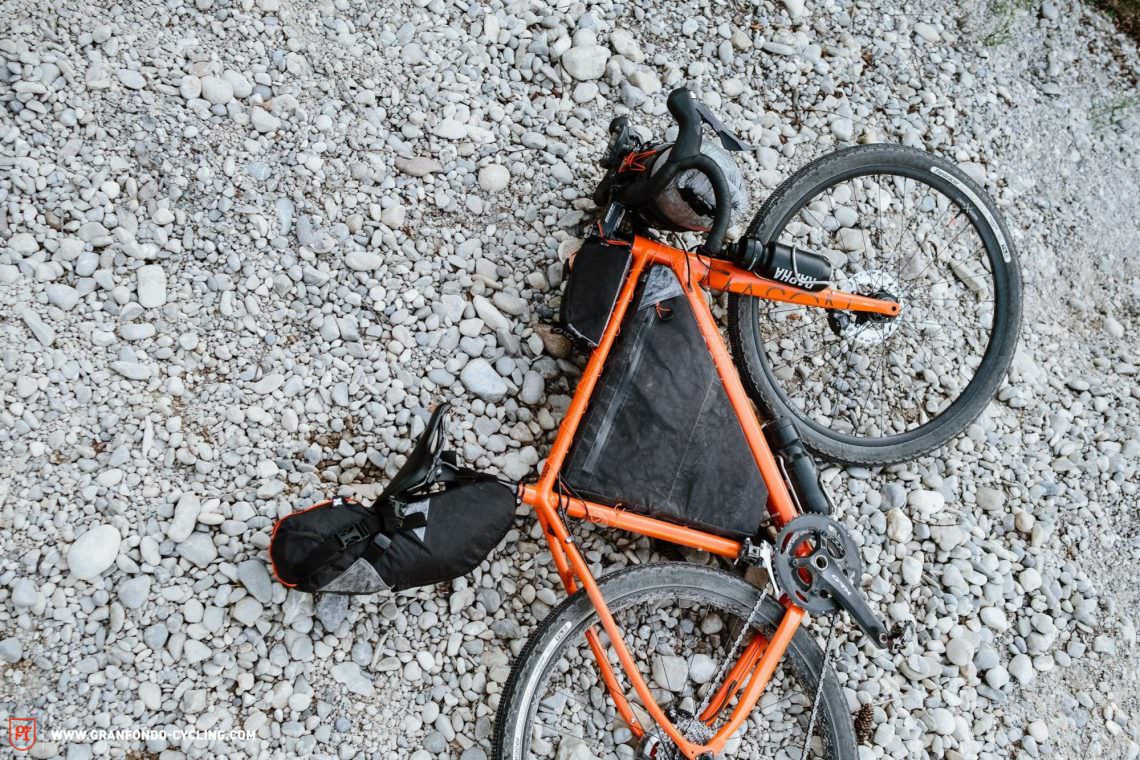
The origins – Bikepacking with a mountain bike
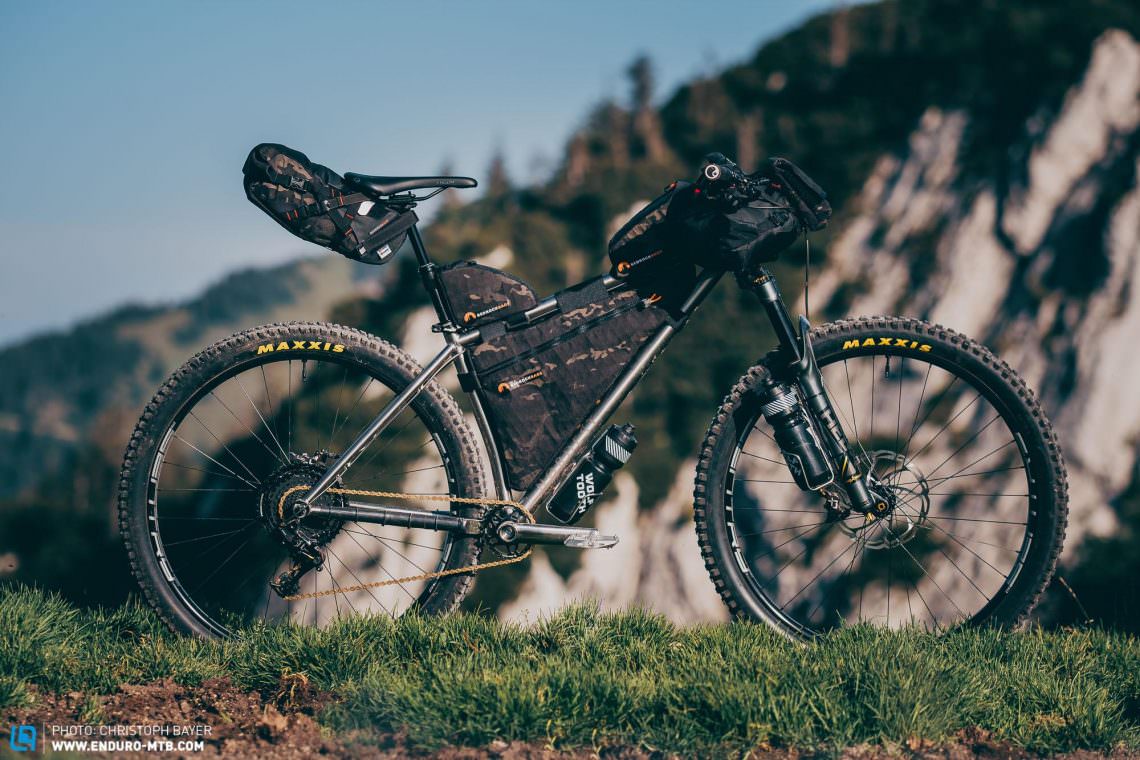
A hardtail mountain bike with a rigid or suspension fork is an undeniably classic option for a bikepacking bike. The range of choices is huge, so it’s best to ask yourself a few questions before deciding what to buy. What should the geometry be like? What kind of fork do you want? Do you prefer to ride with a rigid seat post or a dropper post? Which frame material is right for you? Once you’ve answered these questions, the choice will be much easier. For steel frames, we recommend taking a look at Surly’s affordable, robust, and versatile range of models. For something a little more progressive, you will surely find what you’re looking for in the hardcore hardtail group test by our sister magazine, ENDURO, and for those with a penchant for high-volume tires, we recommend taking a look at brands like Jones or Tumbleweed. Titanium frames are enjoying a big comeback and not just on gravel bikes. Last year, our editor Andi finally got the titanium bikepacking hardtail that he’s been dreaming about. Modern carbon frames also make for an excellent bikepacking option, as long as you’re not planning a trip through the remotest corners of the earth over several months. Excellent carbon models include the Santa Cruz Chameleon or the Specialized Epic.
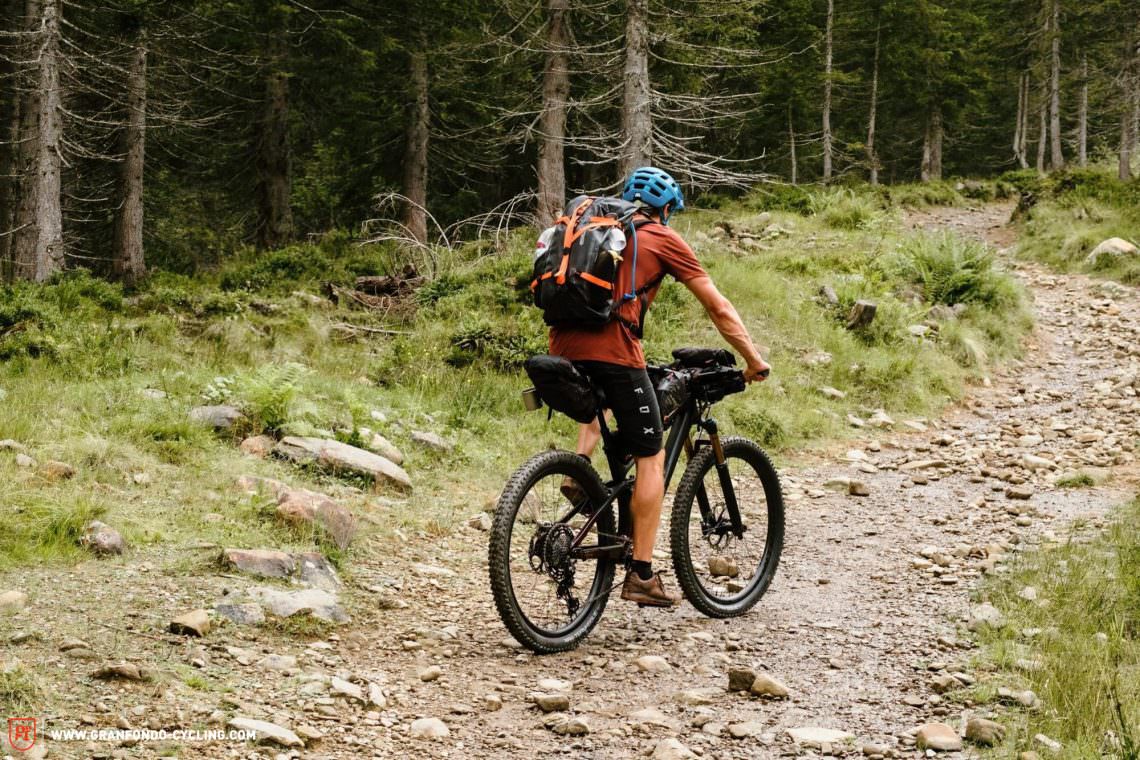
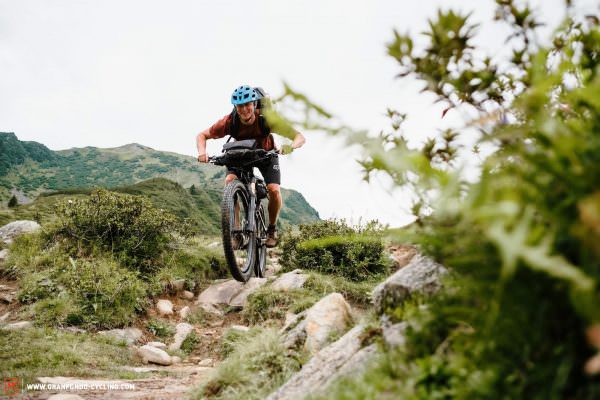
Many full-suspension bikes are also suitable for bikepacking, especially on more demanding trails or routes or if you simply want more comfort than you get on a hardtail. In principle, you can use almost any model, from marathon to enduro bikes, though we recommend an efficient yet capable trail bike, offering a middle ground between pedalling uphill and downhill fun. The most important factors to consider are the riding position and long-distance comfort. If you’re going to be riding in alpine terrain with steep climbs, you’ll want a bike with a relatively steep seat tube angle such as the Norco Optic. Bikes with slacker seat tubes are ideal for flatter terrain, including the Trek Fuel EX or the SCOTT Genius. However, storage space inside the front triangle can be limited depending on the shape of the frame and you will most likely have to carry a backpack. Ideally, you’ll want to keep this as small as possible. Our tip: use a backpack with a 3-litre hydration bladder and some additional storage space for food and a rain jacket. That way you can get rid of the bottle cage on your bike, allowing you to use the available space in and around the frame more effectively with bikepacking bags. You’ll find more information about bikepacking bags further down in this article and in our separate buyers’ guide.
Bikepacking with an ebike?
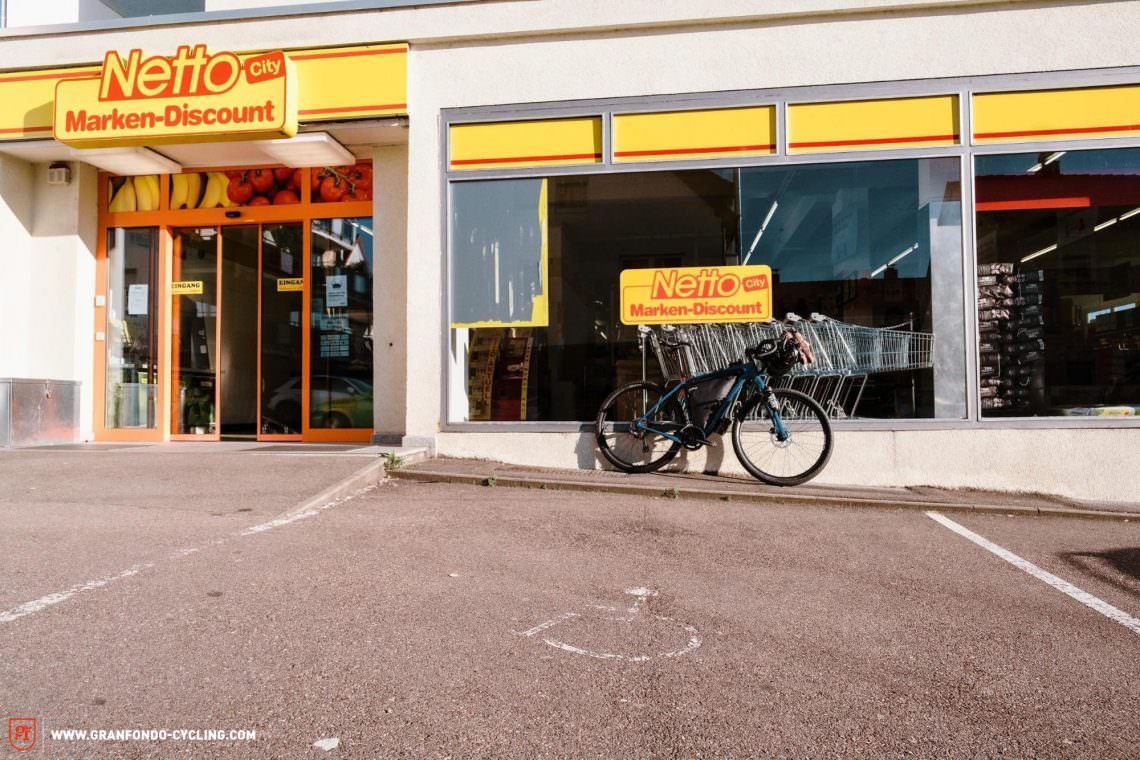
Initially, the facts speak overwhelmingly against it: limited range, long charging times (too long even for an extended lunch break), limited payloads due to the weight of the bike, noisy motors, a hefty total weight… In theory, no ebike should be suited to bikepacking, especially not a trip spanning several days. However, you can easily attach bikepacking bags to gravel ebikes like the Specialized Turbo Creo SL Expert EVO, the Moustache Dimanche 29 or the Cannondale Carbon Neo Lefty, perfect for a short, relaxed, two-day trip.
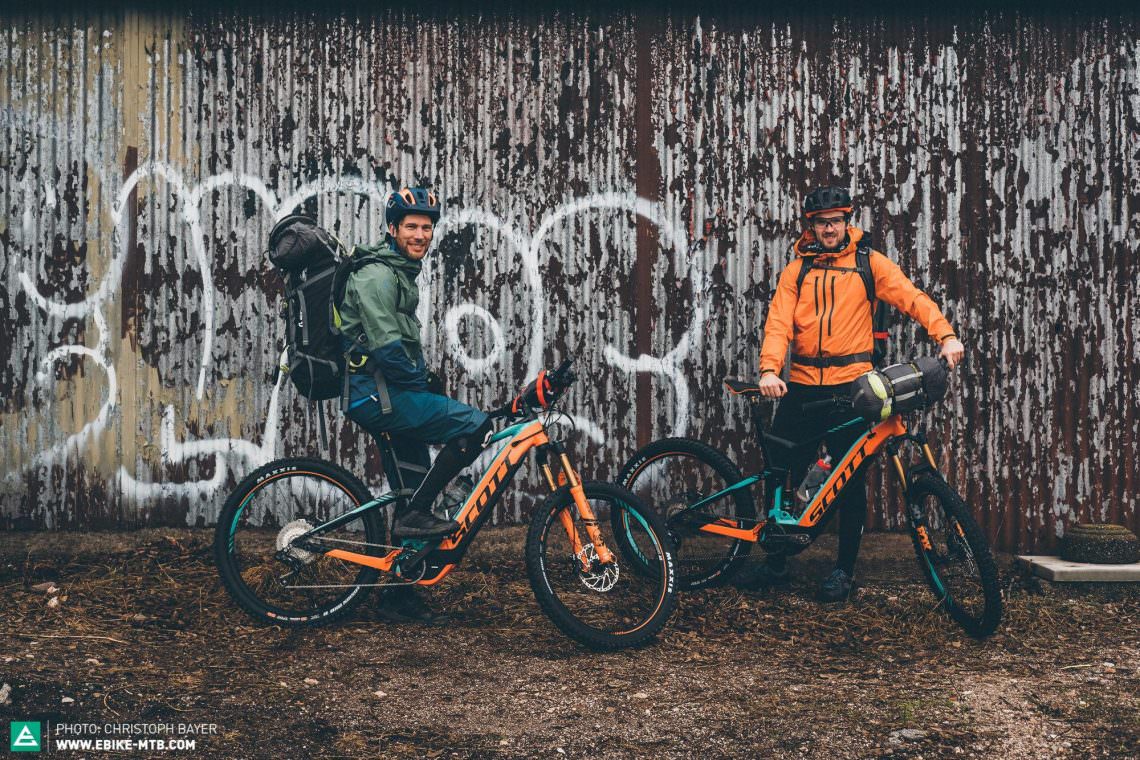
The eMTB segment also presents plenty of opportunities for a short weekend adventure. Ranges of 200 km aren’t uncommon for electric SUVs with dual-batteries offering up to 1,000 Wh capacities like you’ll find in our trekking ebike group test. Some classic, more downhill-oriented eMTBs also have up to 700 Wh battery capacities. If you’re disciplined with the support mode, you can achieve an adequate range without having to carry a heavy charger in your luggage. The group test conducted by our sister magazine E-MOUNTAINBIKE gives you a comprehensive overview of the 25 best models currently on the market. If you prefer sleeping in a hotel bed instead of a sleeping bag, you could also let your bike recharge while you sleep in until the breakfast buffet.

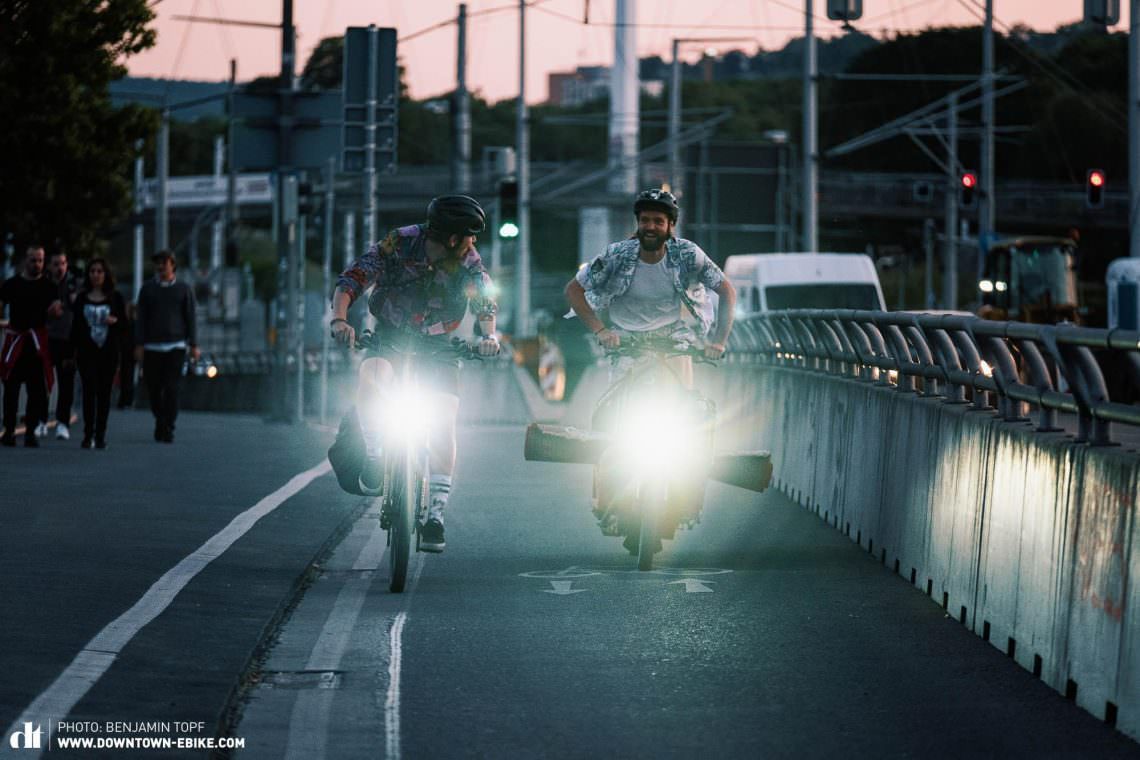
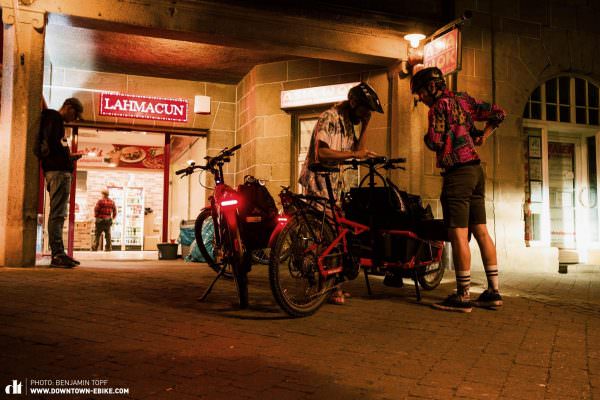
For those that have been dreaming of the vanlife for some time, cargo ebikes can make for an exciting alternative. Although these bikes are the furthest removed from the classic bikepacking definition, they’re great for a quick and comfortable escape from the city thanks to their ample carrying capacity, often giving you a permitted payload of more than 100 kg. We tried just that for you in our recently relaunched DOWNTOWN magazine.
What kind of drivetrain is best for a bikepacking bike?
Besides the saddle and grips, the most important component on a bikepacking bike is the drivetrain, or rather, the gear ratios and range. Since you will usually be carrying a lot of extra luggage and weight on a typical bikepacking trip, you want to be sure that your gear range is wide and easy enough to let you get up the climbs without killing your knees.
Gear ratio
In general, the easiest gear for off-road bikes such as gravel and mountain bikes should have a ratio of 0.75 or less. Gear ratios are relatively easy to understand. A gear ratio of 1 means that your chainring and the largest sprocket on the cassette are the same size. A gear ratio below 1 makes the gear easier, and above 1 it becomes harder. To work out the ratio of your easiest gear, simply divide the number of teeth on the chainring (the smaller one if you’ve got a 2x drivetrain) by the number of teeth on the largest sprocket.
Example with a 10–42 t cassette and a 30 t chainring: 30/42 = 0.71
Example with 10–50 t cassette and 32 t chainring: 32/50 = 0.64
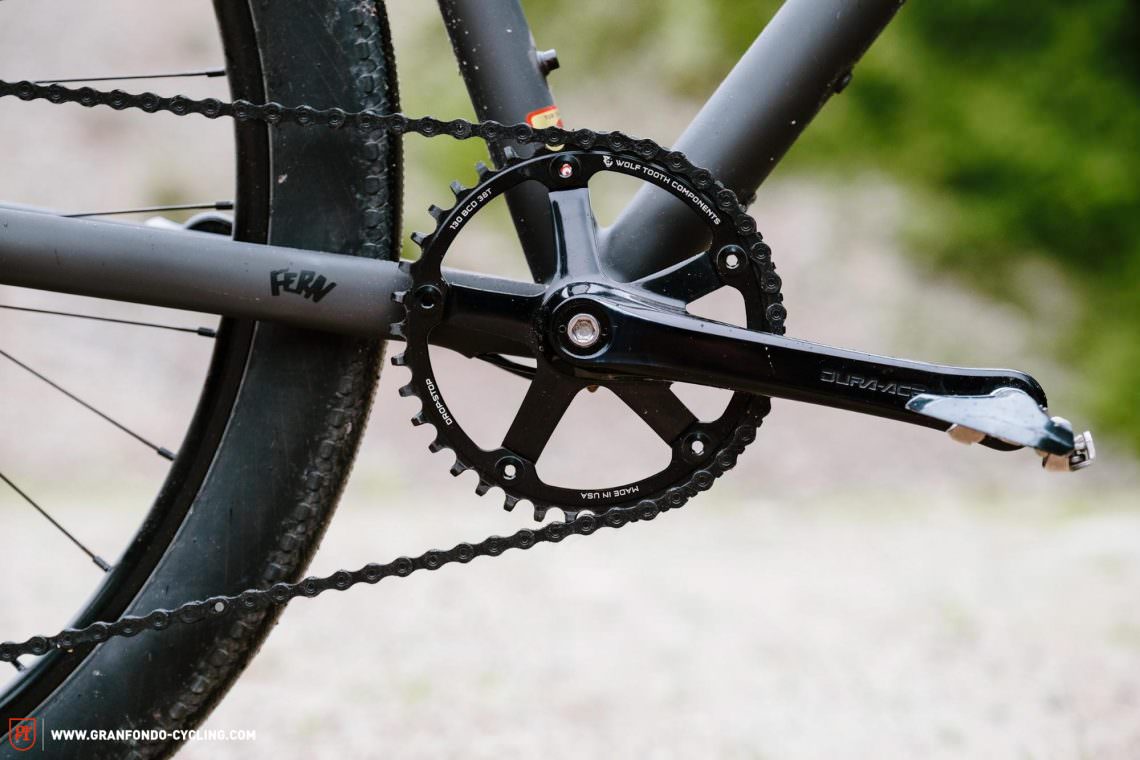
If the ratio is too big, you can easily make it smaller by putting on a smaller chainring, provided your cranks allow it. Older, lower-end cranks and many road cranks have fixed spiders to which you bolt the chainring. As such, the size of the chainring is limited. Newer cranks usually rely on a direct mount system where the chainring gets mounted directly to the axle of the crankset instead of the crank arm. This system makes much smaller chainrings possible.
Example with a 10–50 t cassette and 28 t chainring: 28/50 = 0.56
Gear range
In addition to a low gear ratio for the climbs, you also want a wide gear range to be able to maintain your pace on flat terrain. The gear range is always indicated as a percentage and is just as easy to calculate as the ratio. For 1x drivetrains, simply divide the number of teeth on the largest sprocket of the cassette by the number of teeth on the smallest sprocket and multiply the result by 100.
Example for a 1x drivetrain with a 10–42 t cassette:
(42/10) x 100 = 420%
With 2x drivetrains, you have to multiply the ratio of the cassette by the ratio of the chainrings before multiplying the result by 100.
Example for a 2x drivetrain with an 11–36 t cassette and 46/30 t crank:
(36/11) x (46/30) x 100 = 501%

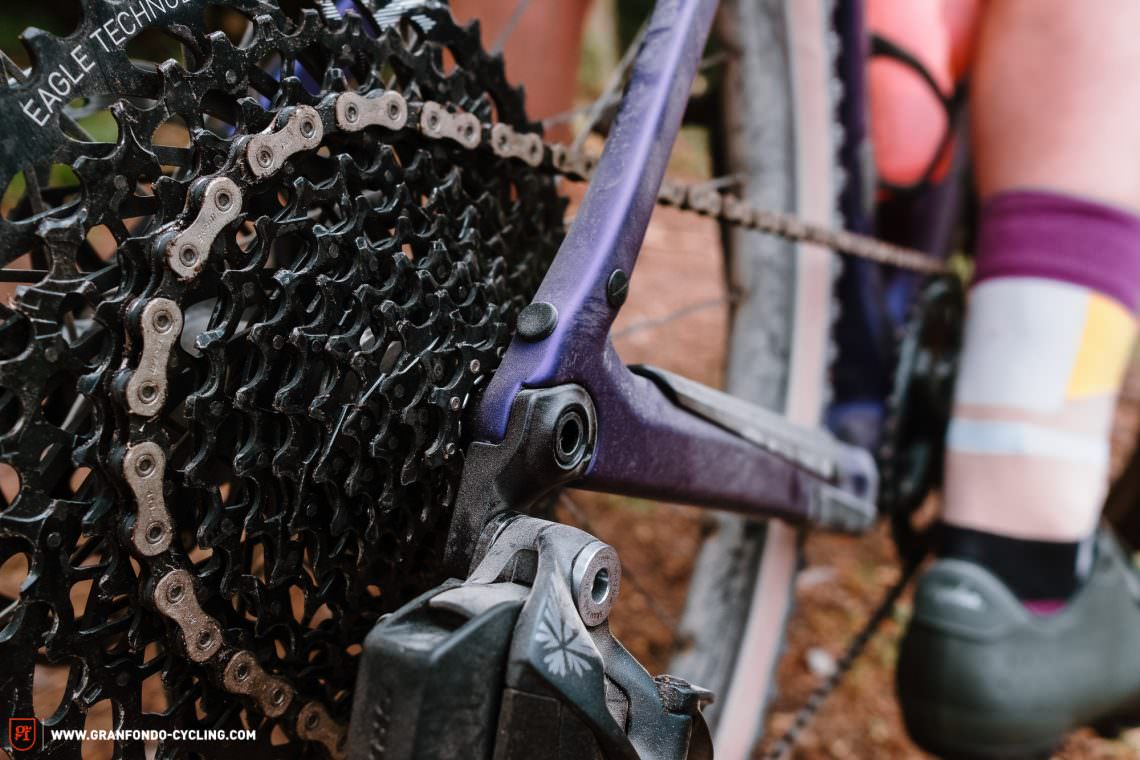
Of course, the perfect gear ratio and range will vary depending on the type of bike, the difficulty of the inclines, the length of the ride, your fitness level, the amount of luggage and countless other variables. You will have to experiment to find out what works for you and your needs. As a starting point for gravel bikes, our general recommendations would be at least a 10–42 t cassette for 1x drivetrains and an 11–36 t cassette for 2x drivetrains. For mountain bikes, we would recommend a cassette with a 500% range or bigger, as offered by current 1×12 drivetrains. To make sure that you’ll be able to conquer every climb, your chainring shouldn’t be bigger than 30 t.
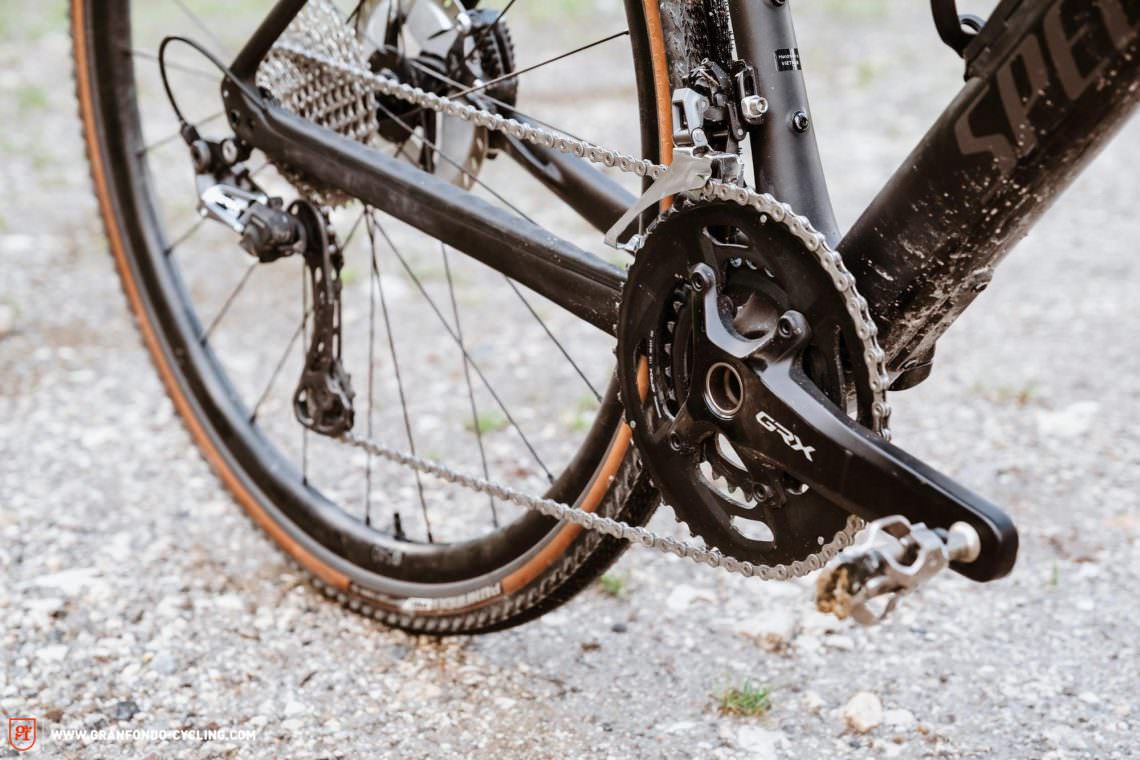
Although 2x drivetrains can offer a big range, the ratio of the easiest gear is usually higher than an equivalent 1x drivetrain, making them best suited to bikepacking routes that don’t feature a lot of steep climbs, with a large proportion of asphalt/gravel roads. On the other hand, they offer smaller jumps between gears, making it easier to find your preferred cadence.
Unfortunately, current 2x drivetrains intended for gravel, like Shimano GRX, are officially only compatible with cassettes up to 34 t. Even with the smallest possible chainring (30 t), you’re still left with quite a hard gear to push for a fully-laden bike. However, special adapters like the Wolf Tooth GoatLink allow you to ride larger cassettes with a 2x drivetrain too. With an 11–42 t cassette and a 46/30 t chainset you’ll achieve a massive 585% range and a small 0.71 ratio in the lowest gear. However, be warned that this may void your warranty.

Ever more gravel and bikepacking bikes come specced with so-called mullet drivetrains, such as the ROSE BACKROAD or the Specialized S-Works Epic custom build featured in our group test. Combining a mountain bike cassette and derailleur with classic drop-bar shifters gives you a gear range of over 500% – a lot more than current drop-bar specific 1x groupsets. 1×12 mullet drivetrains are currently only available as standard on bikes that are specced with SRAM AXS components but you’ll find a ton of aftermarket solutions for existing drivetrains.
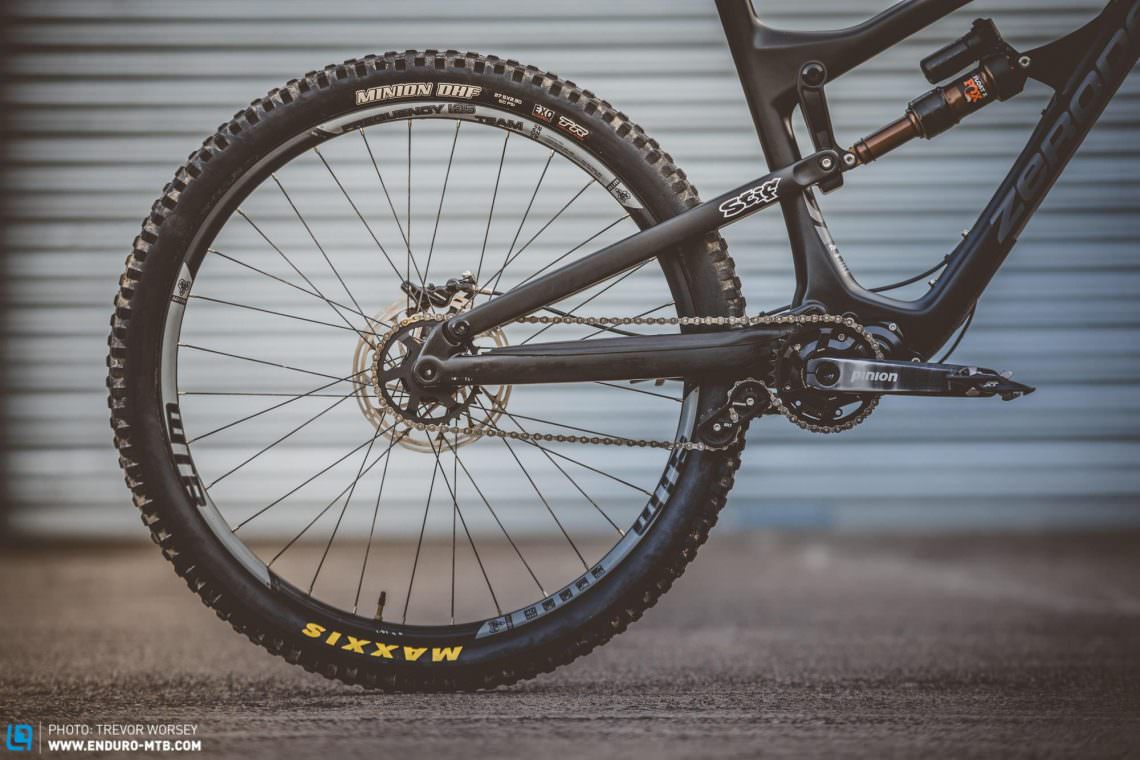
For more expedition-oriented bikes, it is worth taking a look at planetary gearboxes. The options are limited as there are only two systems on the market that offer an appropriately wide gear range: Rohloff and Pinion. The Rohloff hub drivetrain can be retrofitted onto almost any bike with the help of a chain tensioner but it is better to use a frame with a sliding dropout or eccentric bottom bracket. This can also allow you to use a belt drive instead of a chain (provided the rear triangle of the frame can be split). The Pinion gearbox replaces the bottom bracket and requires a special frame designed to be fitted with it. It can also be used with a belt drive. Both systems are heavier than classic derailleur drivetrains but they’re also less exposed to damage and the elements, with a significantly longer service life.
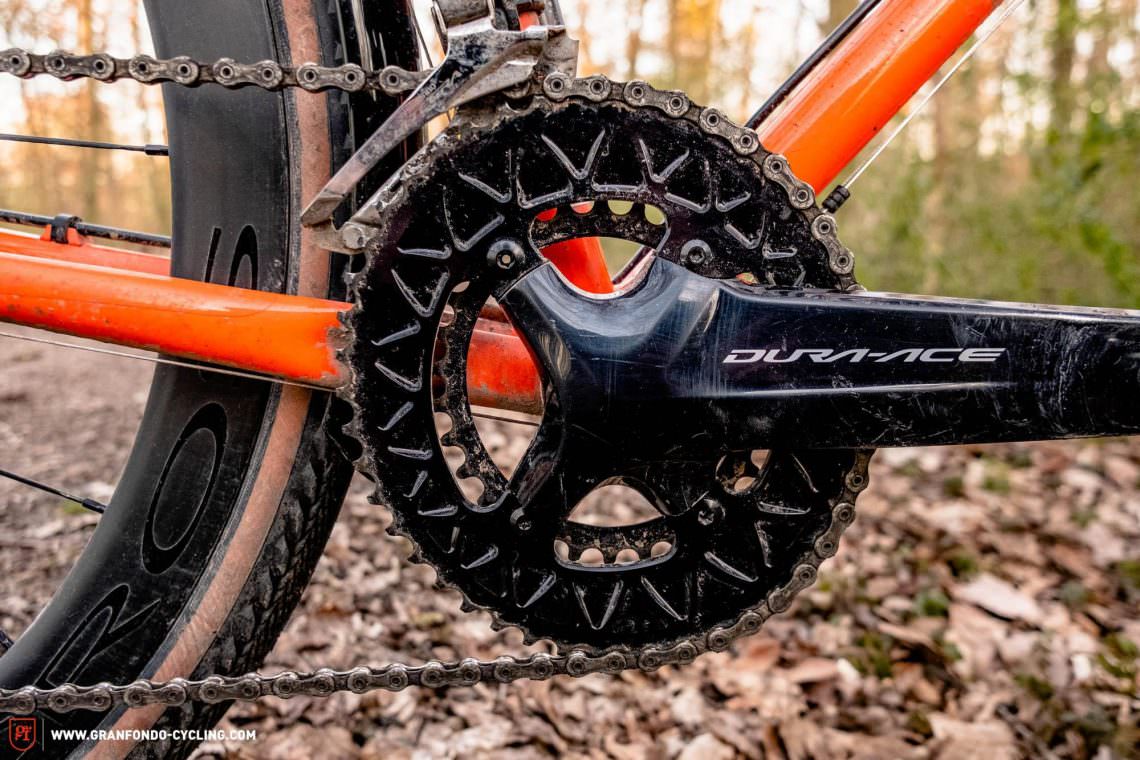
Tip: try out oval chainrings such as those offered by Wolf Tooth or AbsoluteBLACK. They try to compensate for the weakest part of the pedal stroke at the top and bottom and can lead to rounder, more efficient pedalling. This helps spare the rider, especially on loaded bikes or long, hard climbs, as the peak forces are shifted to the strongest part of the pedal stroke which can also be easier on the knees. The effect might be hardly noticeable at first, but for some people it can pay off at the end of the day with less fatigue and pain.
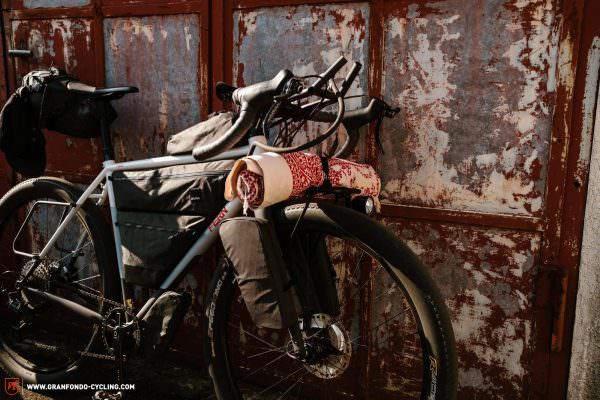
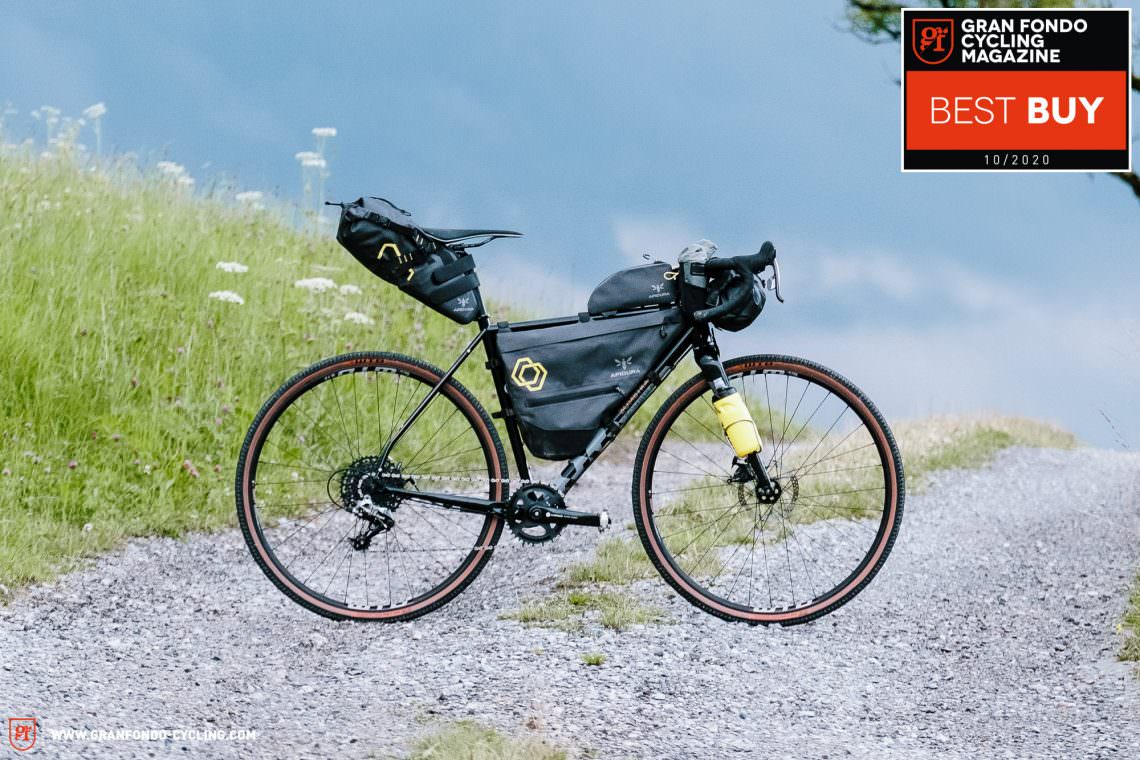
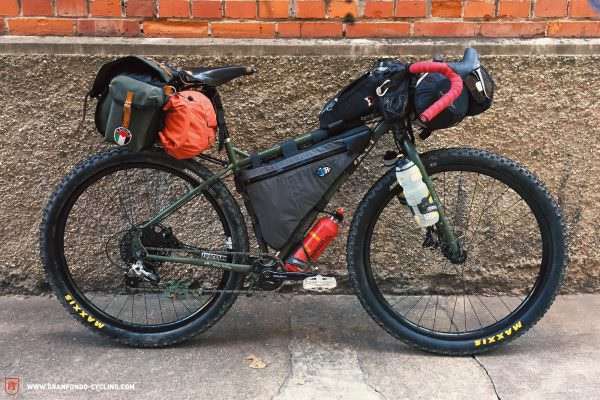
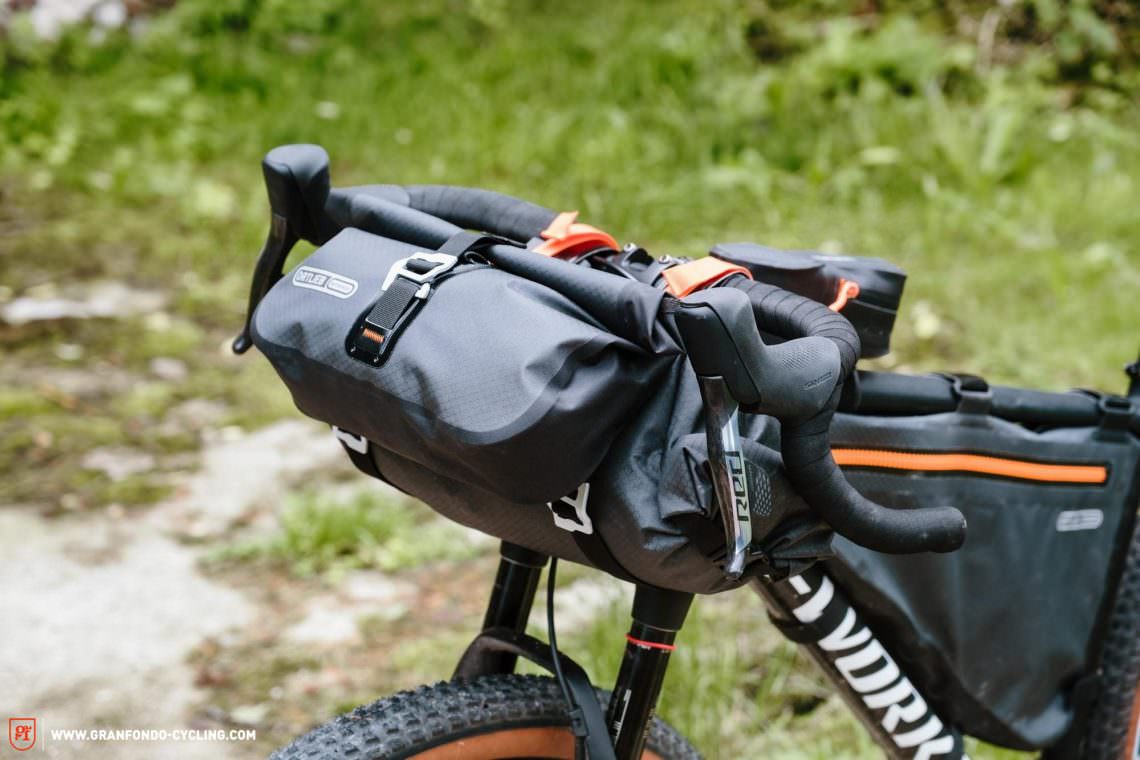
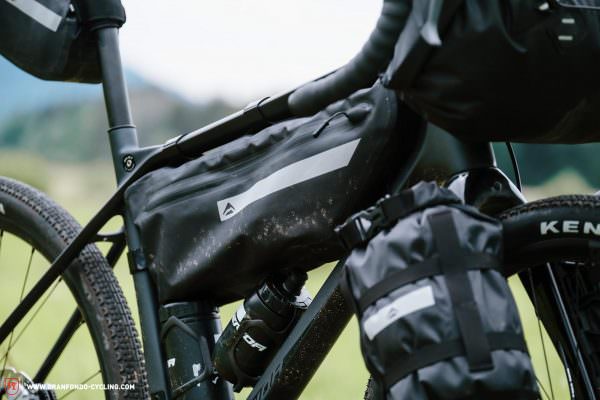
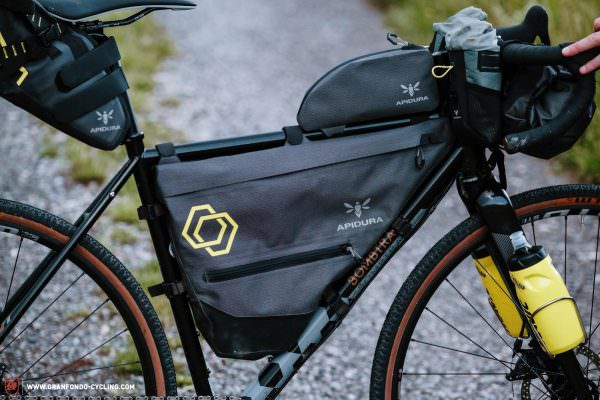
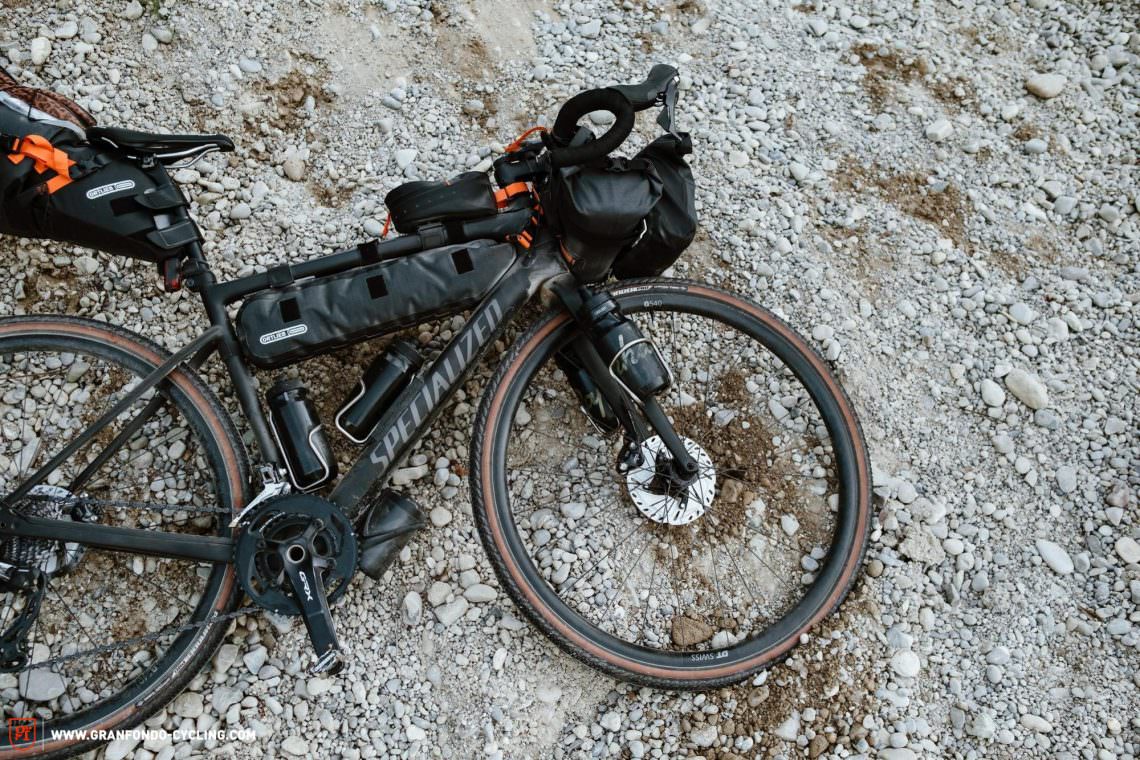
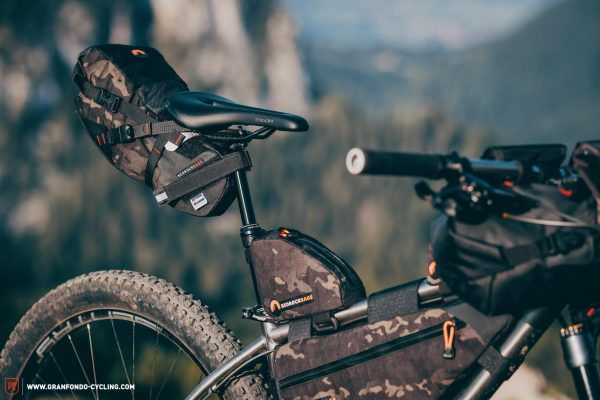
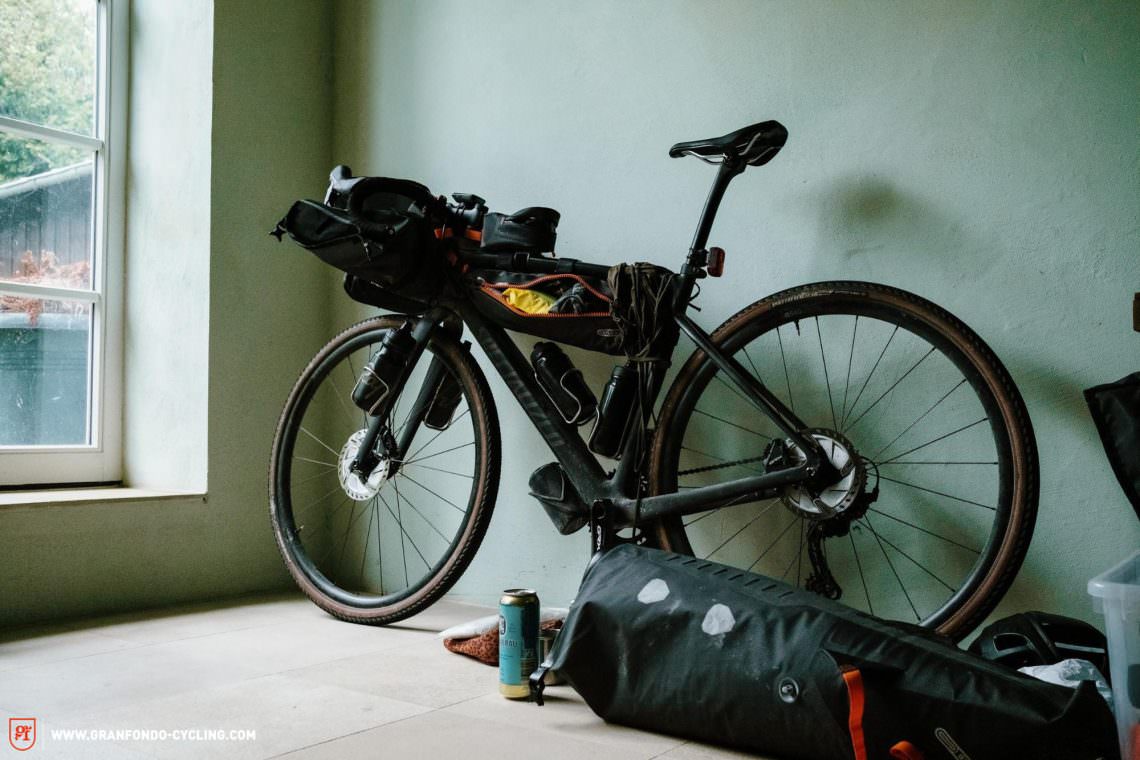
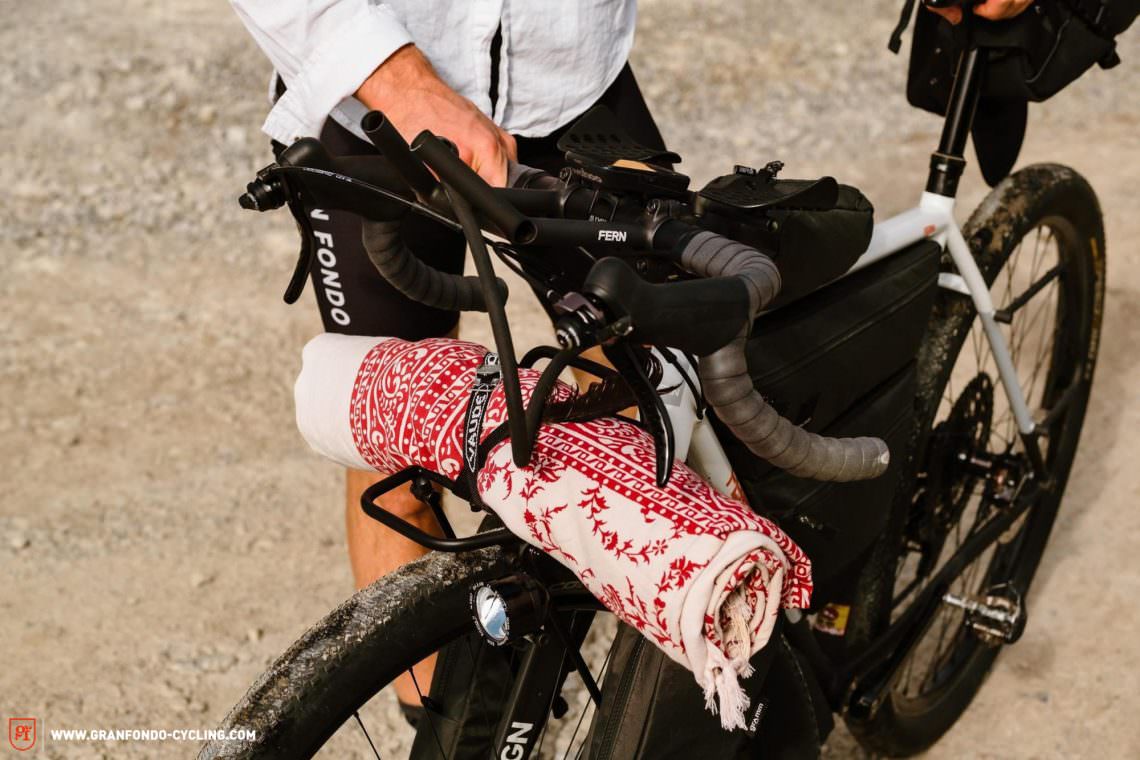
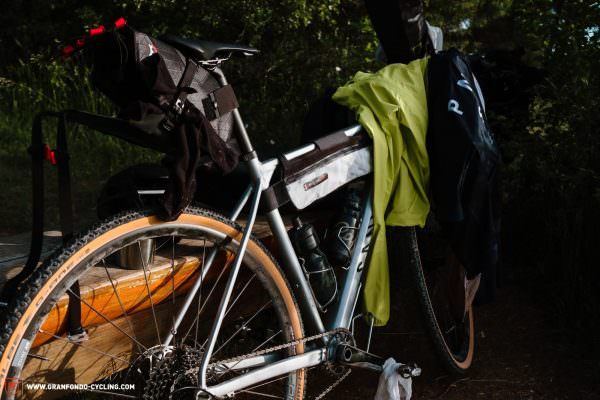
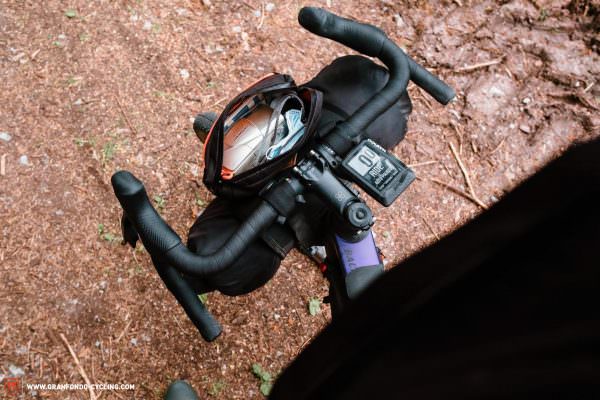
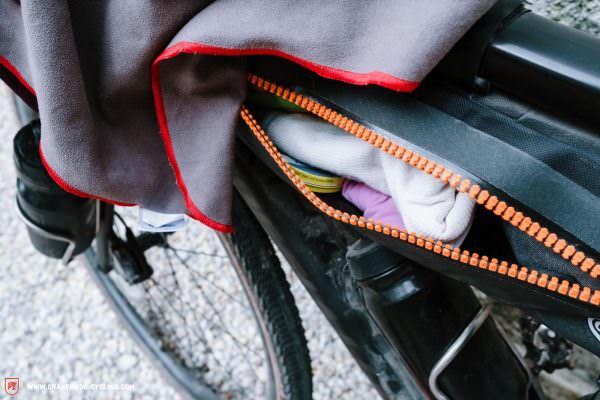
The best bikepacking bags
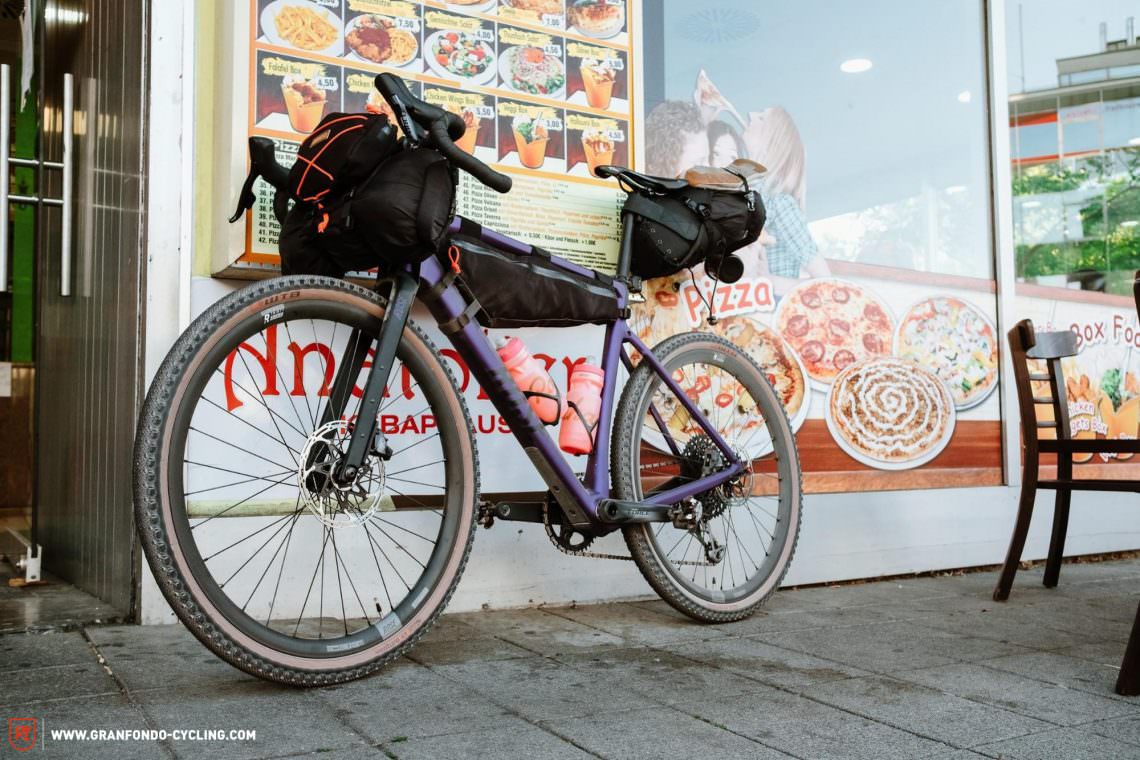
Transporting your luggage is a fundamental part of bikepacking. As with the bikes, you don’t have to fork out huge sums for a full custom kit. You can cobble together an inexpensive basic setup with simple things you might already own, such as dry-bags, straps and cargo cages. How and where you attach it to your bike is completely up to you. We recommend using a simple home-made setup the first few times as you figure out what exactly you need and where to invest your money. Certain types of bags and packing concepts have proven and established themselves over the years simply because they’re the most effective. The basic setup almost always consists of a frame bag, a handlebar bag and a large saddlebag. Whether ultra-lightweight or completely waterproof, the market offers everything your heart desires or you can afford, from small, custom manufacturers such as Gramm or DITW, to growing brands like Bedrock Bags, Revelate Designs, Restrap or Apidura and large, established brands such as ORTLIEB. Many bike manufacturers, including Salsa, now also offer their own bags that are perfectly tailored to their frames.
Going into more detail here is beyond the scope of this article but we’ve written a dedicated guide covering everything you need to know about bikepacking bags. Check it out for an in-depth look at the topic.
5. Star rated hotel or starry night sky – Where and how do you sleep?
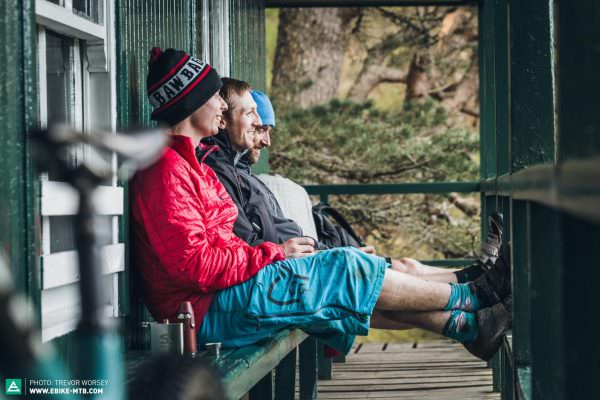
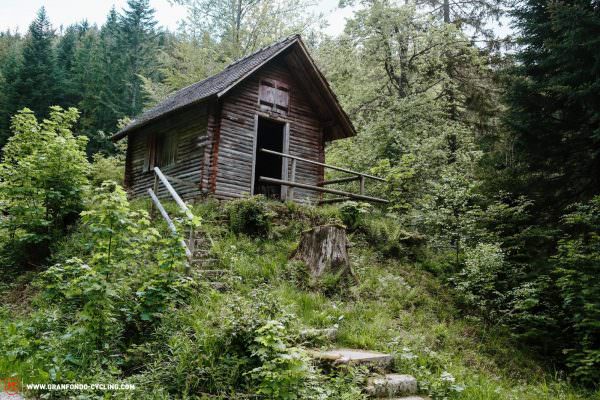
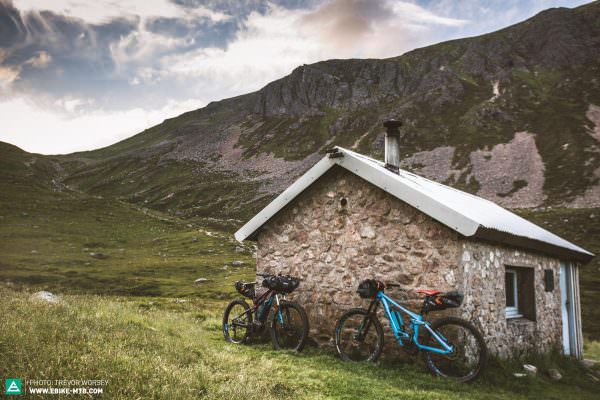
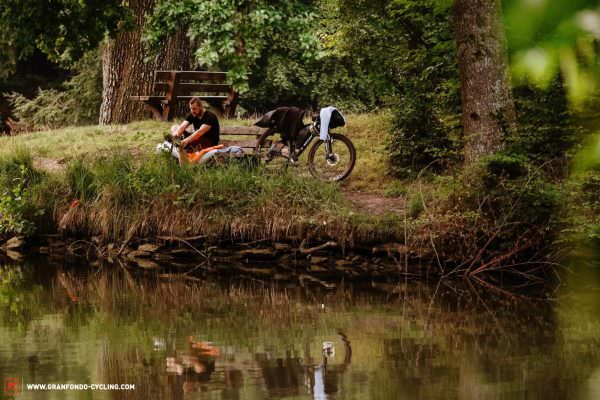
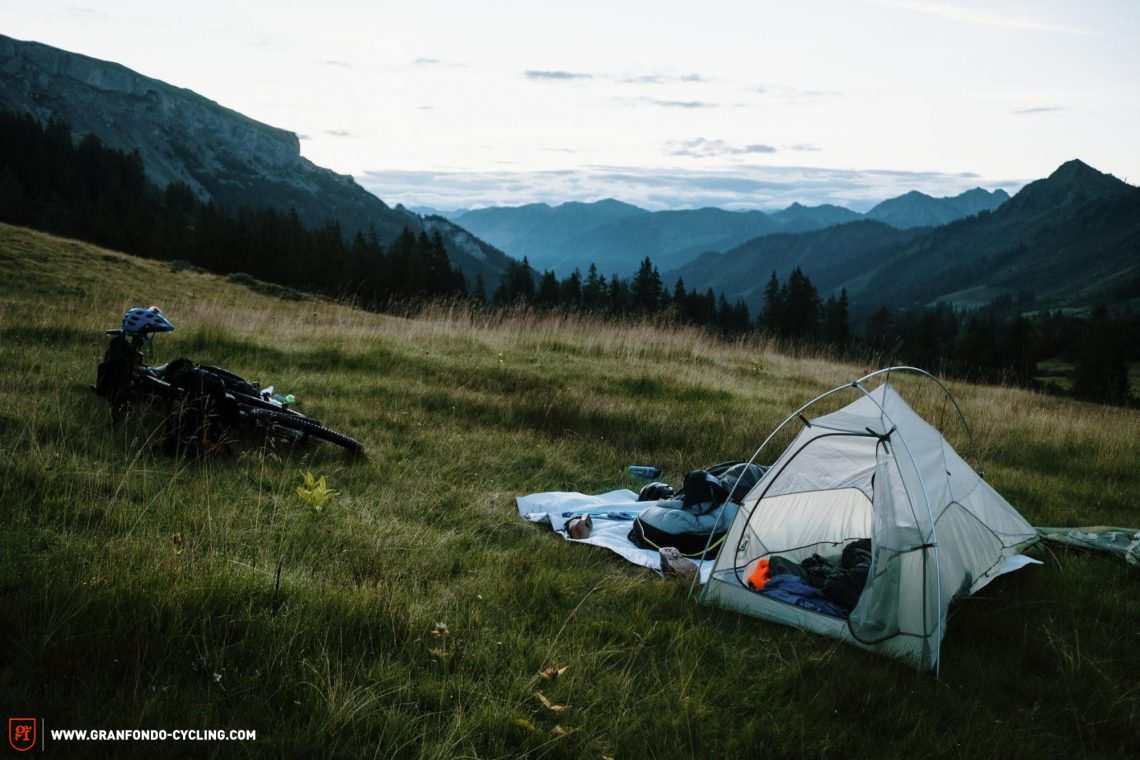
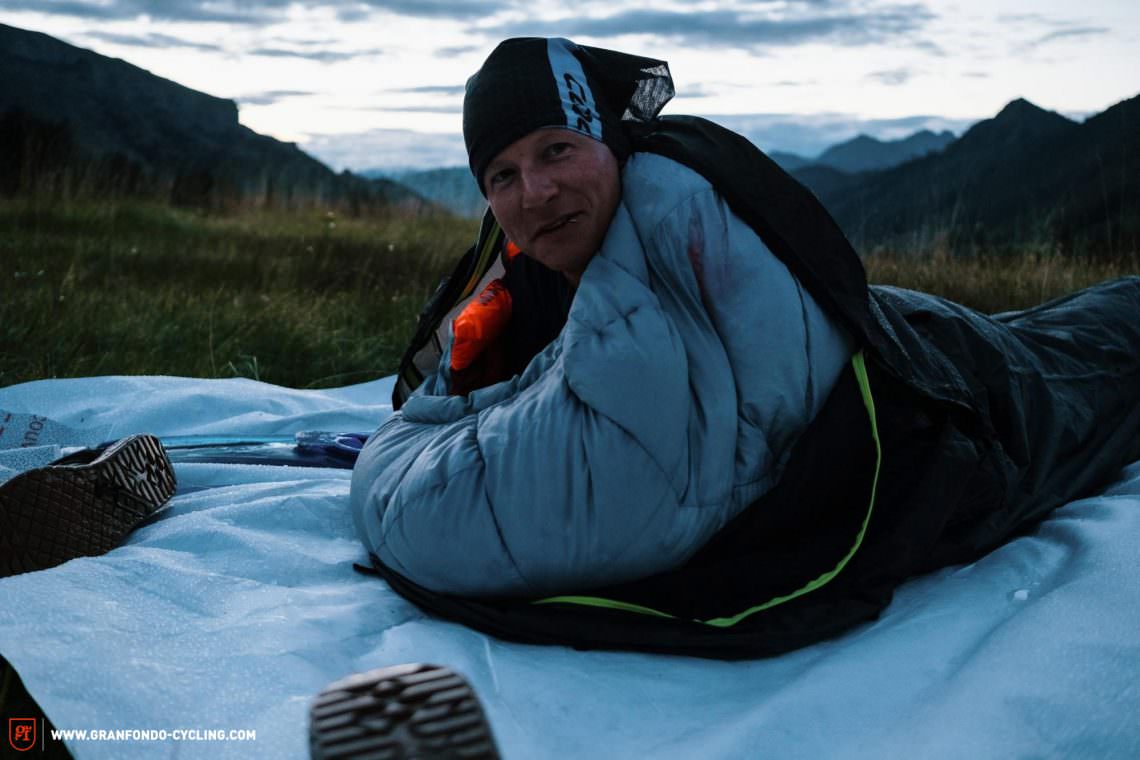
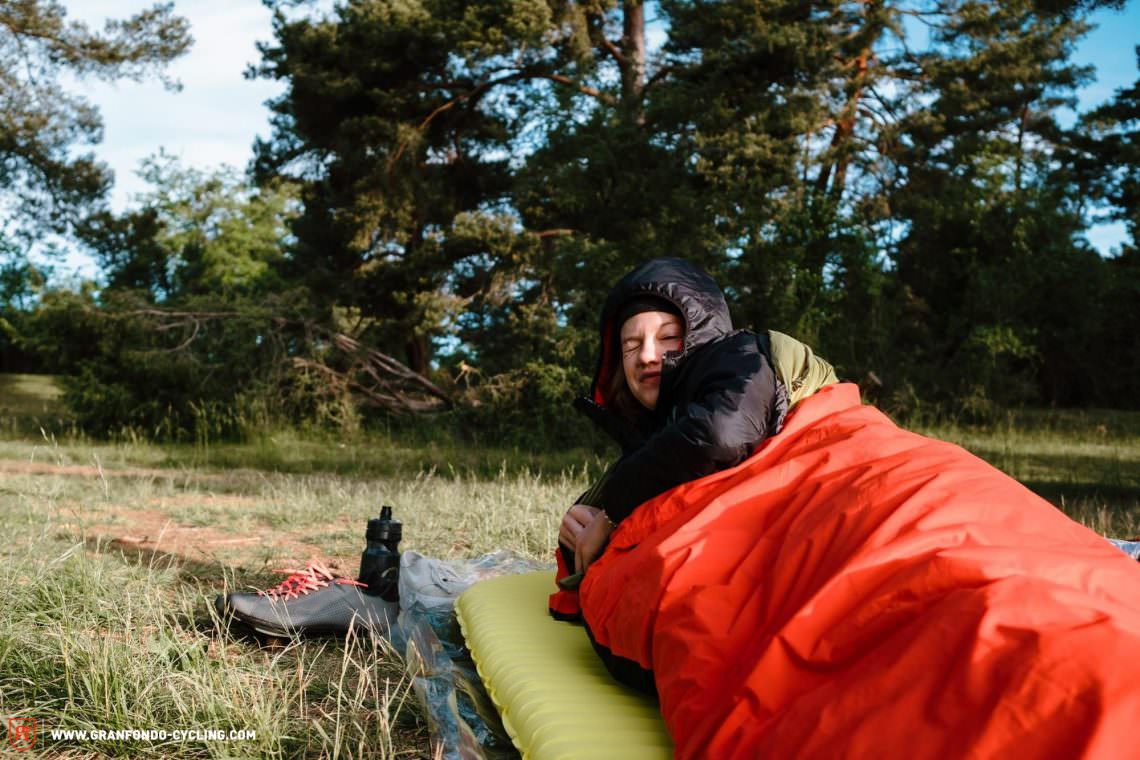
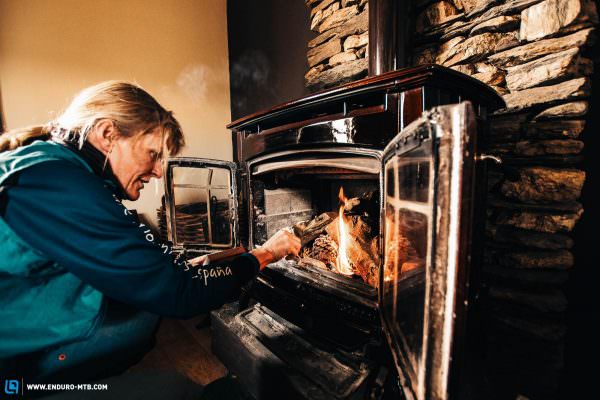
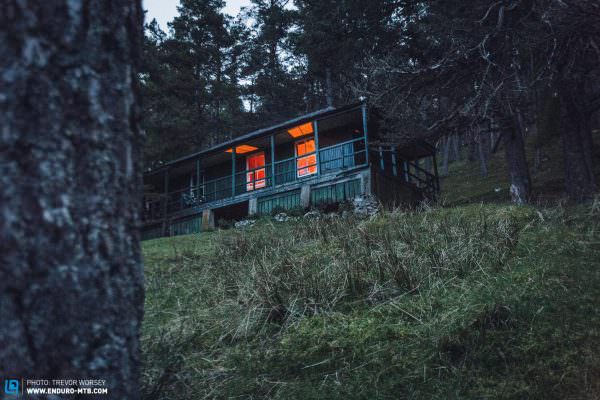
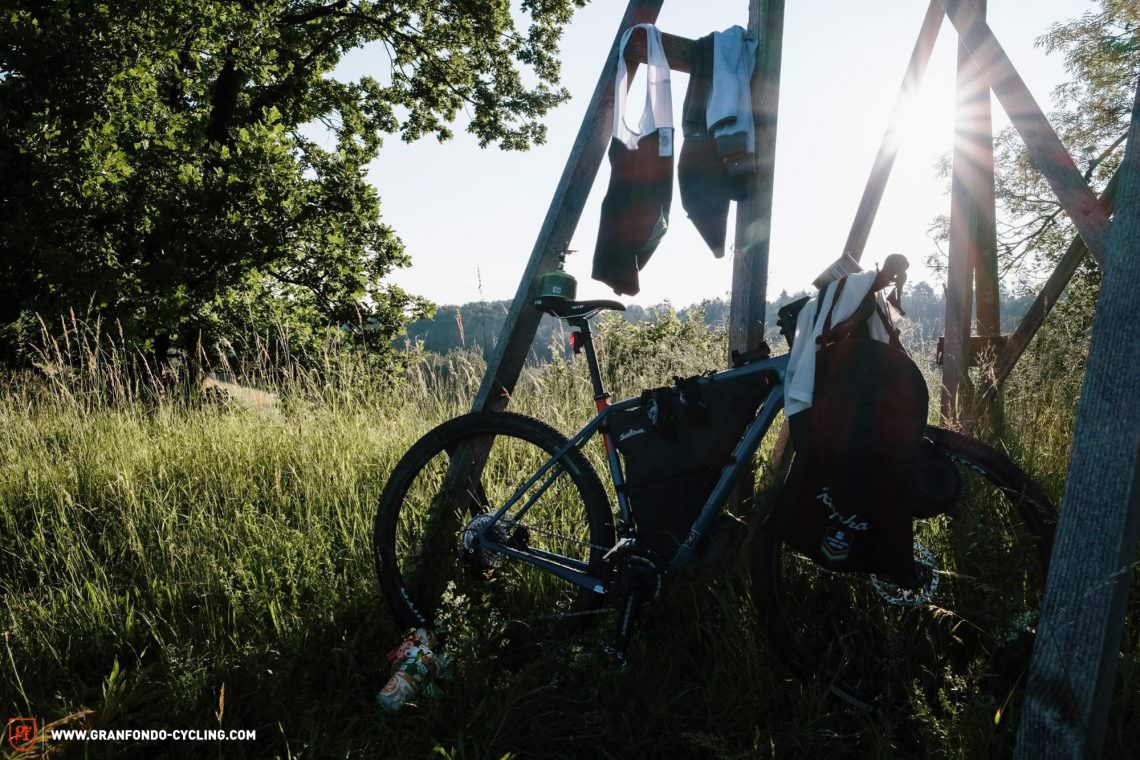
One of the attractions of bikepacking is the overnight stay. What could be better after a long day on the bike than to let it all sink in under a starry night sky or philosophise with your travel mates over a beer, sitting by a fire in front of a cabin in the woods? Bikepacking doesn’t prescribe a certain type of accommodation. While we love staying outdoors, an overnight stay in a comfy bed can also be an exciting alternative and food for the soul.
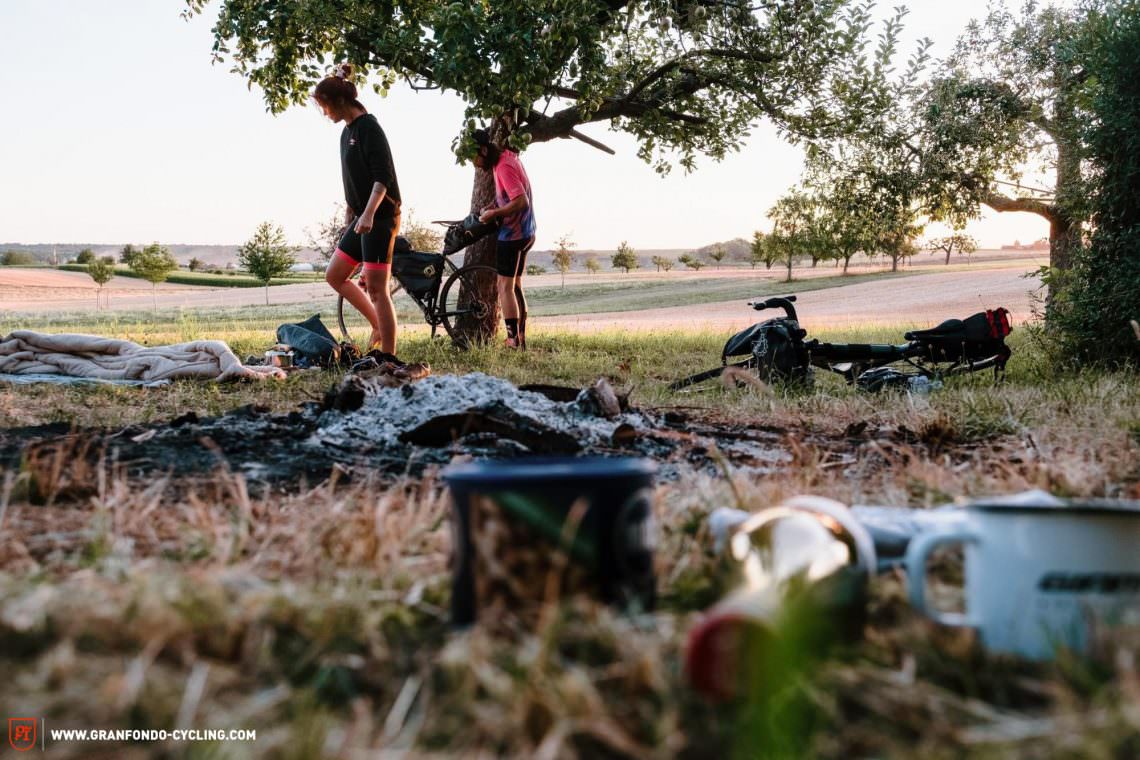
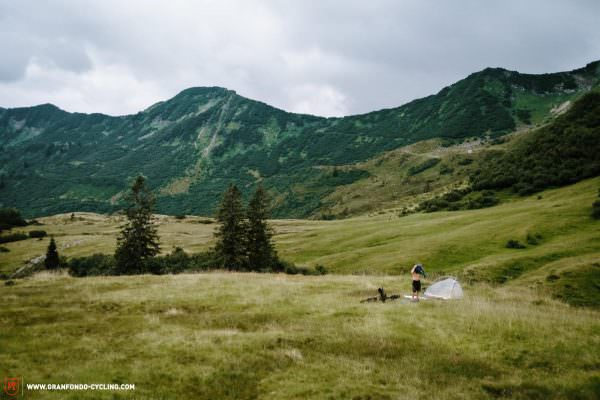
Whether in a tent or bivy-bag, spending the night outdoors is one of bikepacking’s big lures.
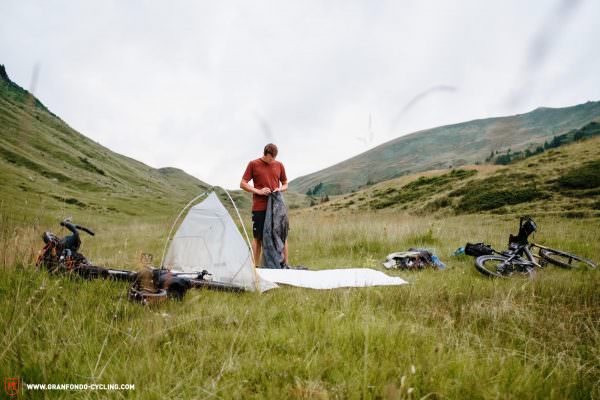
Back to the roots – Self-reliant with a bikepacking tent and sleeping bag
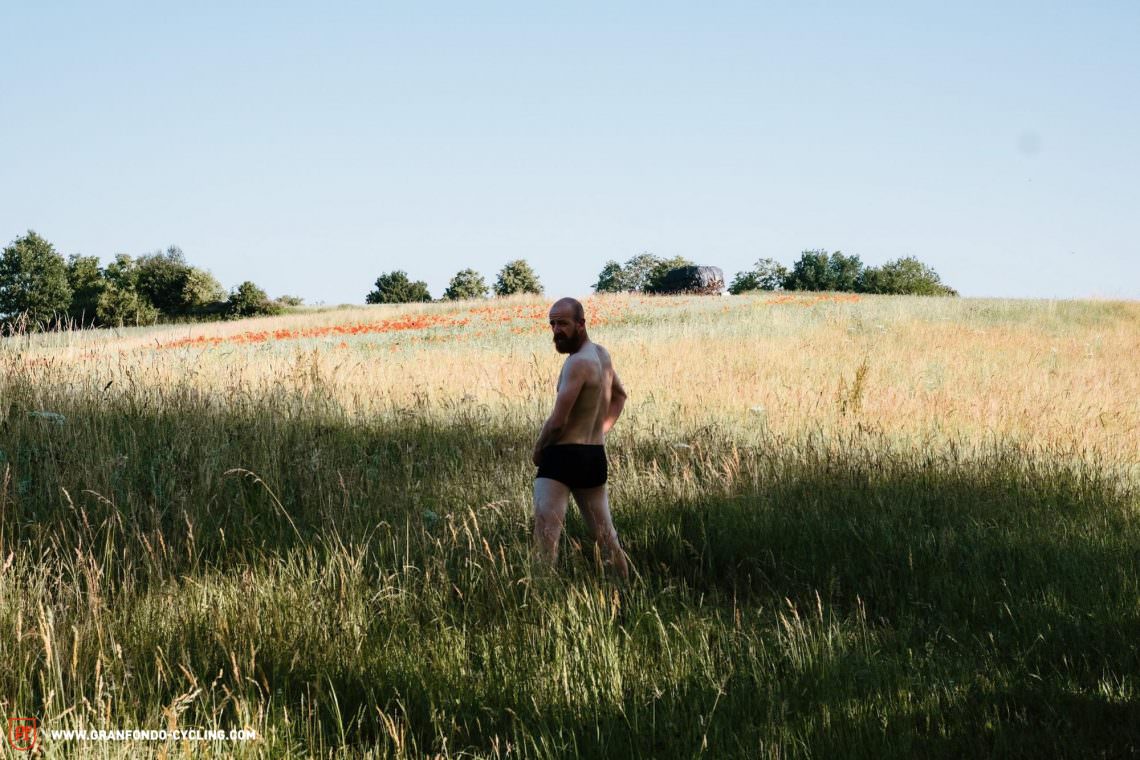
Undoubtedly, an overnight stay in a tent or bivy-bag offers the purest experience of freedom and isolation. Nothing is better at letting you forget your everyday worries and clearing your head! A single night outdoors after the stress of work or a day on the bike will suddenly make the weekend seem twice as long. Unfortunately, camping in a tent outside of official camping spots is prohibited by law in most European countries. Even bivying, which is partially permitted, is subject to various local exceptions and opaque rules, which makes the whole topic a big grey area. Exceptions to this rule are the Baltic states (Estonia, Latvia, Lithuania), Scotland and some Scandinavian countries (Norway, Sweden, Finland). Although wild camping is generally allowed in these countries, national parks often have specific rules that you should adhere to.
If you’re going to risk bivying in other European countries, just make sure to stay as far away as possible from populated areas or tourist attractions. If you do this and your behaviour doesn’t endanger anyone, damage anything, leave litter or any other trace, you’re unlikely to get into any trouble if you’re caught. In general, the further you get above sea level, the more tolerant the authorities become. However, always steer clear of national parks and nature conservation areas, as an overnight stay in one of these can result in severe penalties, regardless of the country. By the way, a lot of the land you’ll encounter is private property. Depending on the owner, you might be welcome to spend the night or not at all – we recommend finding out who the land belongs to and asking for permission. If all else fails, you can always find a camping site, though you’re unlikely to experience the same level of romance as you would in the wild.
Regardless of where you decide to lay your head, you will need some basic gear: a tent or bivy-bag, a sleeping bag and sleeping mat. We’ve compiled a list of tips on what to look for when buying gear and when setting up camp.

Tent: In principle, you can use any tent, though lightweight tents such as those from Tarptent, Big Agnes or MSR can save a lot of packing space and weight. To cut the weight to 1 or 1.5 kg, many of these tents aren’t free-standing, which means that you can’t pitch them on sites where the pegs either won’t go into the ground or won’t stay there, like sand or rock. Most superlight tents are also single-wall tents, which means they’re less warm and there’s no barrier between your sleeping bag and the condensation that inevitably forms on the inside of the outer tent wall. If you’re sharing a tent, you can distribute it between bikes to share packing volume and weight. Pro tip: try to let the tent dry completely in the morning sun before you pack it up. If you can’t avoid setting off with a damp or wet tent, unpack it during your lunch break and let it dry as much as possible. We also recommend using a groundsheet. The floors of lightweight tents are often very thin and it doesn’t take much for small, sharp stones to puncture a sleeping mat through the floor. Two inexpensive, lightweight and completely waterproof options are Tyvek, which you can easily cut to size, or the super-light Polycryo.
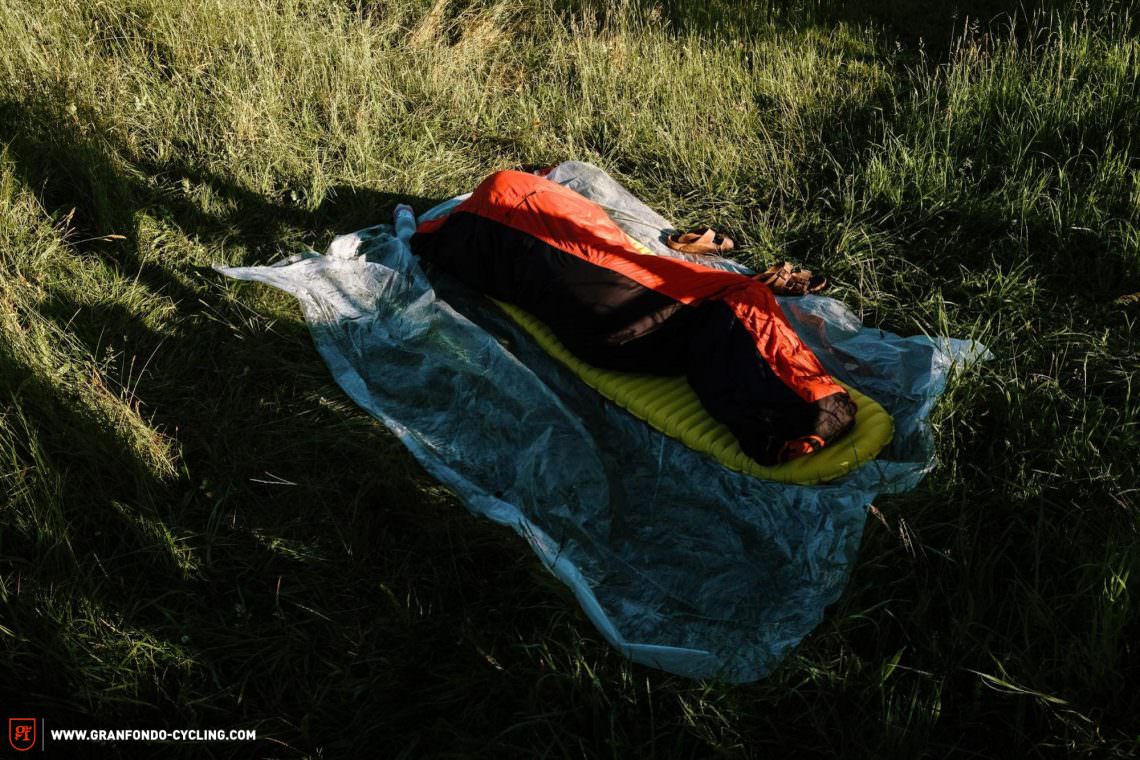
Bivy bag: As an alternative to a tent, you can also use a bivy bag. Not only is it less conspicuous, but it’s also quicker to roll out and pack up. A good bivy bag should be completely waterproof and, above all, very breathable to avoid condensation and a wet sleeping bag. A big plus is that a bivy-bag setup is a lot lighter than a lightweight tent. However, good 3-layer waterproof models are almost the same as a tent in terms of pack size and price. If you’re expecting good weather, a lightweight model will usually offer sufficient wind protection while saving on all three points above. You’ll find a good selection of different models of all types from brands such as Outdoor Research or Carinthia. Whichever setup you choose, don’t forget to put a ground cover under your sleeping pad. For a little more comfort and weather protection, you can also pack a light tarp. Besides that, you should always try to find a slightly raised spot to sleep in and never lie down next to a stream or in wetlands. A light breeze is a welcome remedy for mosquitoes and condensation.
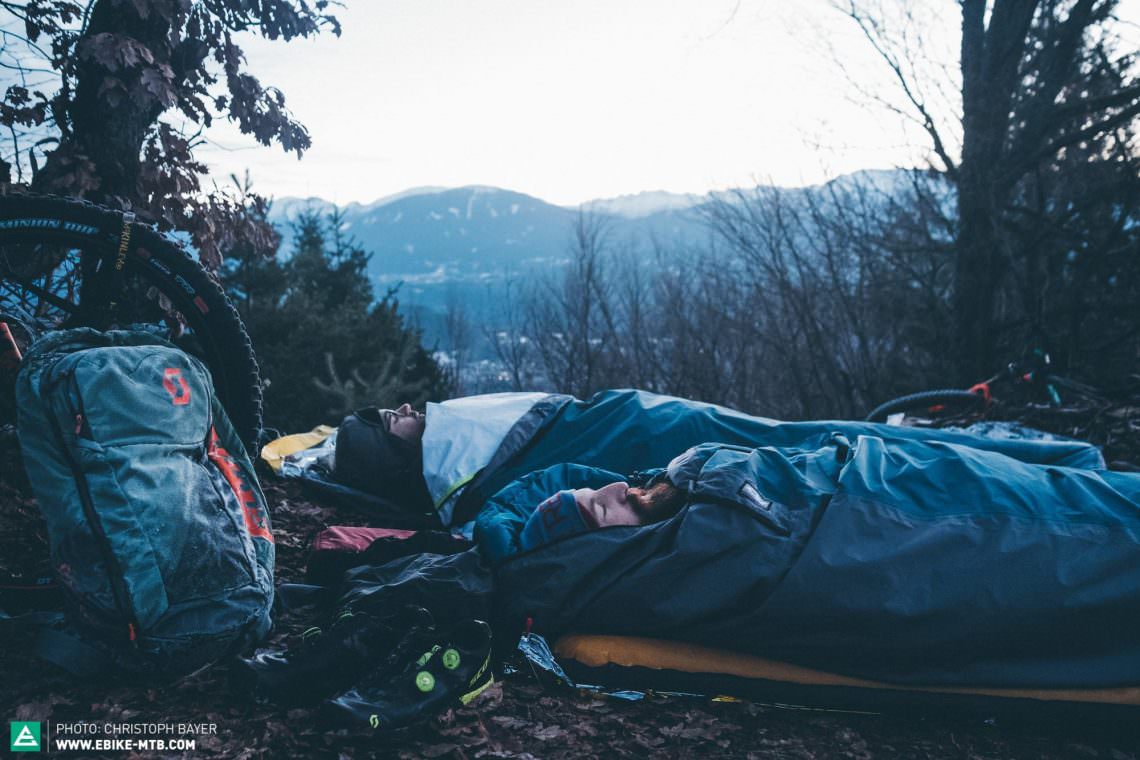
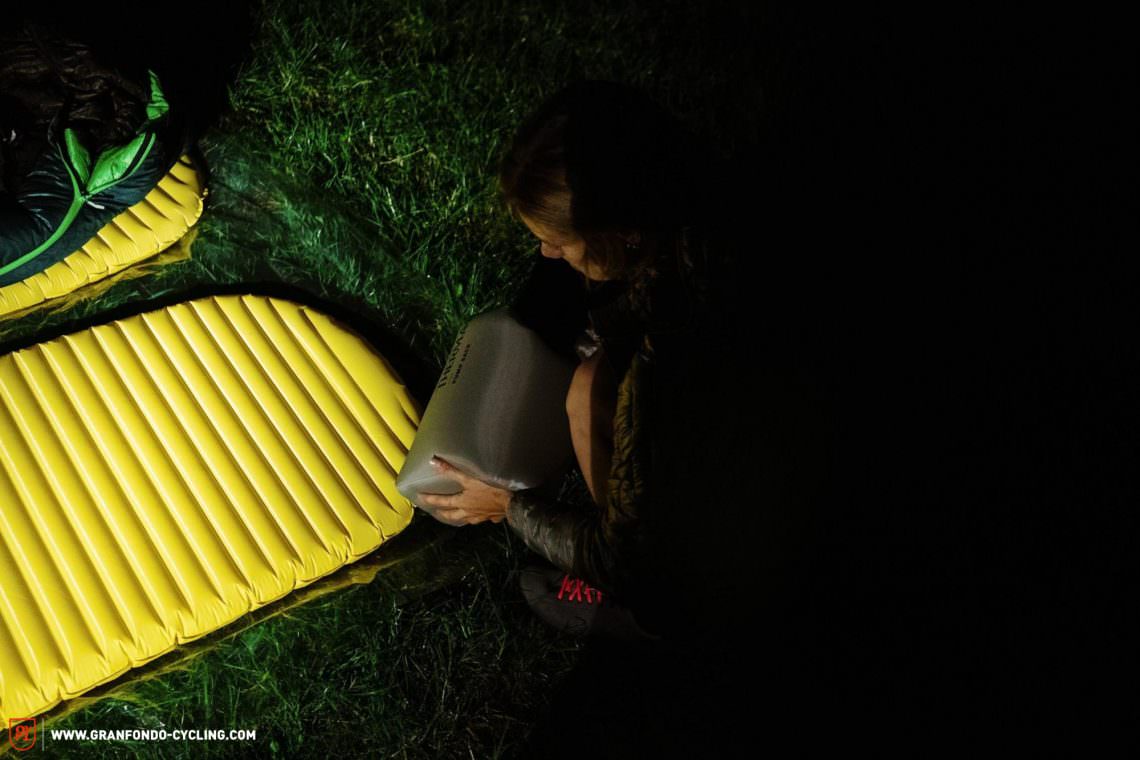
A down sleeping bag isn’t cheap but it cuts down on weight and pack size by about 50%.
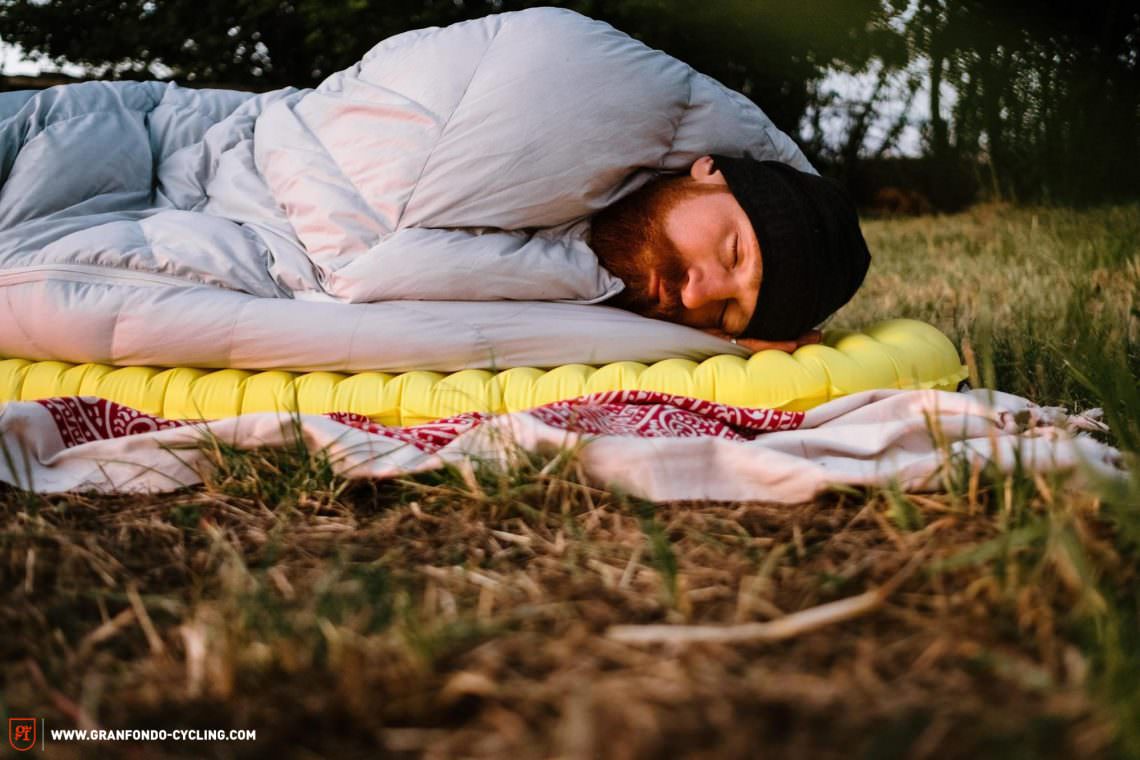
Sleeping bag: it’s worth spending a little more on your sleeping bag because nothing is more damaging to morale than freezing through the night. You can choose between two types of insulation: down or synthetic. Sleeping bags with synthetic insulation are cheaper, more robust, stay warm when damp and easier to care for. On the other hand, they also offer lower thermal efficiency, meaning more filling is required for the same level of insulation as a down bag and a significantly larger packing volume for the same weight of down insulation.
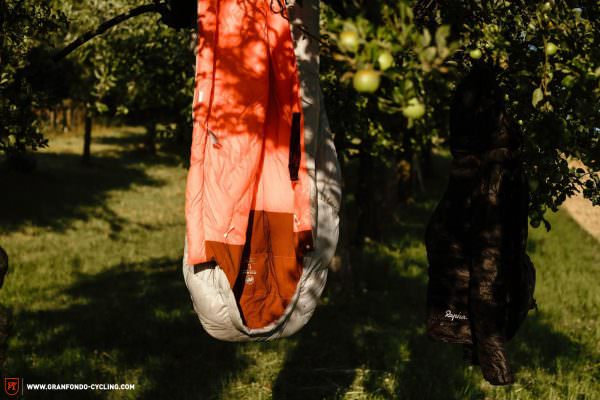
Due to limited packing space, there is almost no getting around a down sleeping bag for dedicated use. On average, a down bag will be only half as heavy for the same warmth rating and only require half the packing volume of a synthetic equivalent. The suitable fill weight – the weight of the insulation material used in a bag – depends heavily on how warm you sleep and the outside temperature. However, models with approximately 350 g of 90/10 down (90% down, 10% feathers) with 700 cuin fill power are great 3-season all-rounders for most people. With a higher proportion of down (95/5 for example) and/or more fill power (up to 900 cuin), you can get away with a lower fill weight. High-end models like these are usually constructed from lighter outer materials, making them lighter overall but also very expensive. You can always use your sleeping bag with a liner made of light and compact silk or COOLMAX for a small boost in warmth. This also helps to keep the inside of the bag clean and it’s much easier to wash the insert than the sleeping bag. Although down is now available with water repellent coatings, you should always avoid getting it wet, for example from condensation in your tent, and hang it in the wind or sun immediately after getting up to allow any trapped moisture to escape. Down is sensitive to moisture, losing most of its insulation when wet. Ensuring it stays completely dry keeps you warm and also increases its overall lifespan. Down sleeping bags should never be compressed for long-term storage and when packed for a trip, shouldn’t be rolled up but stuffed into their sack instead. When rolled up, the down can tear apart, which affects its thermal performance. We recommend just stuffing your sleeping bag directly into one of your bikepacking bags. You’ll find robust, comfortable down sleeping bags from brands such as MAMMUT and lightweight models are available from Mountain Equipment, Yeti (Nordisk) or Montbell, among others.
We should also mention quilts. A kind of hybrid between a blanket and sleeping bag, they generally don’t have a hood. There are many different designs and interpretations on the market. Some of them can be converted into a blanket or connected directly to a sleeping pad. The advantages are an even smaller pack size and less weight. For interesting quilt designs and very good sleeping bags, take a look at Western Mountaineering, Sea to Summit or Enlightened Equipment.
Sleeping pad: With a sleeping pad, you will also have to balance pack size, weight and comfort (thickness, warmth) to find something that suits your needs and budget. Self-inflating pads are comfortable but almost always too heavy or bulky to carry on a bike. Foldable foam pads are very light, but they don’t offer the best insulation and take up a lot of space – not suitable for bikepacking either. The best option here is your classic inflatable mattress. However, today’s high-end outdoor models have little in common with the five-buck model from the hardware store. The lightest and most compact options such as the Therm-a-Rest NeoAir UberLite or XLite, the Exped Airmat HL M or the Sea To Summit UltraLight Sleeping Mat are usually warm and comfortable enough for several nights on the floor, especially in summer. For cold, winter conditions, some models are available filled with synthetic or even down insulation. For people who are more sensitive to the cold, the R-value (thermal resistance) of the sleeping pad should generally not be below 4.
Advantages of camping outdoors:
- self-reliant, independent
- fully immersed in nature
Disadvantages:
- not permitted everywhere (nature reserves, national parks) or only semi-legal
- more luggage required (a tent, sleeping pad and sleeping bag come to around 2 kg even with a lightweight setup and use up packing space on the bike)
- limited washing/cooking facilities
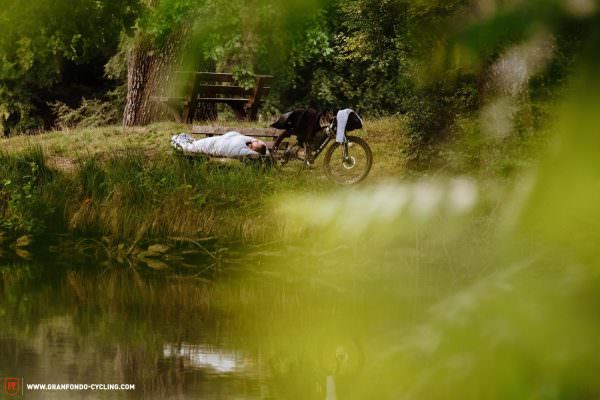
Tip 1: You’ll find plenty of shelters or bothies in almost all European woods and mountains. They are often shown on maps or you can ask somebody local to point you in the right direction. They make life a bit easier as you can simply spread out your sleeping pad and bag without having to pitch a tent. A lot of them also have a place where you can make a fire to prepare food, warm up, or simply for a more romantic atmosphere. Golden rule: leave the place as you found it or, better yet, even cleaner than before.
Tip 2: A pair of earplugs or a shot of your favourite alcohol in the evening will let you forget the unfamiliar noises of nature and animals around you for a good night’s sleep. For even more sleeping comfort, get a small inflatable pillow or use a rolled-up jacket.
Tip 3: Before the first real bikepacking trip, be sure to test your sleep setup for a night in the garden, on the balcony or somewhere where you can break it off at any time if anything doesn’t go as planned.
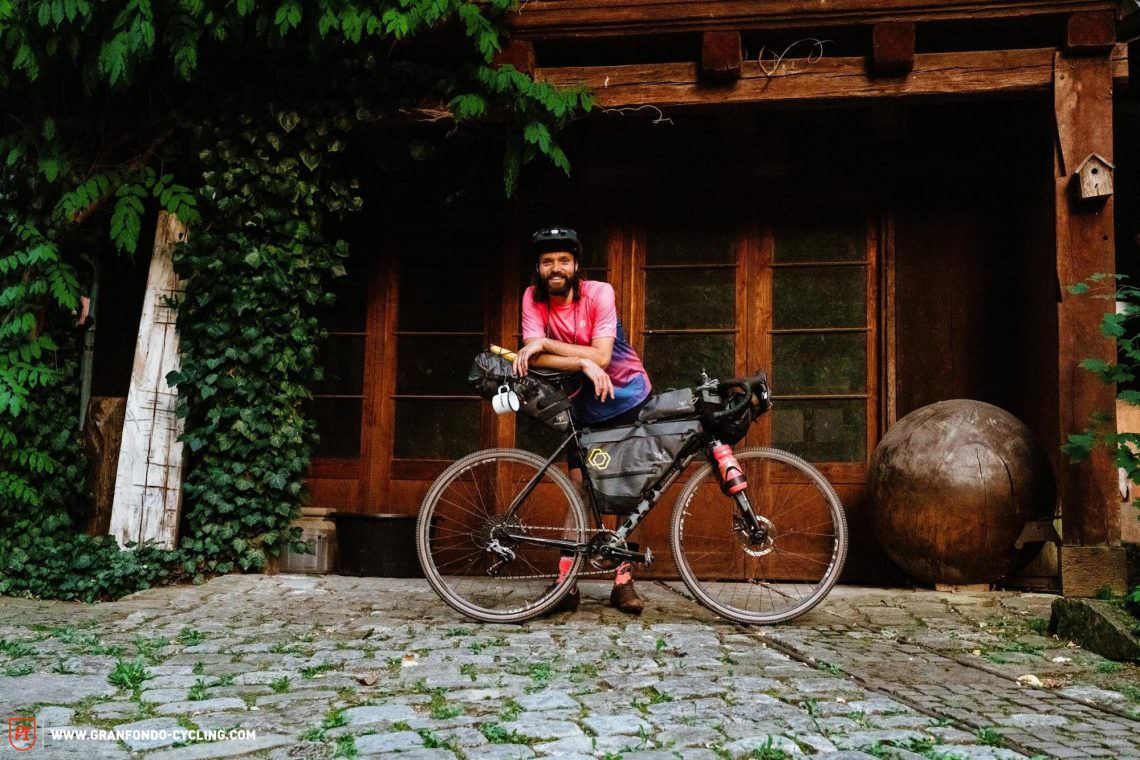
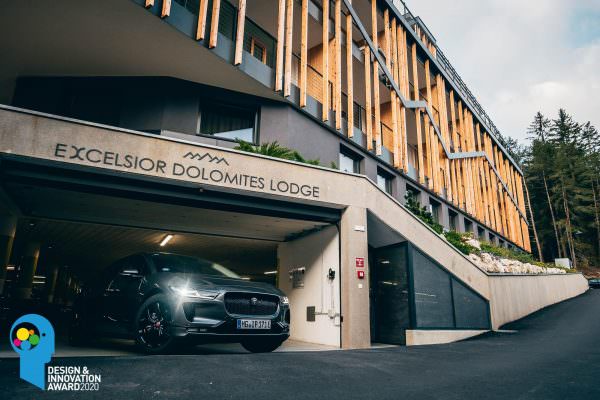
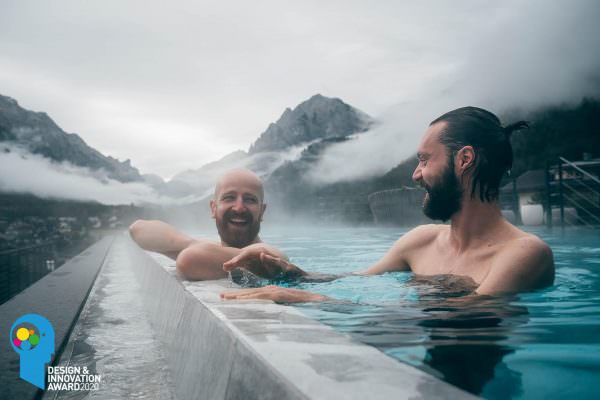
Indoor accommodation – Cabins, B&Bs, eco-lodges, bike hotels
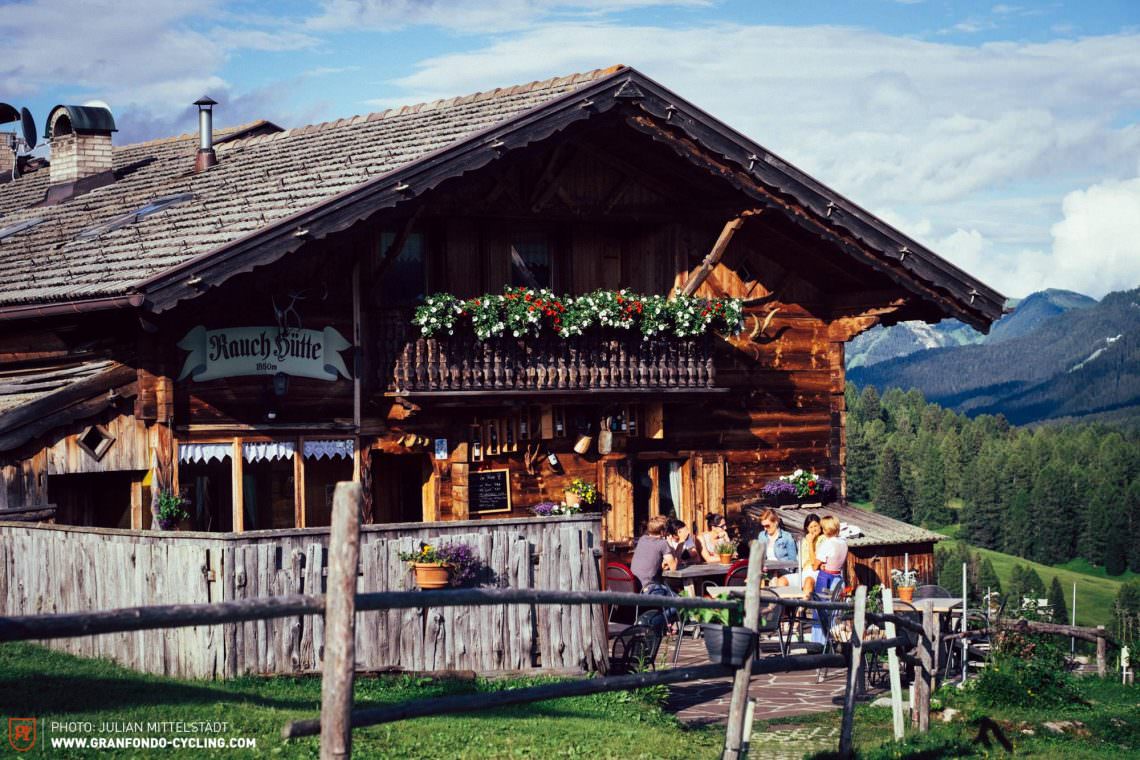
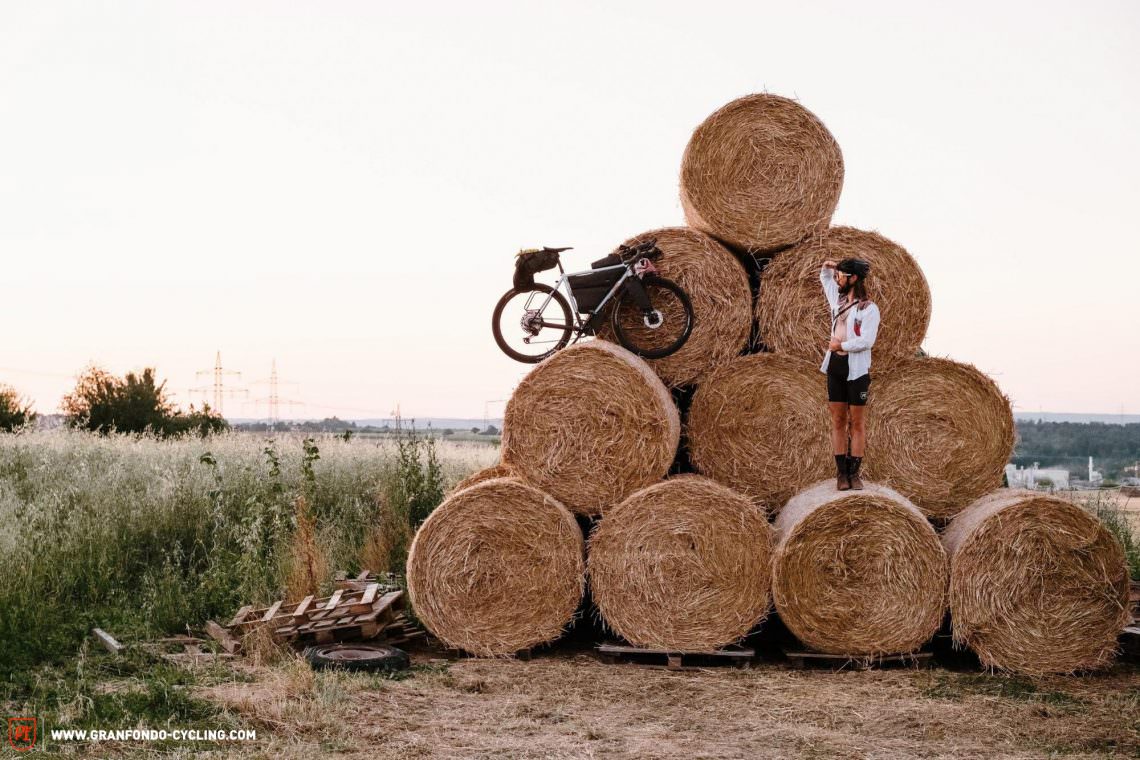
As much as we recommend spending the night outdoors, you can also stay indoors from time to time to mix things up. That gives you the chance to charge all of your electronic devices, wash yourself, your clothes and your bike, do a little bike maintenance and discover the local cuisine. However, that does not mean that you have to stay in some huge mass tourism hotel. We recommend looking out for small eco-lodges or family-run B&Bs like Pure Mountains in Spain, the bike hotel Massa Vecchia or Brauhaus 3, offering excellent opportunities to get to know the country and its people. If you like it a little more rustic, you can stay overnight in the hay of a farmer’s shed for little or no money, such as in the Saltner Schwaige on the Alpe di Siusi.
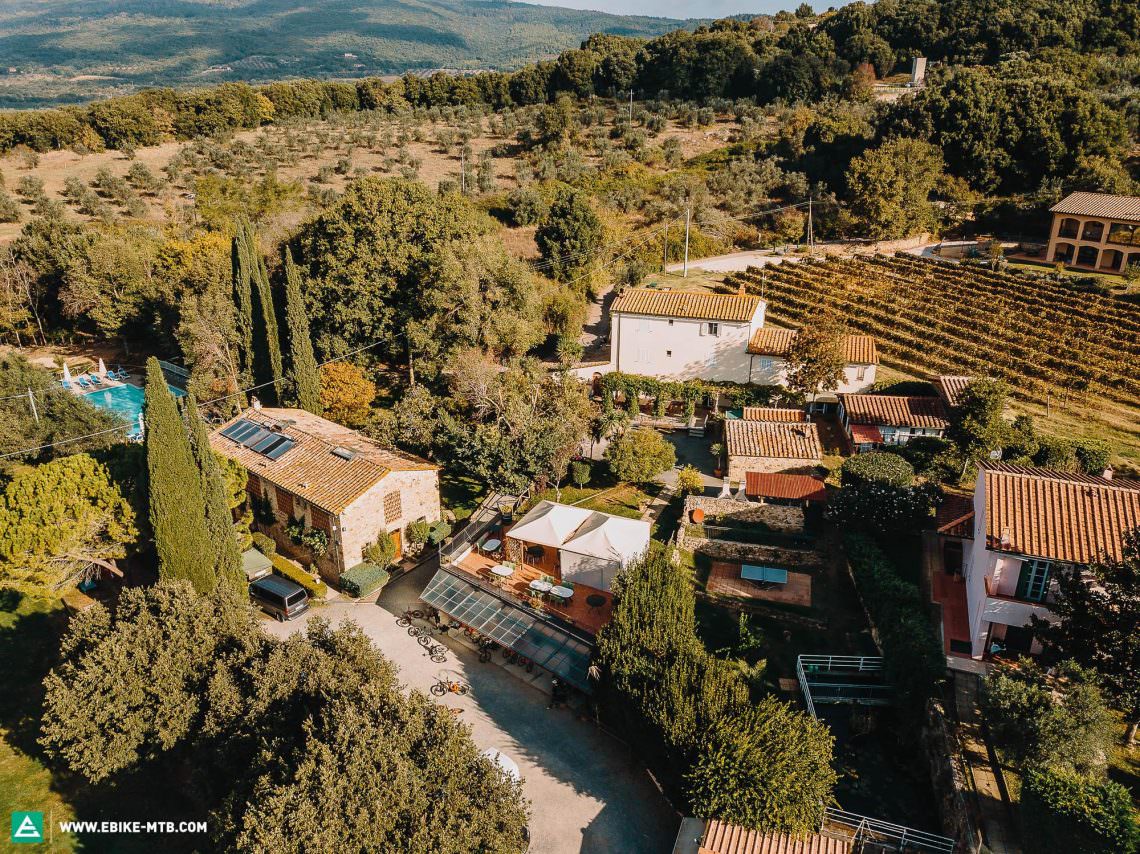
Rely on mountain cabins, eco-lodges and small guest houses. That way you’re not only spoiling yourself but also supporting the local economy.
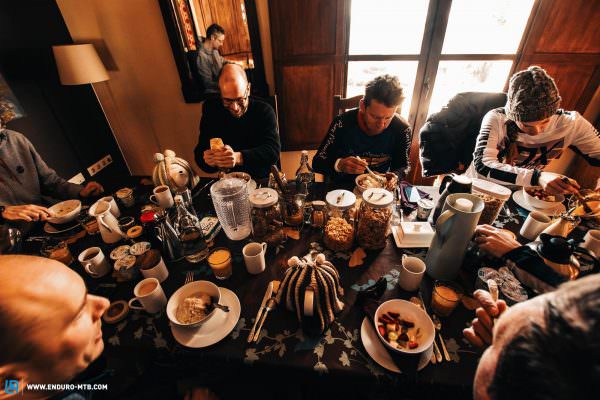

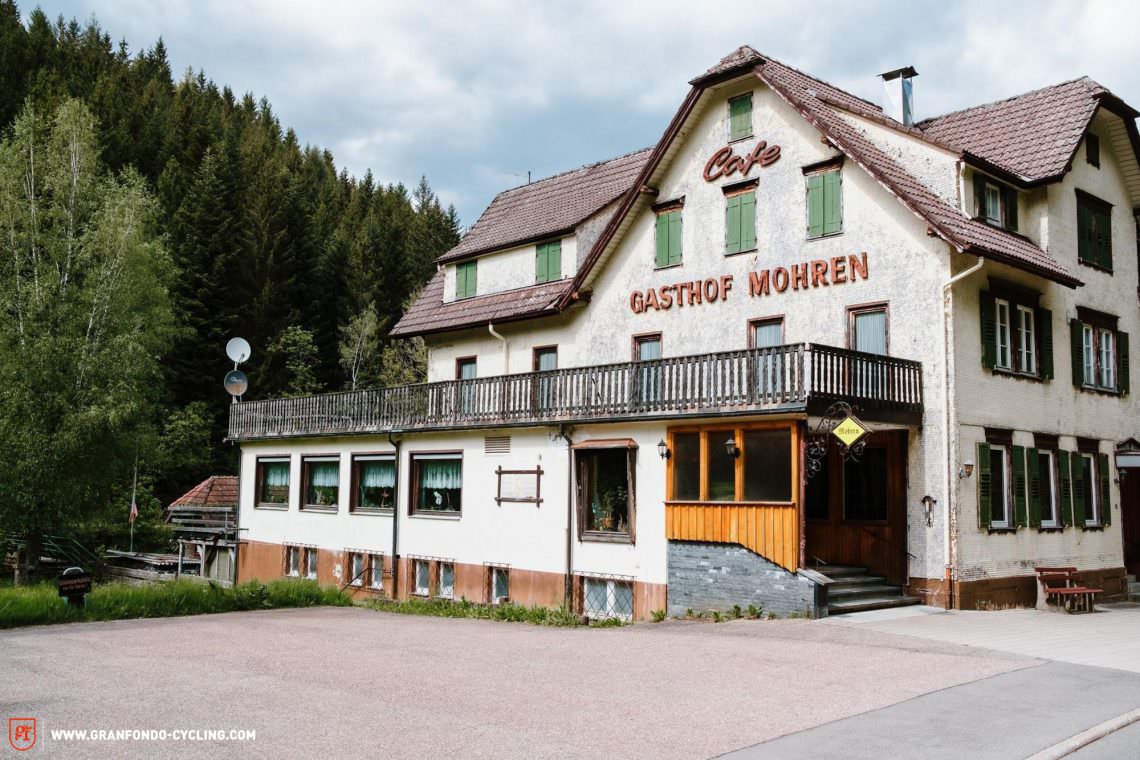
If you’re looking for a little more comfort and prefer a traditional hotel, it’s worth looking for bike hotels like BikeHotels in South Tyrol or Hotel Tanne in the Black Forest, among many others. The people there are used to dealing with cyclists of all kinds and usually offer a safe place to park your bike as well as washing facilities for your clothes and gear. Some even have a small workshop. They can also give you tips on things to see in the region or help with route planning.
Advantages of indoor accommodation:
- warm, dry, comfortable
- washing facilities and often warm food within easy reach
- high chance of interesting conversations and new acquaintances
- a chance to charge all your devices
Disadvantages:
- usually costs money
- social interaction necessary 😉
- requires some advance planning/less flexible in your route
Tip: The warmshowers.org website is an excellent resource for all kinds of cyclists. Similar to couch surfing, the website functions as a global platform for hosts who will let you spend the night in their home or pitch your tent in their garden. This provides a welcome chance for interesting conversations with like-minded people, especially on longer trips with a tent. The platform is completely non-profit and free of charge and it goes without saying that you’re expected to interact with tolerance, courtesy, gratitude and restraint.
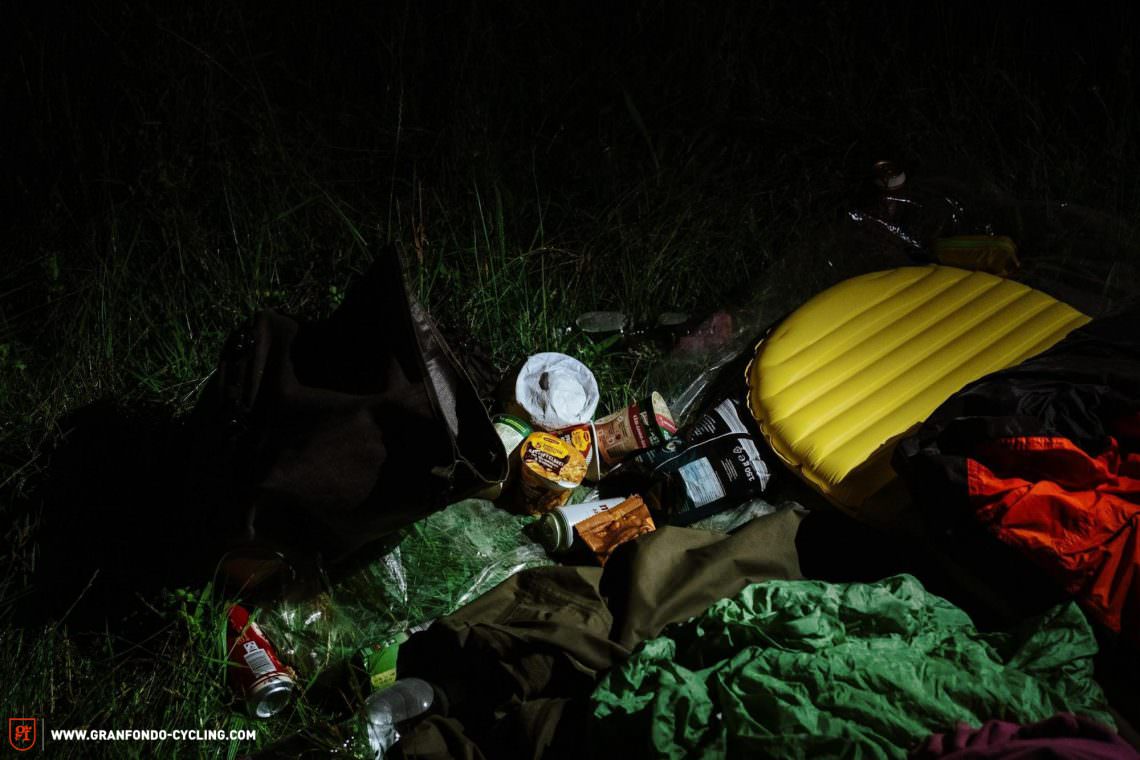
Essential gear for every bikepacking adventure
Bikepacking bags offer limited packing space and the weight of your gear, especially on gravel bikes, is an important factor in how well the bike handles and how much fun you’ll have when fully loaded. A good value to target, excluding water/food and the clothes you’re wearing, is approximately 5 kg (during the warmer months). It’s a very simple rule of thumb but also very difficult to stick to. You’ll almost certainly be hopelessly overloaded on your first trip, but you’re also guaranteed to learn from the experience, finding out what you can do without and fine-tuning your setup every time you head out. It’s amazing how little you can get by with. However, there are also certain things that you should never leave home without. In general, you want as many of the things you pack as possible to serve more than one purpose. For example, a rain jacket not only provides protection from the rain but also functions as a windbreaker and an additional layer for warmth. If you’re still wondering what to pack, just picture your home and the things you use in each of your rooms. In a figurative sense, you need the same things in your luggage. We already dealt with the “bedroom” in the previous chapter, so let’s look at the rest of the apartment.
You need less gear than you think. If you’ve used everything on your packing list at least once during your trip, it’s the perfect setup.
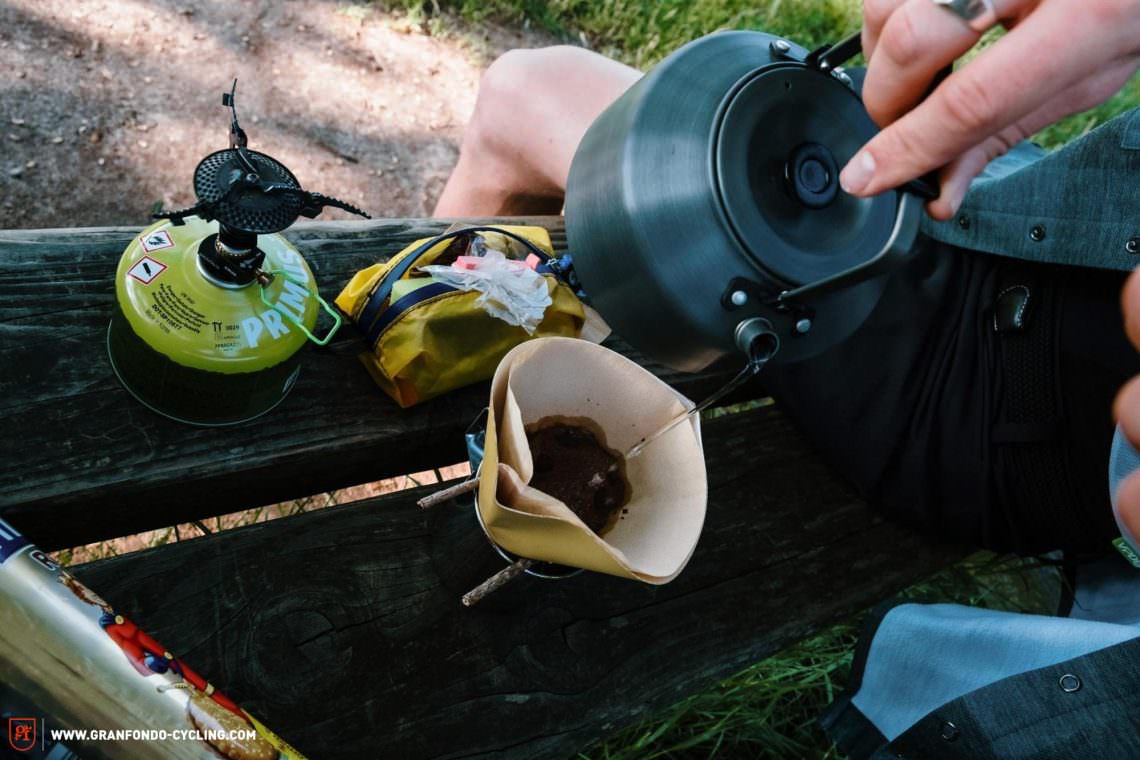
The kitchen – Food and drinks on the go
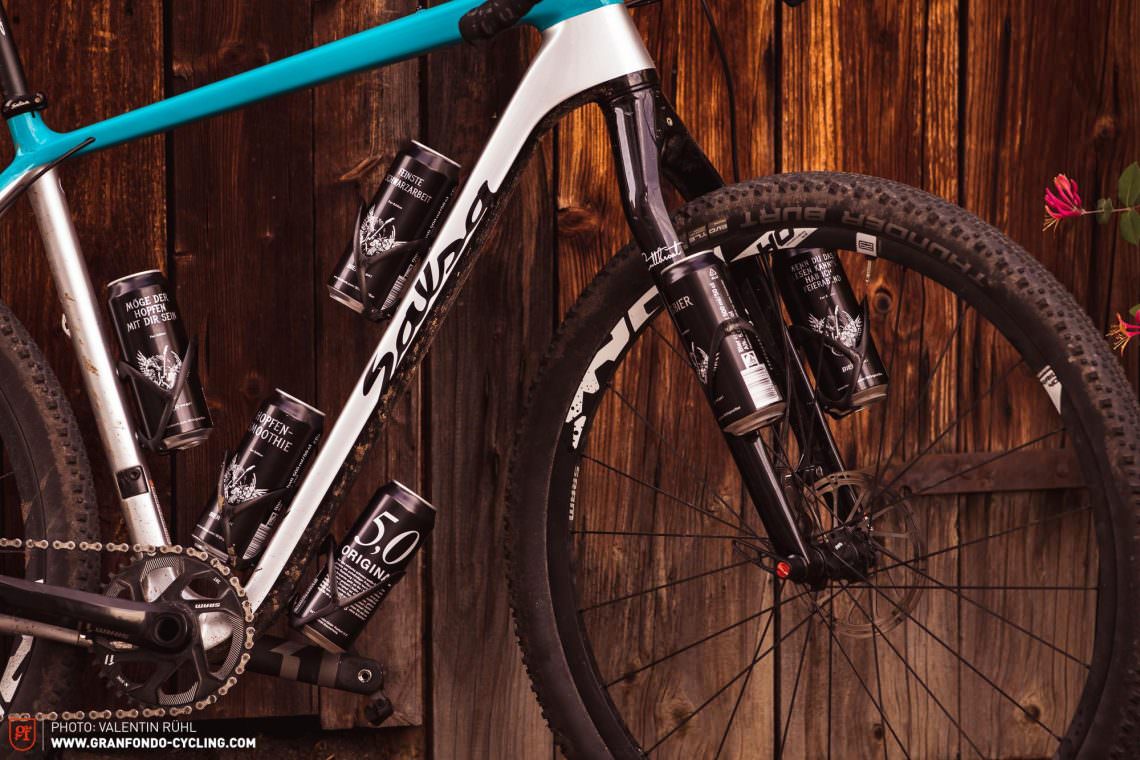
You have a lot of options when it comes to nourishment and food preparation. Water is the only must. How much of it you decide to carry on the bike depends heavily on the route you choose and the time of year. If you have several refill points every day, you will get along perfectly with a 1.5 L capacity – two large water bottles. If you’re expecting fewer places to refill or you’re riding in the middle of summer, you should carry at least 2.5 L. How you carry it depends on the kind of bike or setup you’re using. With a half frame bag, there’s nothing to stop you from using a bottle cage on the down tube and seat tube. Many bikepacking-specific bikes also have bottle cage bosses on the fork legs and/or underneath the down tube. Alternatively, you can use a hydration bladder in a backpack or frame bag, though standard water bottles are generally easier to use and fill up. The range of aftermarket options for carrying water is huge and you can retrofit bottle cages to every imaginable nook and cranny of your bike with things like the Wolf Tooth B-RAD system.
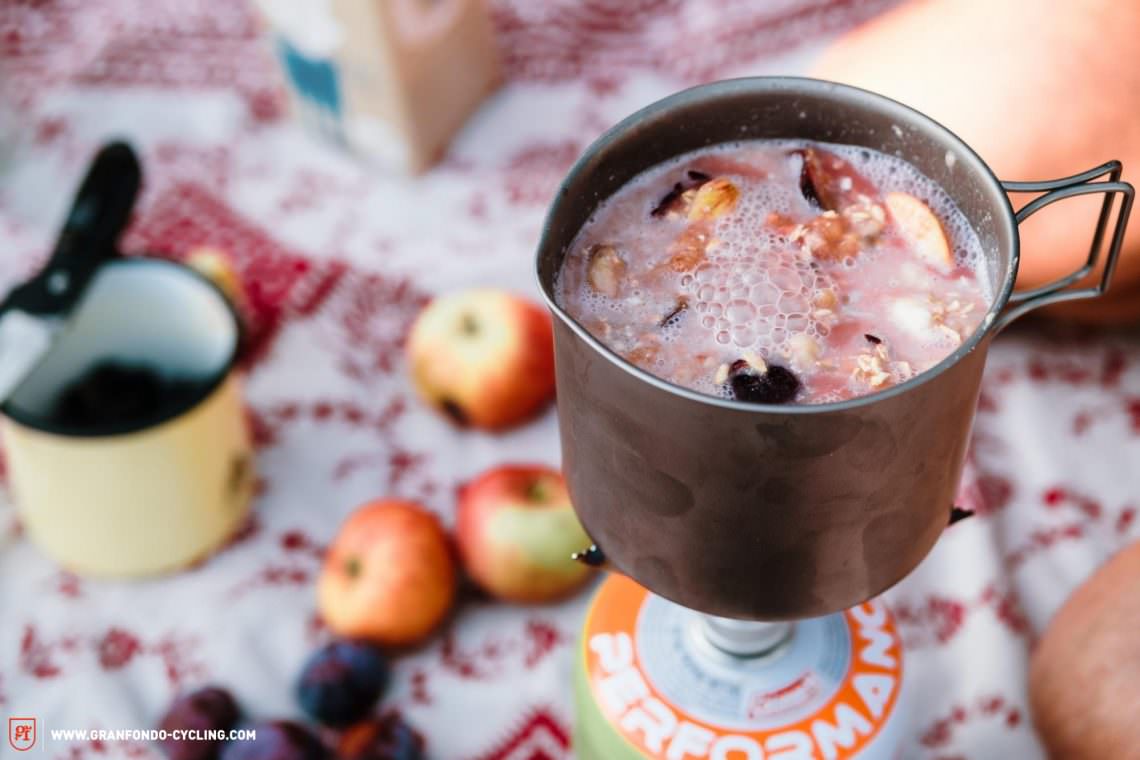
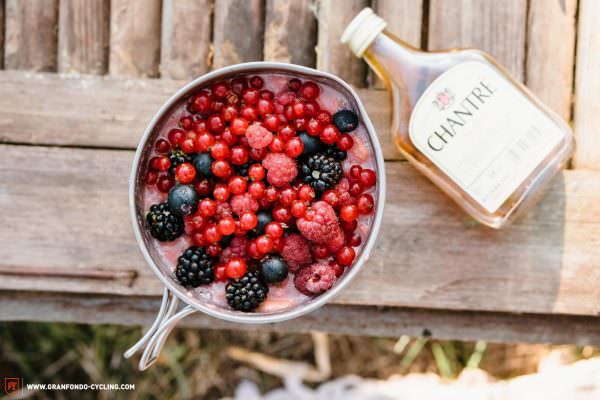
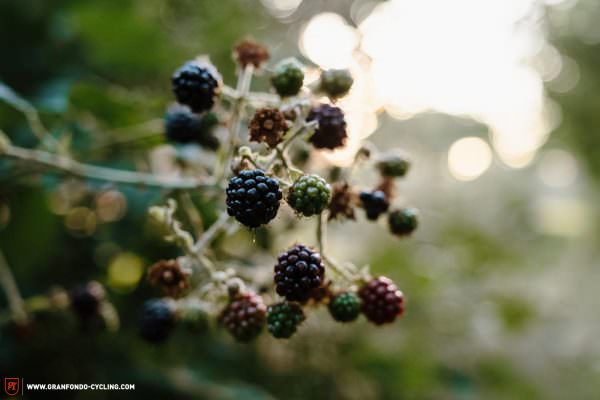
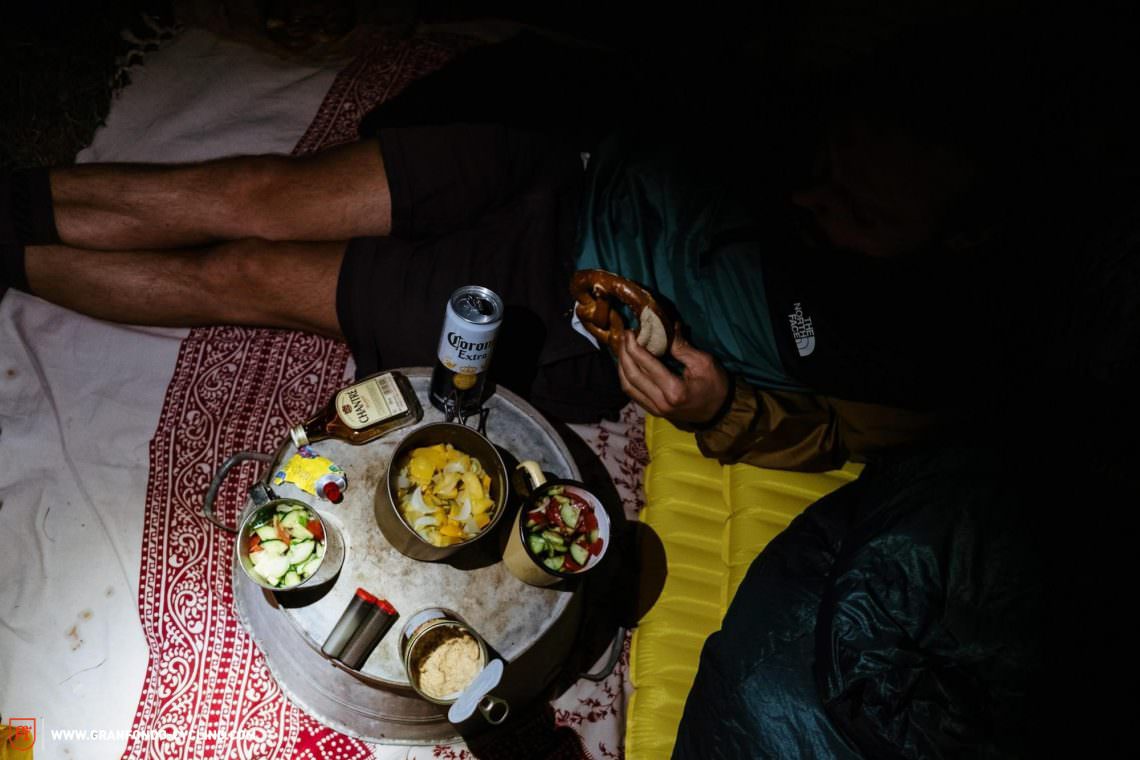

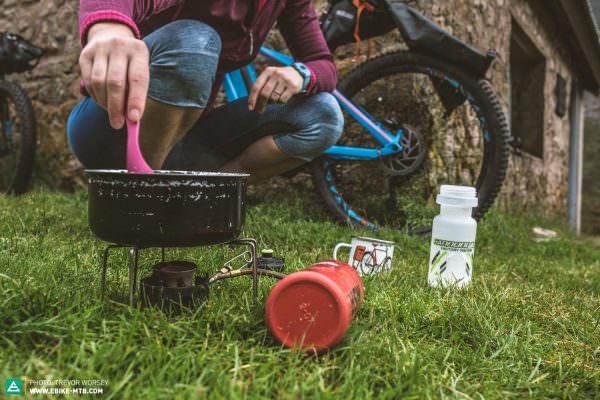

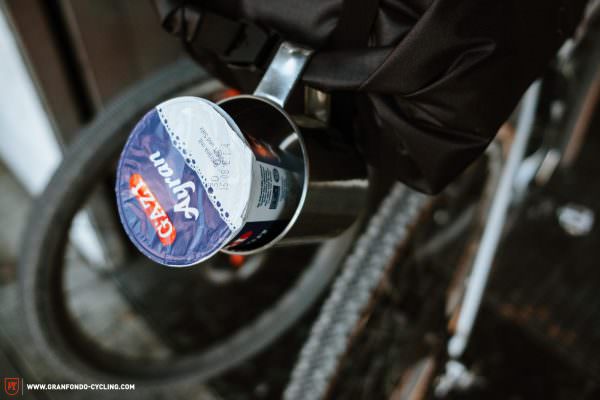
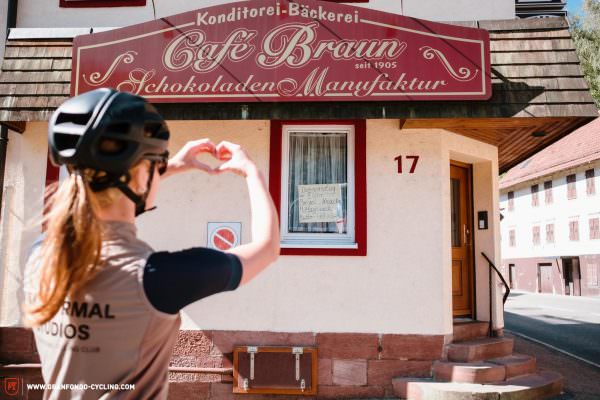
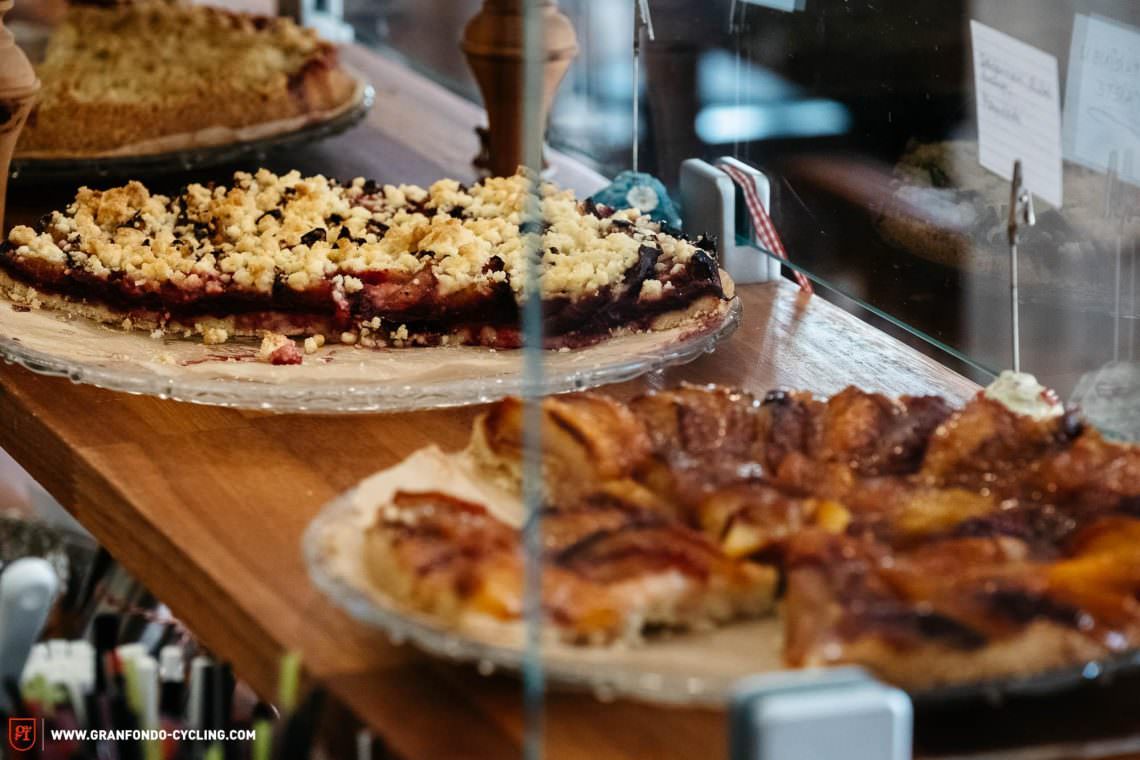
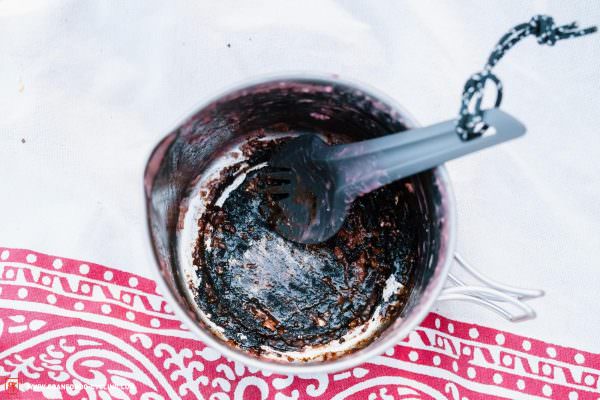
What you do for your main meals is completely up to you. Some prefer a classic sandwich with cold cuts of meat and cheese, which have the advantage of high energy density and only requiring a knife to prepare. Others have to have their porridge and freshly brewed coffee in the morning or a warm meal in the evening and need to dedicate enough packing space for their cooker fuel. That said, the cookware/dinnerware required takes up the most space. A lot of the dishes you’ll prepare also use water, which you have to keep in mind when calculating your daily water requirements. You can get creative with your meals by making a detour to the local farmers’ markets and seeing what you can conjure up with whatever you find there. Depending on your route, you won’t have to carry any food, with the exception of snacks and can simply stop by the roadside, which will also allow you to get to know the country and its people better. However, be warned, this will quickly deplete the funds in your bank account.
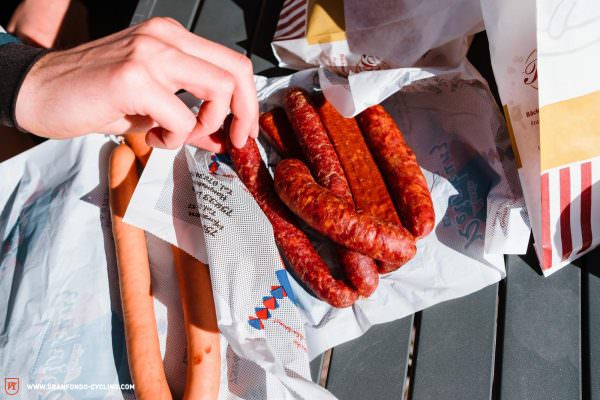

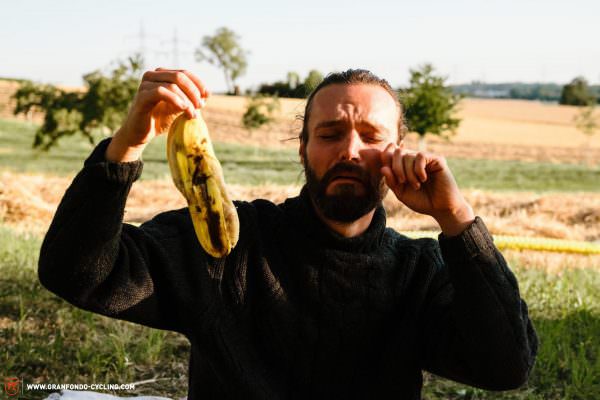
Regardless of the route and bike, you should always have a good selection of gummy bears, muesli bars, beef jerky or the like within easy reach. This not only prevents you from hitting the wall but also offers a morale boost that you shouldn’t underestimate.
Essential:
- at least 1.5 litres of water
- knife and spoon/spork
- snacks
- sufficient cash
Optional:
- cooker with windshield and dishes
The wardrobe – What should I wear for bikepacking?
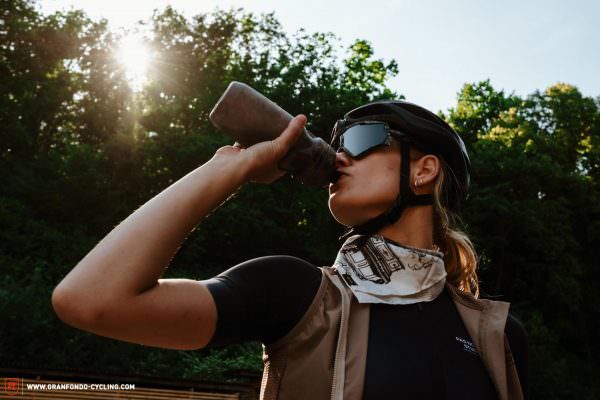
Of course, the clothing you pack and wear also strongly depends on where, when and how long you’re planning to ride. Nevertheless, you should always carry a pair of full-finger gloves, a waterproof jacket with a hood and a warm mid-layer such as a fleece or a PrimaLoft/down jacket. The nights can get cold even in the middle of summer and, especially in the mountains, the temperature differences can sometimes be drastic with unpredictable weather changes.
We always recommend wearing a pair of sunglasses, more or less tinted depending on the weather. For all items of clothing that come into direct contact with your skin (socks, underwear, baselayers) we advise using products with a high merino content. Merino wool is very resistant to developing odours and keeps you warm even when wet. Although products made from synthetic fibres dry much faster, many of them become very smelly after only a day or two and you won’t be able to wash your clothing every day.
Essential:
- your preferred cycling kit
- full-finger gloves
- UV rated sunglasses
- water-resistant jacket with a hood
- warm, compact, insulated jacket (fleece, PrimaLoft, down)
- a second pair of underwear/socks/t-shirt if you’re away for more than one night
- Buff or thin beanie
Optional:
- merino underwear
- waterproof overtrousers/shorts (can also be used when you need a little more warmth)
- thin shirt/long trousers and flip-flops or similar, for a casual stroll through town on your rest day

The basement – Which tools and spare parts do I need?
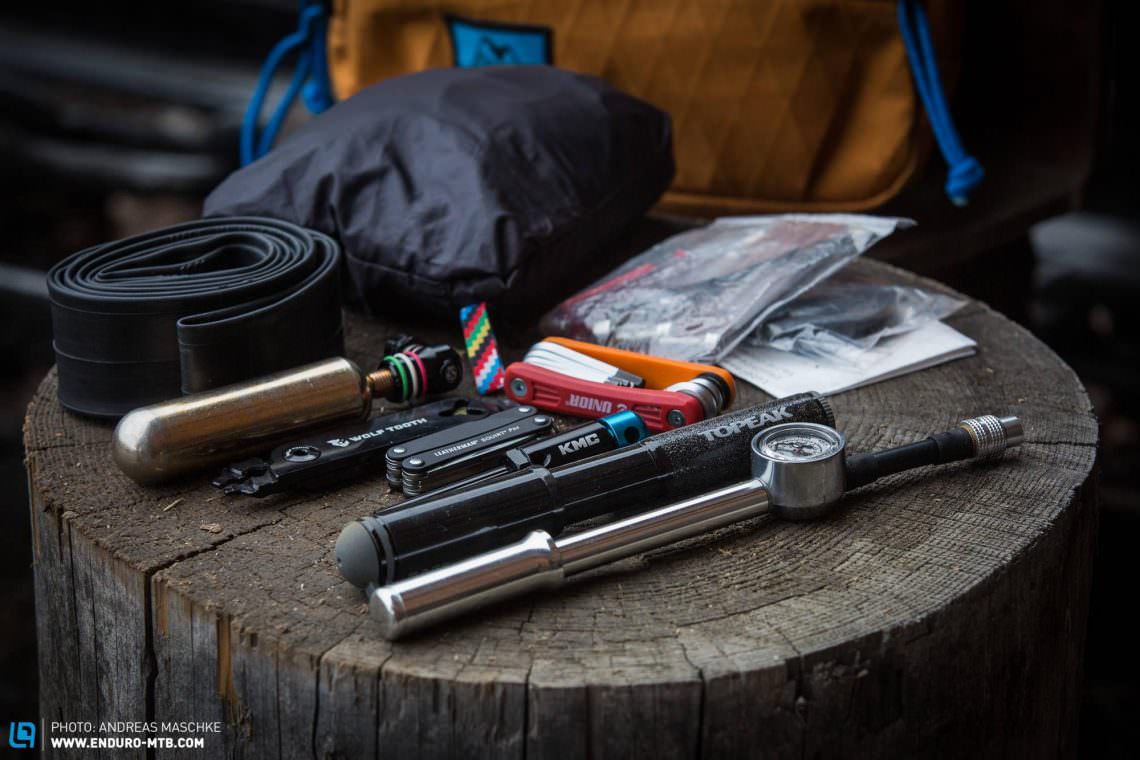
When you don’t have a bike shop within reach, there are certain tools and spare parts that you have to carry. Depending on your preference and the bike, this list can get a little longer. However, there are a few basics that you should always have on the bike, including a mini-tool, pump and puncture repair kit.
It goes without saying that you should be able to do the most common repairs and maintenance work yourself, such as mending punctures, shortening the chain, changing the brake pads and adjusting the gears. If not and you don’t know anyone who does have the know-how, just ask the mechanic from your local bike shop if he’ll give you a crash course after work in exchange for a case of beer.
Essential:
- mini-tool that fits all the bolts on the bike (not every tool has an 8 mm Allen key, as required for most pedals)
- chain tool, if not on the mini tool
- a set of quick links
- tire pump and an additional shock pump if you have air-spring suspension
- tire levers
- tube + plugs + tire boot (a piece of Tyvek works well)
- valve core remover, if not on the mini tool
- a couple of zip ties and some duct tape wrapped around the pump
Optional:
- one spare bolt for each of the most important bolts on the bike
- a set of brake pads, a shifter cable, replacement derailleur hanger and 2 spare spokes with spoke nipples (for longer trips)
- it’s always good to carry a Leatherman type multi-tool with pliers, scissors and a knife, which you can use for more than just repairs
- chain lube + a rag (a clean chain isn’t just quieter, it also lasts longer)
The living room – Smartphone, electronics and luxury items
As paradoxical as it may seem, smartphones have become as indispensable in bikepacking as they have in our day-to-day lives, even if you want to disconnect from the virtual world. Of course, you can navigate using analogue maps and road signs but using your smartphone is so much more convenient. Besides, a smartphone gives you quick and easy access to information about the weather, the nearest shelter or supermarket, you can use it to shoot high-quality stills and videos, and it features a built-in flashlight.
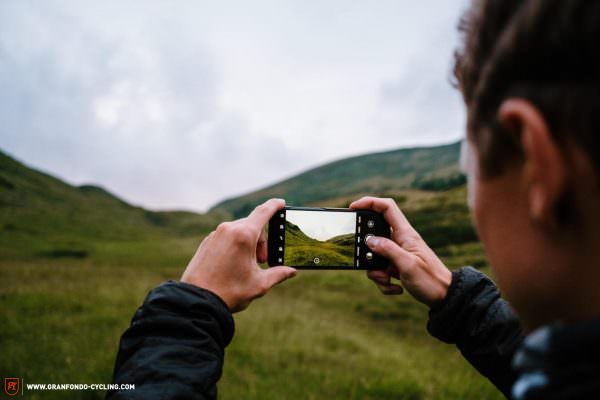
Should you ever get sick of the sights and sounds of the landscape you can also listen to your favourite music and podcasts and watch Netflix if you really must. As long as you don’t upload pictures to Instagram at every opportunity or announce on Twitter that you haven’t seen another human being for at least an hour, a smartphone is an indispensable bikepacking tool. If you can’t go without your daily dose of YouTube or if you’re going to be on the road for a longer period, it might be worthwhile packing a small tablet as well. If you prefer reading, it’s best to use an e-reader as its battery lasts significantly longer.
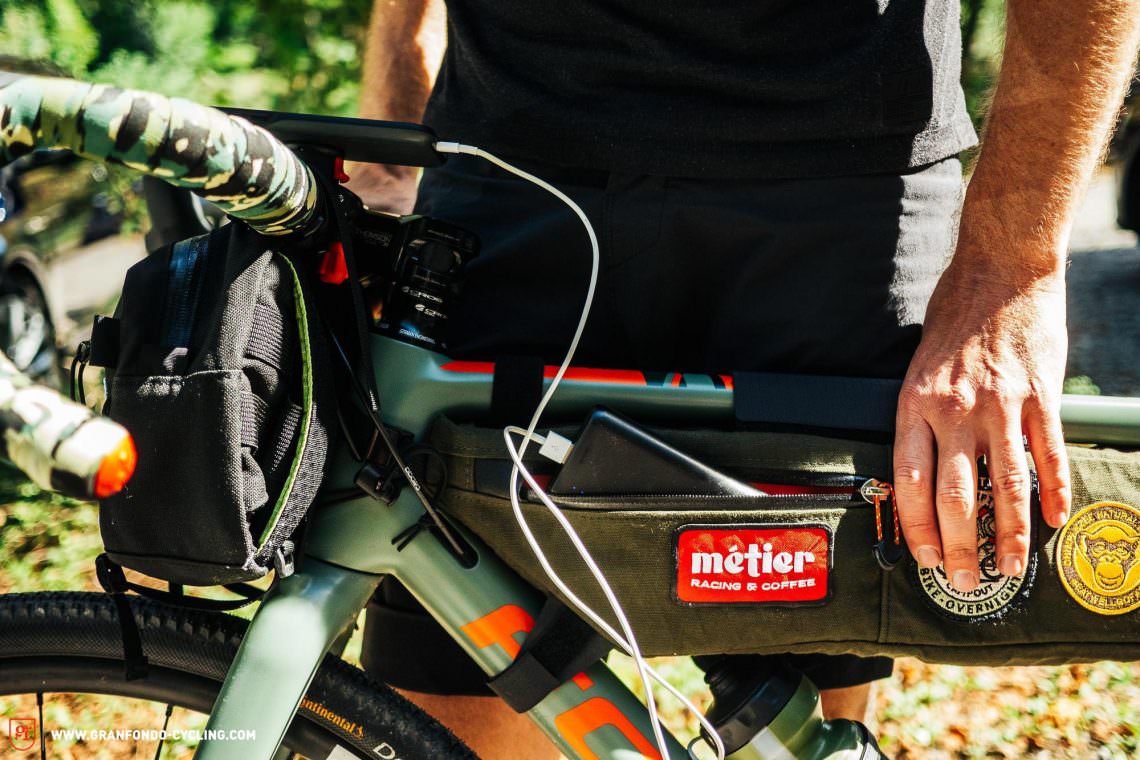
Be sure to pack a power bank with at least a 10,000 mAh capacity. You will find compact, reliable models from brands such as Anker. A modern smartphone with a large battery doesn’t last much longer than a day if used for navigation.
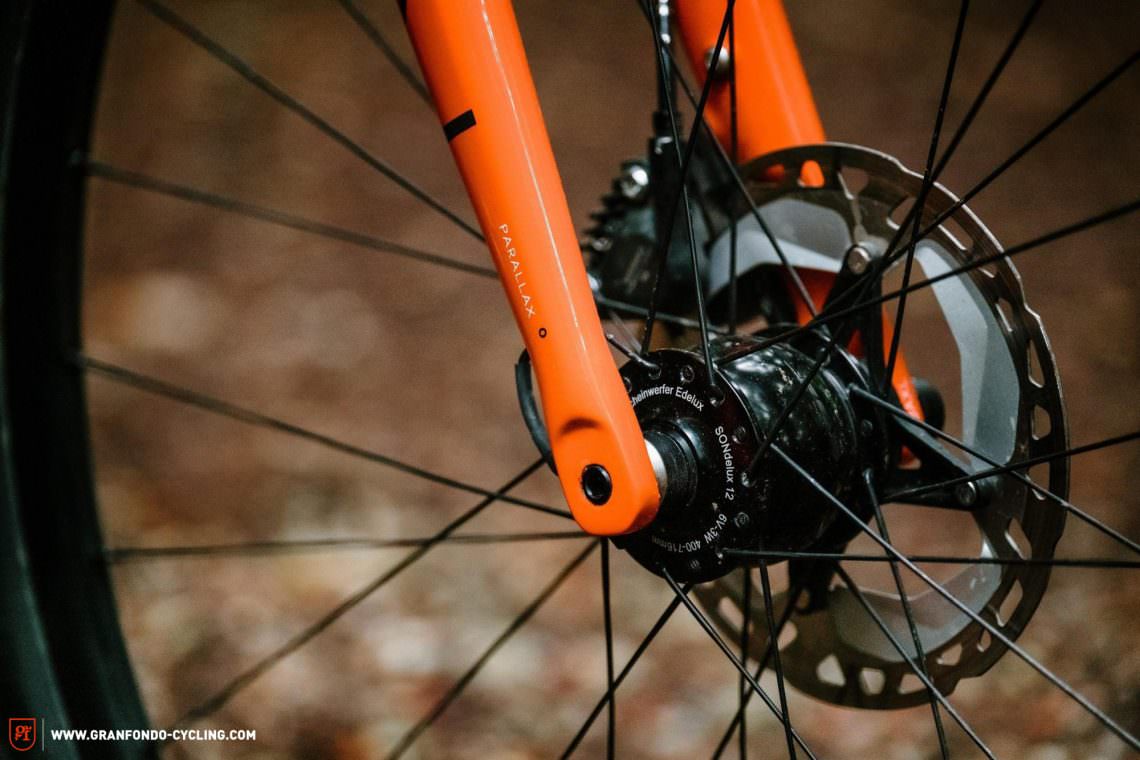
We strongly recommend that you pack a separate headlamp. It will make life noticeably easier when you’re camping and, together with a small flashing light on the back, can serve as an emergency light if you haven’t found a camping spot by sunset. USB models can be easily charged with a power bank. We recommend the super compact and versatile Petzl BINDI. If you’re planning to ride in the dark, you should definitely take a closer look at hub dynamos and permanently fitted lights. Proven brands include SON, Supernova and Sinewave.
Essential:
- smartphone (navigation, emergency calls, entertainment)
- power bank (no cell phone lasts much longer than a day if you use it for navigation)
- charger
- headlamp (convenient when camping, emergency lighting for unplanned night riding, USB models can be charged from a power bank)
- simple rear light
Optional:
- separate bike computer or GPS device
- hub dynamo paired with a permanently attached headlight or for charging devices
- separate camera
- tablet (for longer trips)
- an e-reader or book (when you’re through with them, cheap paperbacks can easily be passed on to anyone else you meet along the way)
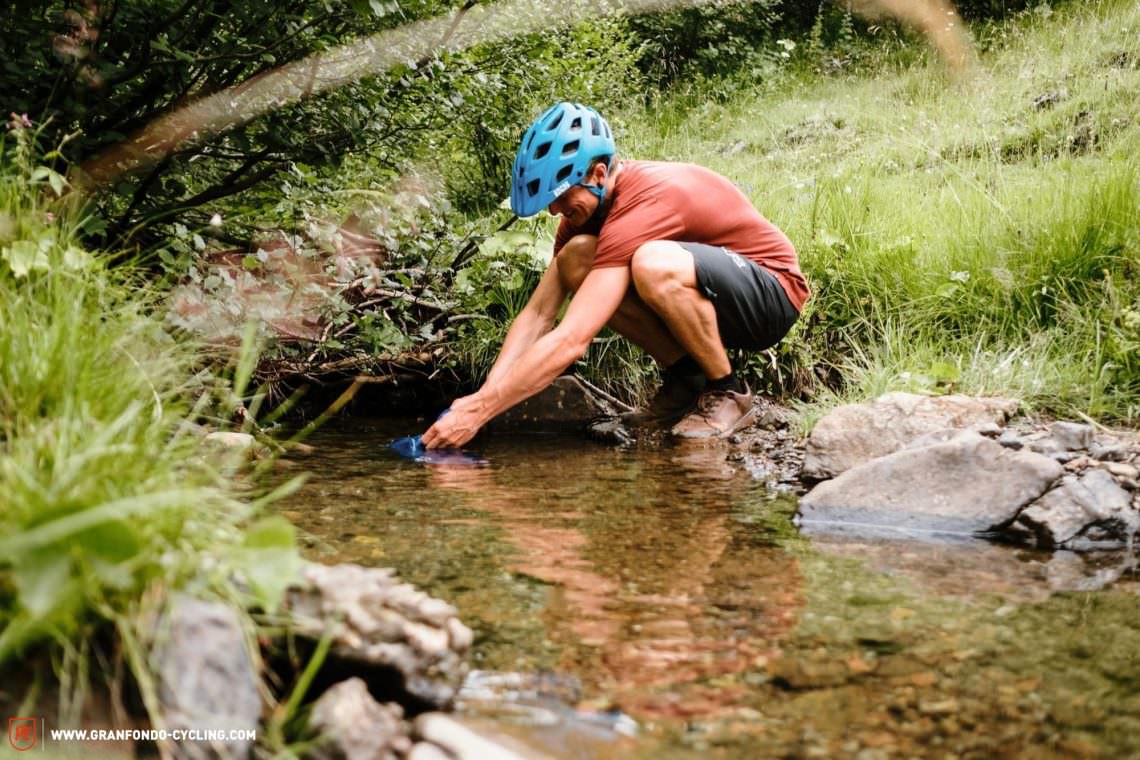
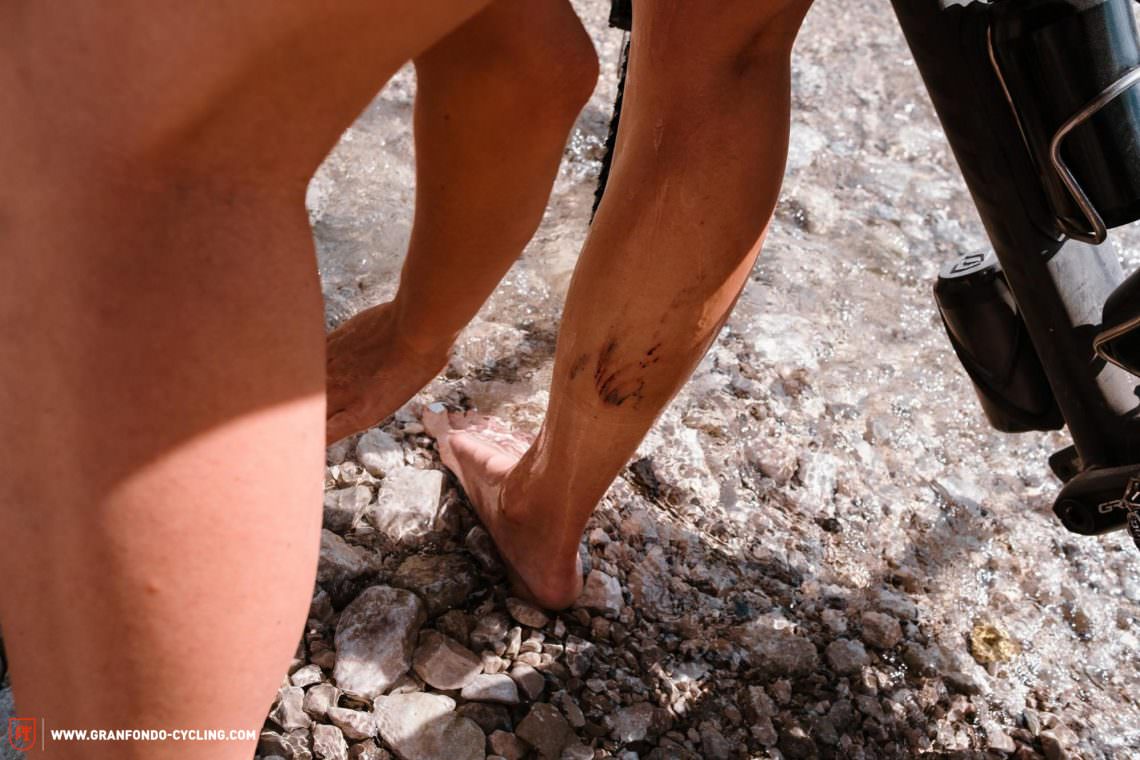
The bathroom – Grooming and hygiene while bikepacking
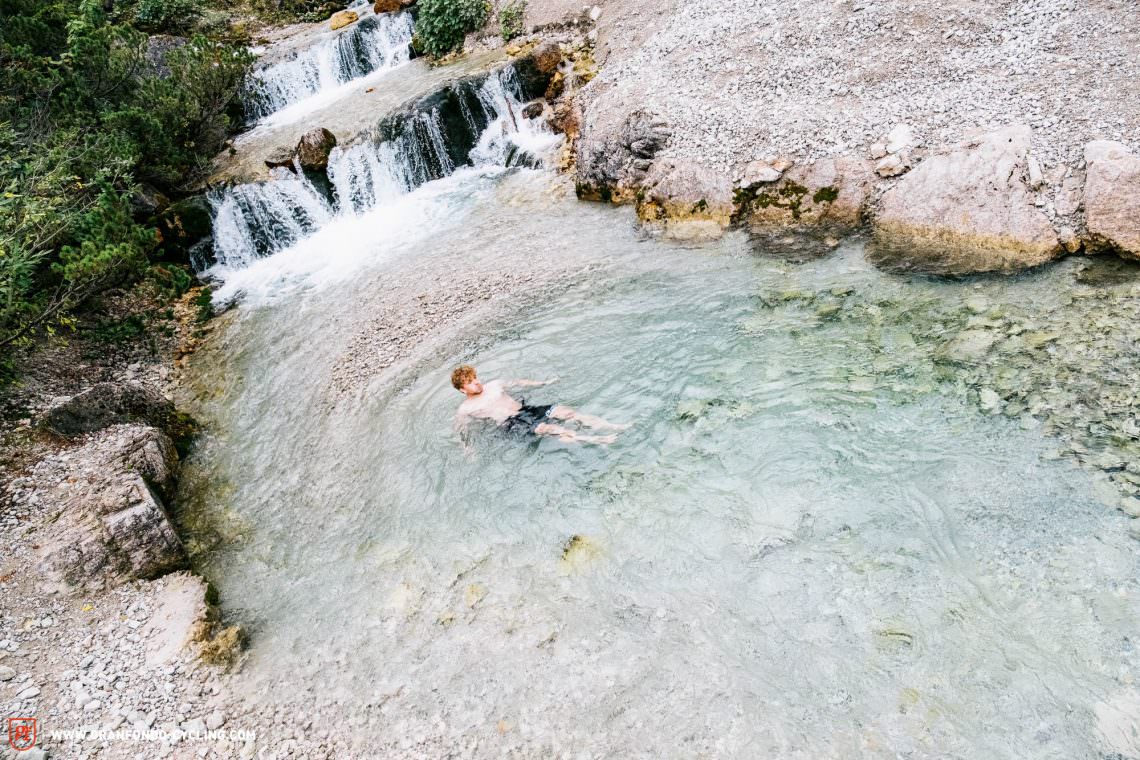
Even if bikepacking is all about adventure and a certain amount of dirt and sweat is to be expected, there is no reason to look like a neglected tramp after a single day outdoors. Every lake and river is your very own bathtub and a pleasant way to cool down and loosen up, especially during summer. When the first signs of fatigue appear after 100 km, you’re guaranteed to feel reborn after jumping into a cool mountain lake. A small microfibre towel will come in very handy at this stage. Besides using it to dry yourself when the sun is too weak to do so for you, you can also wet it and use it to wipe yourself down in the evening to remove the layers of dried sweat and dust before slipping into your sleeping bag. Wet wipes can also do the trick but don’t dispose of them until you find a rubbish bin.
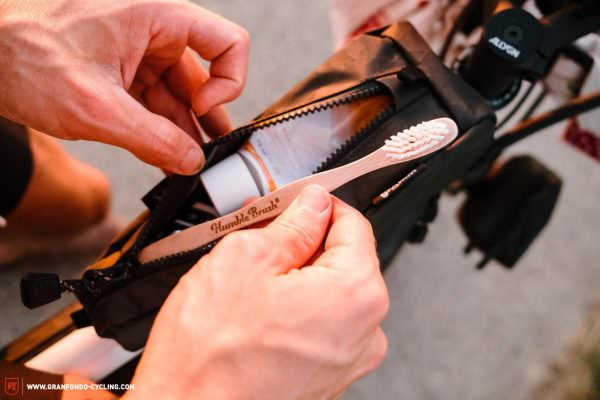
Just like a toothbrush, you should carry at least half a roll of toilet paper. Apart from its obvious uses, it can also be used to clean your dishes or blow your nose. Fun fact: it biodegrades a lot faster than a tissue too. Be sure to pack the roll in a plastic bag or something similar to keep it dry. A small emergency first aid kit with plasters, bandages, disinfectant wipes and painkillers is equally important. If you’re heading out in summer or at high altitudes, you won’t want to get caught without a good broad-spectrum sunscreen – preferably waterproof, since you’ll likely sweat quite a lot. With that, we’ve covered the essentials for any bikepacking adventure. Only you can tell what else you might need to make the most of the experience.
Essential:
- toilet paper, tissues
- small microfibre towel
- toothbrush
- small emergency first aid kit with plasters/a bandage/pain killers
- sunscreen (in summer or at high altitudes)
Optional:
- nail clippers
- wet wipes or compressed dry wipes for rudimentary cleaning when there is little water available – your sleeping bag will thank you
- Dr. Bronner’s natural soap – it can be used to clean everything, from your body to your teeth to the dishes and it’s 100% biodegradable

Europe’s most beautiful bikepacking regions and routes
If you’ve read this far, you know almost everything you need to know about bikepacking bikes and equipment. However, none of that will be of any use to you if you don’t know how to plan a good route. Below, we cover the most important route planning tips and tricks for the perfect bikepacking trip.
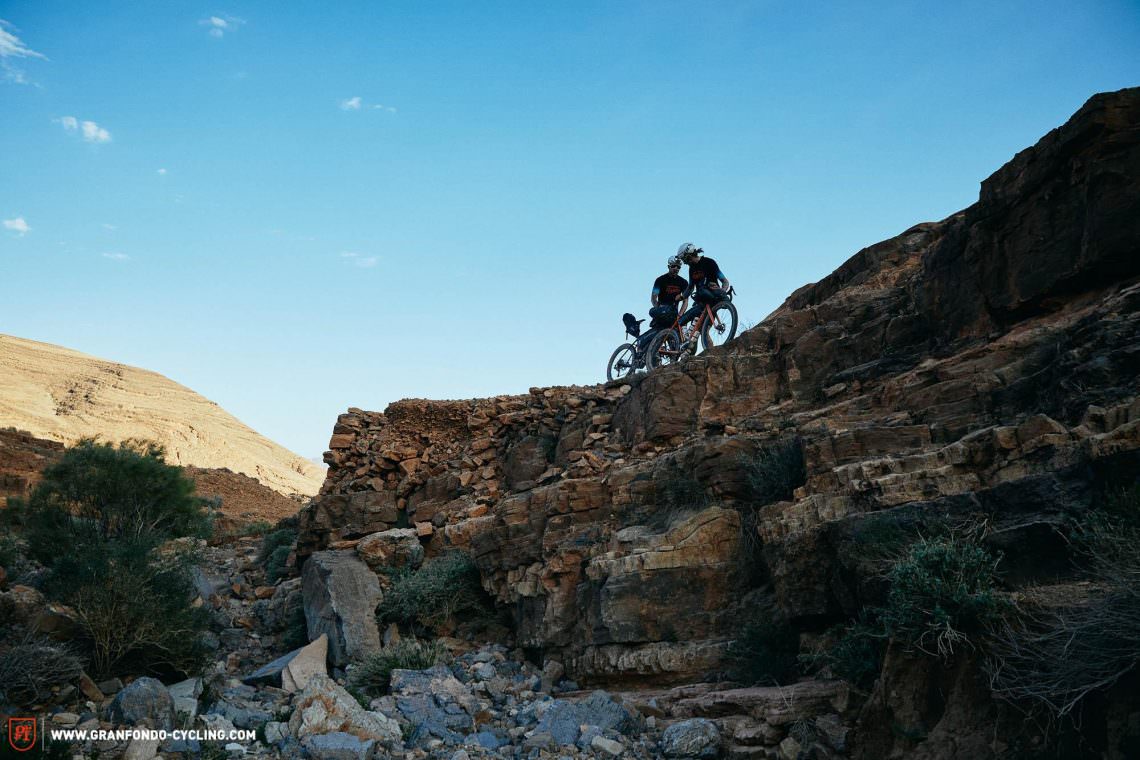
Where can you go bikepacking?
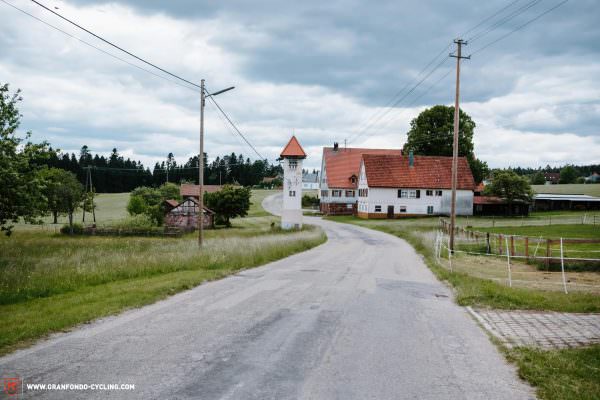
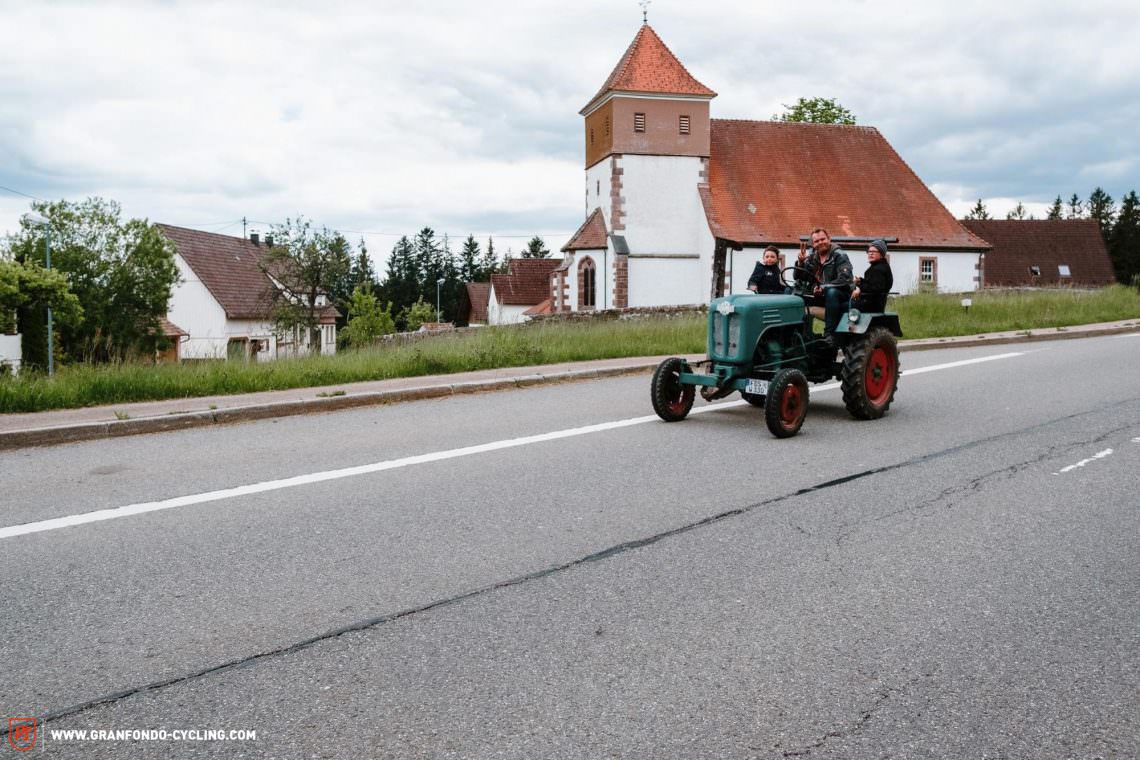
The good news is that you don’t have to jet halfway around the world for an unforgettable bikepacking adventure. It’s not about quantity but quality. Why board a plane when there’s so much left to discover in your own backyard? By exploring your local region, you don’t waste your precious free time on long, unnecessary journeys to and from your bikepacking destination. Micro-adventures instead of climate lectures. Europe’s lower mountain ranges are usually ideal for bikepacking routes of all kinds and are the most accessible. The starting point can be reached quickly by train, bus or car from almost anywhere within Europe – it might even already be at your doorstep. The advantage of the Black Forest, Ore Mountains, Vosges, Ardennes and similar destinations is that they accommodate every type of bikepacking adventure. Whether you want to climb hundreds, thousands, or tens of thousands of metres, whether single or multi-day rides, the possibilities are endless.
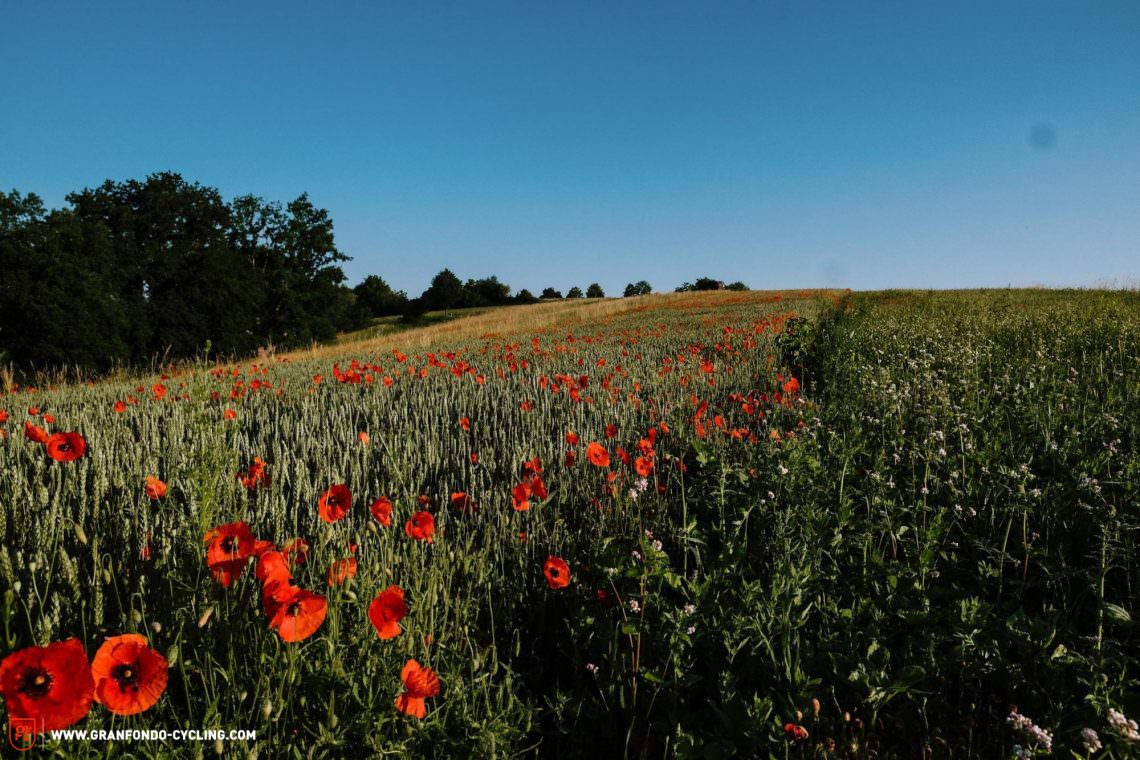
In addition to an adequate number of hills and mountains, good bikepacking regions are also characterised by an abundance of water supplies. Ideally, when planning a route, you want to make sure that you’ll pass a few lakes to swim in and refresh yourself as well as bubbling brooks to refill your water. Of course, you should also try to steer clear of densely populated areas and include varying terrain to break up any monotony. It is important to find the right balance between civilisation and wilderness and remember that you will have to pass through towns every now and then to stock up on supplies. Depending on your preferred form of camping, you should be careful not to stay in nature reserves or on private property and pay attention to warning signs during the hunting season. Clearings away from damp areas and mossy patches often make for a very cosy camping spot with a clear view of the moon and stars. During school holidays, it’s also advisable to book in advance when you want to spend the night on a campsite. The last thing you want after a long day in the saddle is going from one overcrowded campsite to the next, looking for an opening.
How long should a bikepacking trip be?
A trip on a bikepacking bike is not the same as a ride on a road bike. Even if you’re used to riding 200 km with 2,000 m climbing on asphalt, half that distance can push you to the limit when you’re riding on rough gravel roads and occasionally up very steep inclines with a fully loaded bike. Less is often more, so put in enough of a buffer for stops and rest days when planning your route. Who’s going to complain when you arrive at your destination earlier than planned, giving you time to enjoy an ice cream in the sun? 🙂 It’s generally advisable to arrive at your sleeping spot early enough to set up camp in daylight. An alternative option is to completely dispense with a fixed route and target destination, giving you maximum flexibility, true to the motto of going with the flow, following wherever the wind may take you and going as far as your legs will carry you on the day. On multi-day rides, we advise gradually increasing the daily load – the third day is usually the hardest, with things getting easier after that. Never ride to your limit. For the ideal gear, shift to a gear you can pedal easily and then shift down one more. If you want to avoid large crowds of tourists, our tip is to visit popular sights in the off-season.
Our route recommendation
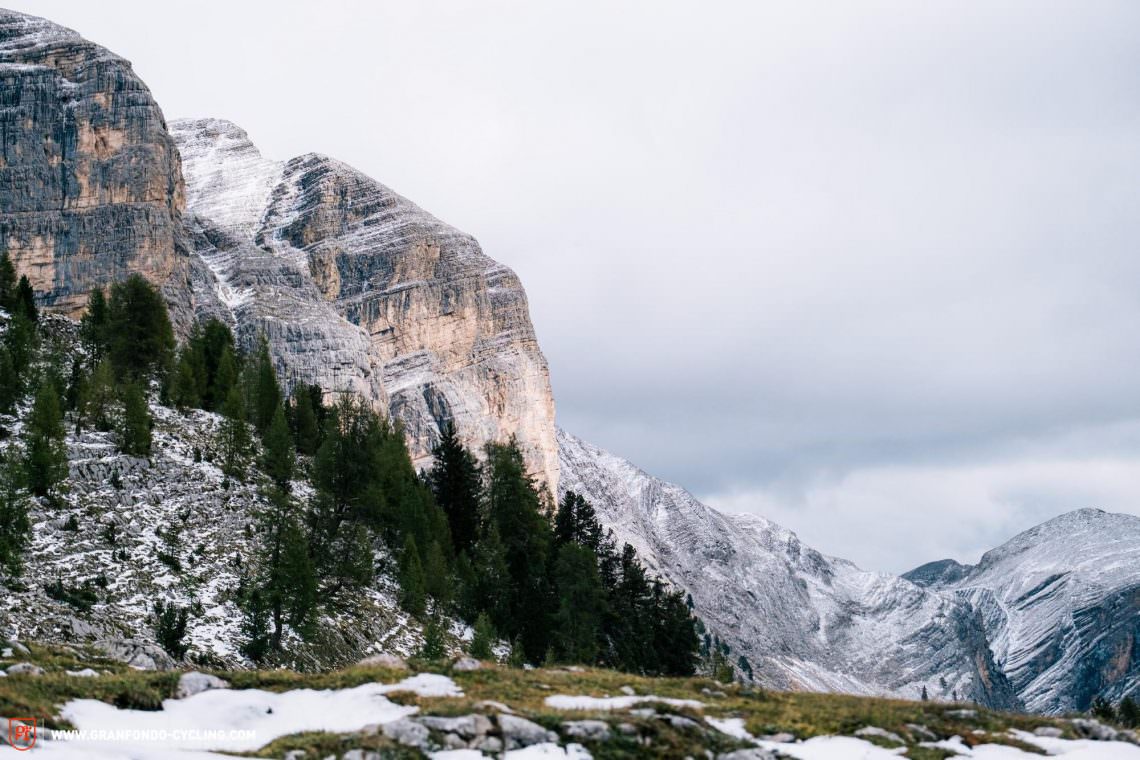
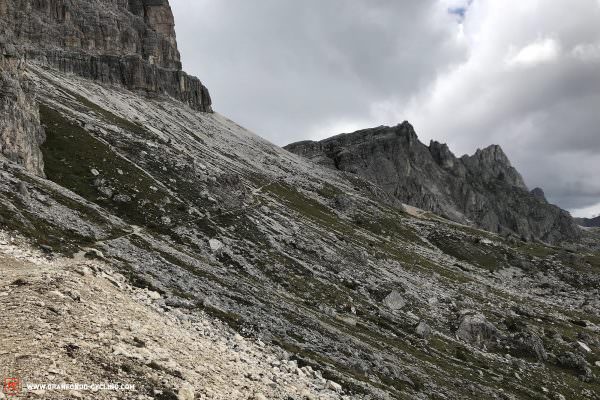
To give you a few examples of previous bikepacking trips we’ve done, we’ve uploaded a selection of routes onto Komoot and created collections. Among them, you will find the best gravel routes in the Bavarian Hassberge or the most beautiful all-road rides in the Dolomites. If that’s not enough, Komoot offer a wide selection of route suggestions for many regions. You’ll also find plenty of routes that you can download and transfer to your GPS device or smartphone on platforms like gps-tour.info or bikemap.net.
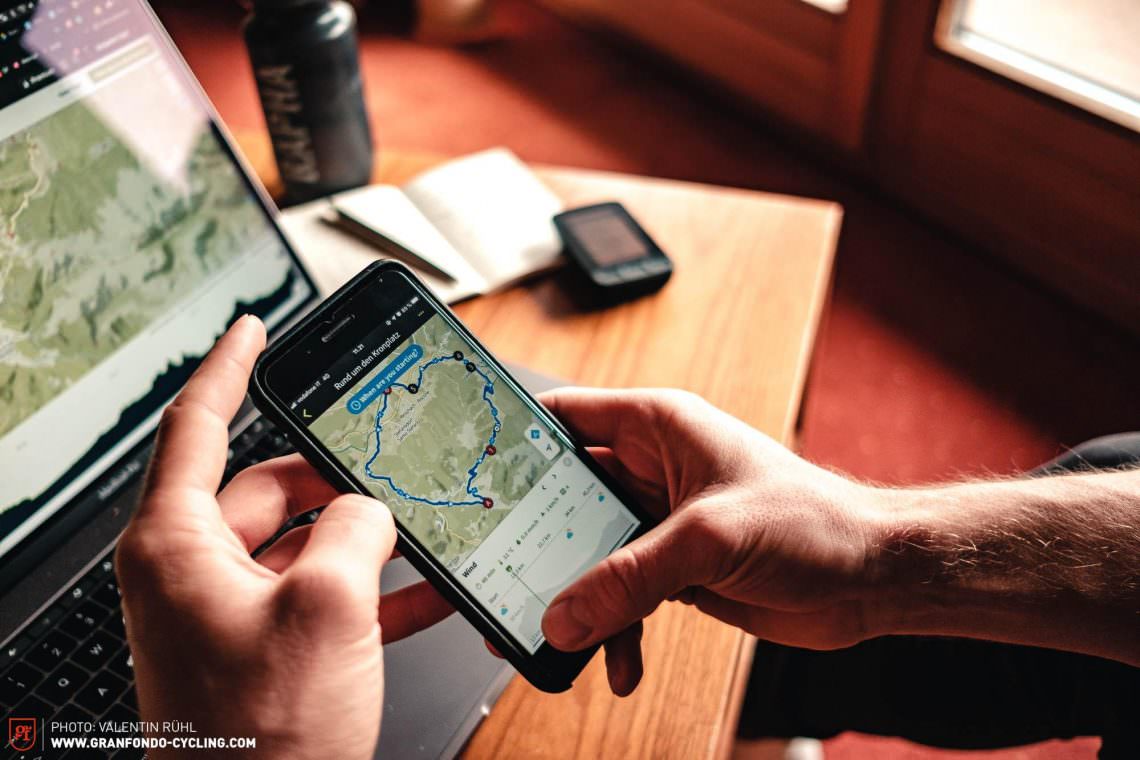
Planning bikepacking routes with Komoot
With the help of outdoor navigation specialists, Komoot, route planning and navigation for your next bikepacking adventure couldn’t be easier. Komoot’s maps are based on optimised OpenStreetMap maps combined with the knowledge of a community of over 16 million members. With contributions from the community and some clever algorithms, Komoot suggests worthwhile routes and points of interest. If you open Komoot on your desktop computer, you have three options: let yourself be inspired by the suggested collections, some of which are created by local tourism boards. Look at the routes created by Komoot, change them if necessary and save them. Create your very own bikepacking adventure in the route planner. For an in-depth look at how Komoot works, what functionality it offers and how to create the perfect bikepacking route, check out the dedicated article we’ve written on the topic here.
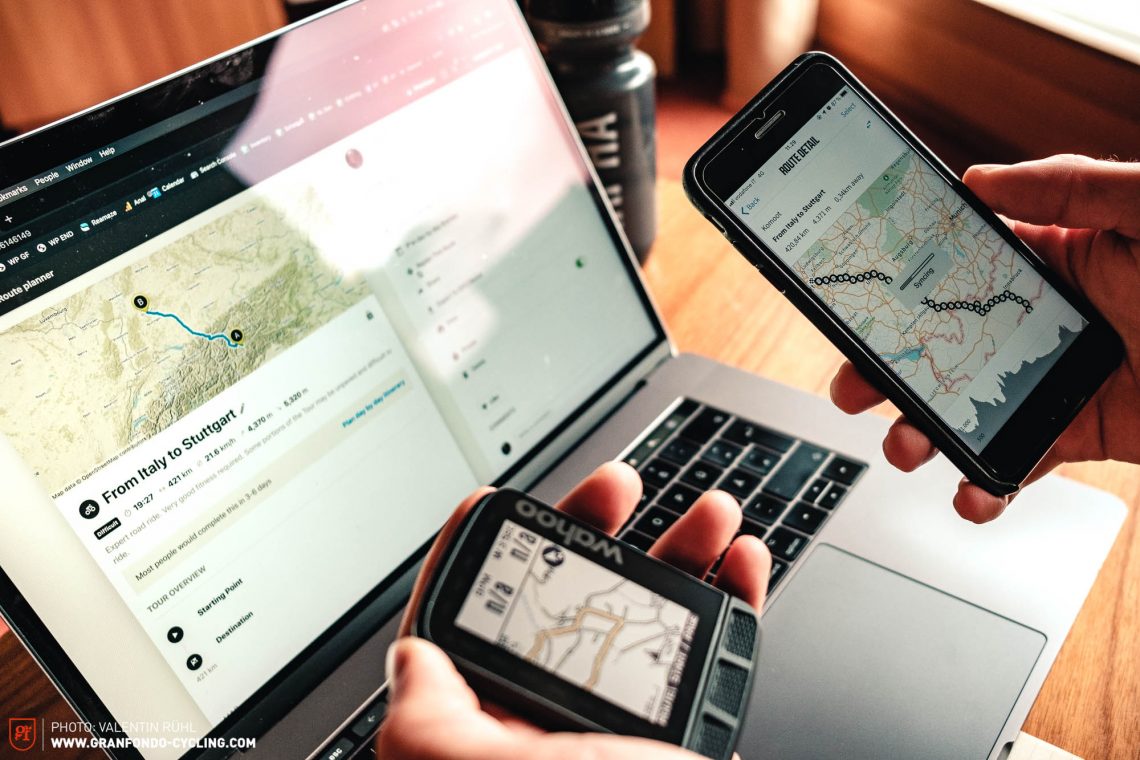
How do I navigate during a bikepacking trip?
Nothing is more annoying than having to pull your smartphone or, even worse, a paper map out of your pocket at every turn to look if you’re going the right way. Modern GPS devices provide the solution, allowing you to upload a planned route beforehand or navigate offline while on the move. Check out our detailed group test to find out which of the two industry giants have the upper hand, Garmin or Wahoo. If you’re going to rely on a smartphone or bike computer for navigation, please remember to pack a power bank – unless you’ve got a hub dynamo and USB charger.
The GRAN FONDO bikepacking mindset
To finish things, we’d like to give you a few tips on how to behave and suggestions for the kind of attitude that will help make the most of your upcoming bikepacking adventures.
To finish things, we’d like to give you a few tips on how to behave and suggestions for the kind of attitude that will help make the most of your upcoming bikepacking adventures.
First of all: you do you! Approach bikepacking in a way that feels right to you and just do what you feel like doing. Of course, you can use the adventures and trips of others as a source of inspiration but nobody expects you to do the same. If all you want is to take a leisurely cruise through the local woods and not cross the Himalayas, you’re no less of a bikepacker. Consider what attracted you to bikepacking in the first place and don’t be afraid to try it. There’s no quicker way to find out what you really like, what you don’t enjoy, and build your confidence.
Bikepacking is what you make of it and not what other people think it should be.
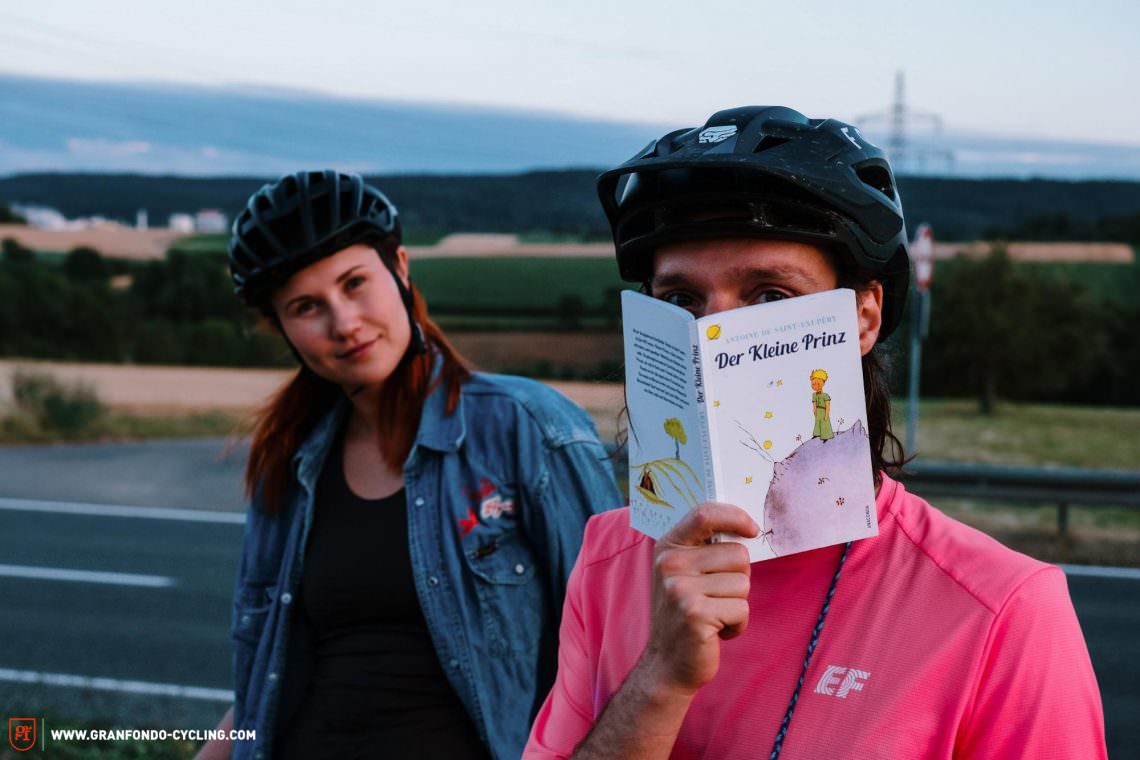
If you’re travelling with your partner or in a group, be honest with each other about how you feel and open about things that come up. Physical stress can make us all react to things a little more emotionally than we would otherwise and you’ll likely reach a point where you’ll get on each other’s nerves, especially on longer trips. Talk about it and find solutions to the things that bother you in a relaxed conversation instead of ignoring it and letting it eat you up.
Don’t set your expectations and goals too high but do have them. A certain amount of planning makes sense and is advisable, but try to remain spontaneous and flexible instead of sticking to a rigid schedule. That makes it easier to deal with unexpected surprises or avoid disappointment. In most cases, everything will go according to plan and you’ll have a better time than you could ever have imagined. However, you will inevitably encounter some setbacks and have to deal with them. It’s a tremendous help if you’re willing to compromise on your original plan and able to stay adaptable. Be it simply lowering your standards because you don’t have enough packing space or accepting that you’re more exhausted after half a day’s riding than you would like to admit and won’t reach your planned destination. You’ll have to overcome other challenges too, like arriving at a supermarket that you’ve been looking forward to for the last 30 kilometres and finding it’s closed.
Be open-hearted and open-minded, treat your fellow human beings and nature with respect and heed the seven principles of “Leave no Trace”. In a way, you are ambassadors for a more conscious and sustainable way of living.
From the bike to the drivetrain, to equipment, to accommodation, to route planning: we hope that our guide serves as a good overview of everything bikepacking and that you now know what it’s really all about – that is, any form of self-supported, multi-day bicycle adventure. What are you waiting for? Pack your things, gear up your bike, plan a route! Have fun exploring.
Bonus info: if you want to dive even deeper down the rabbit hole, we definitely recommend paying a visit to bikepacking.com where you will find more in-depth information, countless route recommendations, bike and component reviews, as well as plenty of inspiration for your next adventure.
Did you enjoy this article? If so, we would be stoked if you decide to support us with a monthly contribution. By becoming a supporter of GRAN FONDO, you will help secure a sustainable future for high-quality cycling journalism. Click here to learn more.
Words: Andreas Maschke, Benjamin Topf, Philipp Schwab Photos: Diverse