Electronic groupsets have established themselves on the market and allow for effortless shifting. They’re faster, more accurate and, above all, incredibly reliable! And all of this regardless of the weather.
But even electronic groupsets need fine-tuning from time to time. We will show you how to adjust your electronic groupset correctly.
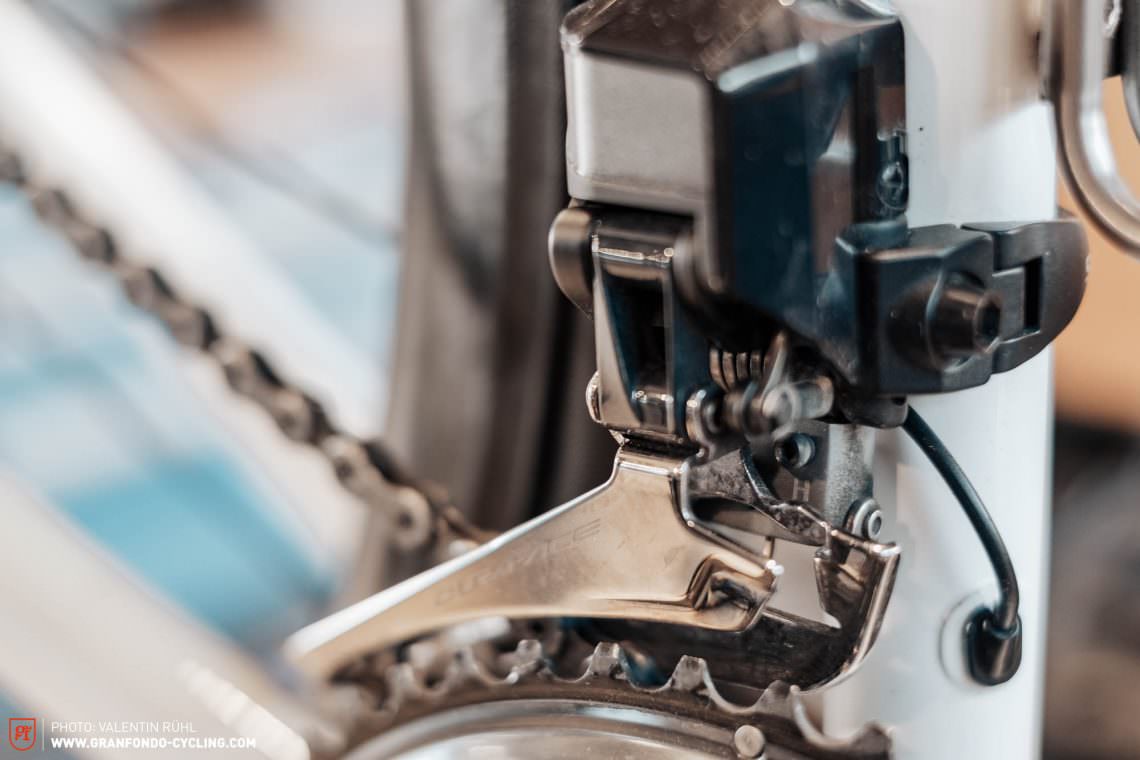
Even with electronic groupsets there are several mechanical factors that influence the shifting performance. A worn-out chain can easily slip on the sprockets and mess up your ride. We will explain how to check and change your chain in a separate tutorial.
For this specific tutorial we assume that your groupset is properly installed and that crucial wearing parts such as cables and mech-hanger are in a good state and the battery of your electronic groupset is fully charged.
Gear-adjustments are pretty much the same for all manufacturers. Product specifics can be read in the manual.
Difficulty
- Medium
Required tools
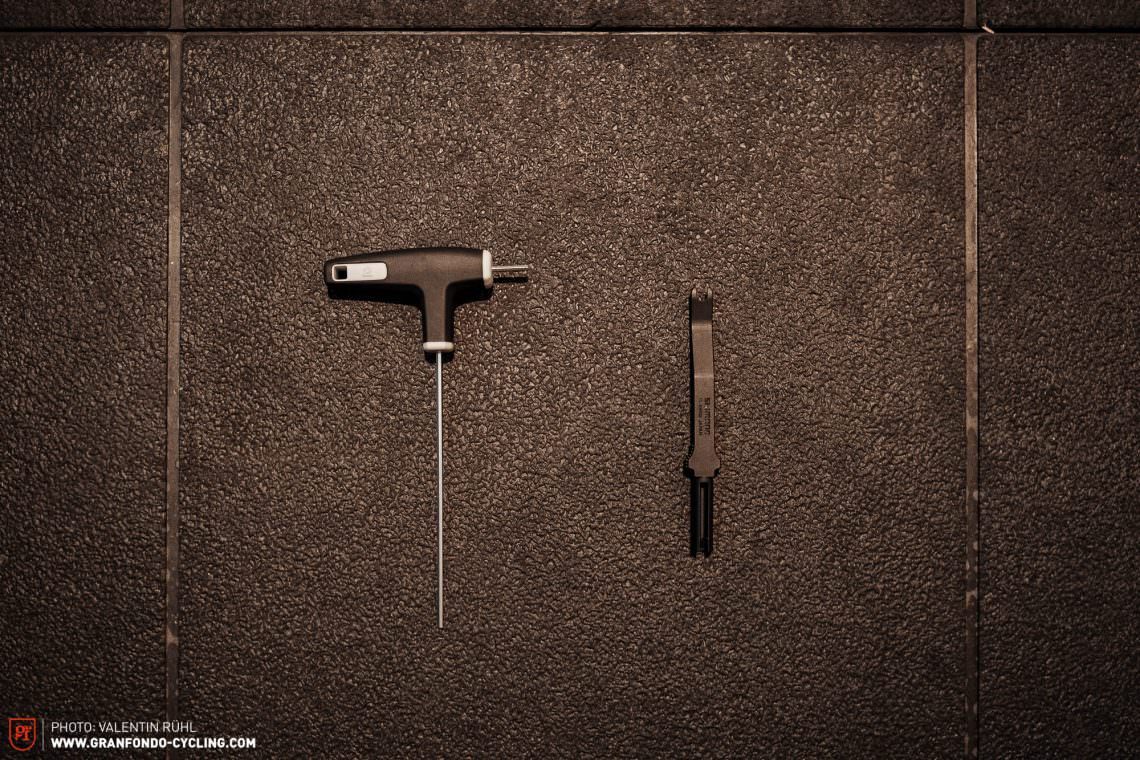
- Screwdriver
- Di2-Connector-Tool
Instructions Part 1 – Adjusting the rear derailleur
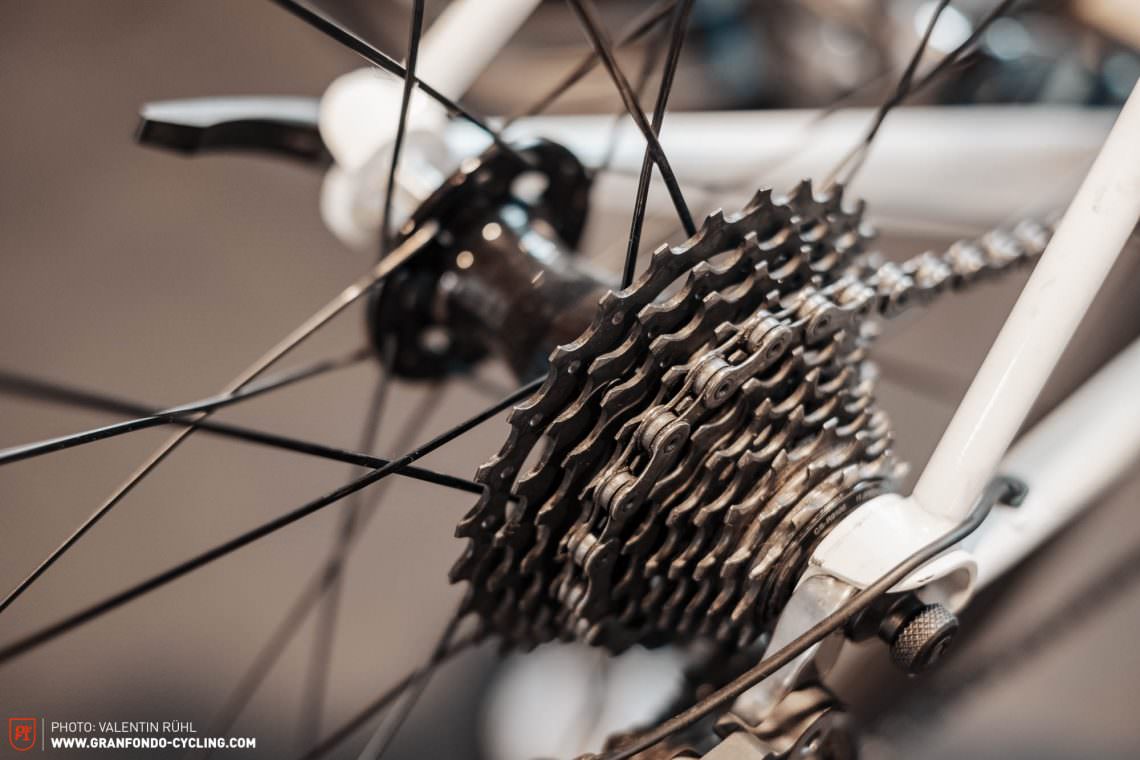
Step 1: adjusting the rear-derailleur. Before starting, shift to the small chainring and fifth largest sprocket.
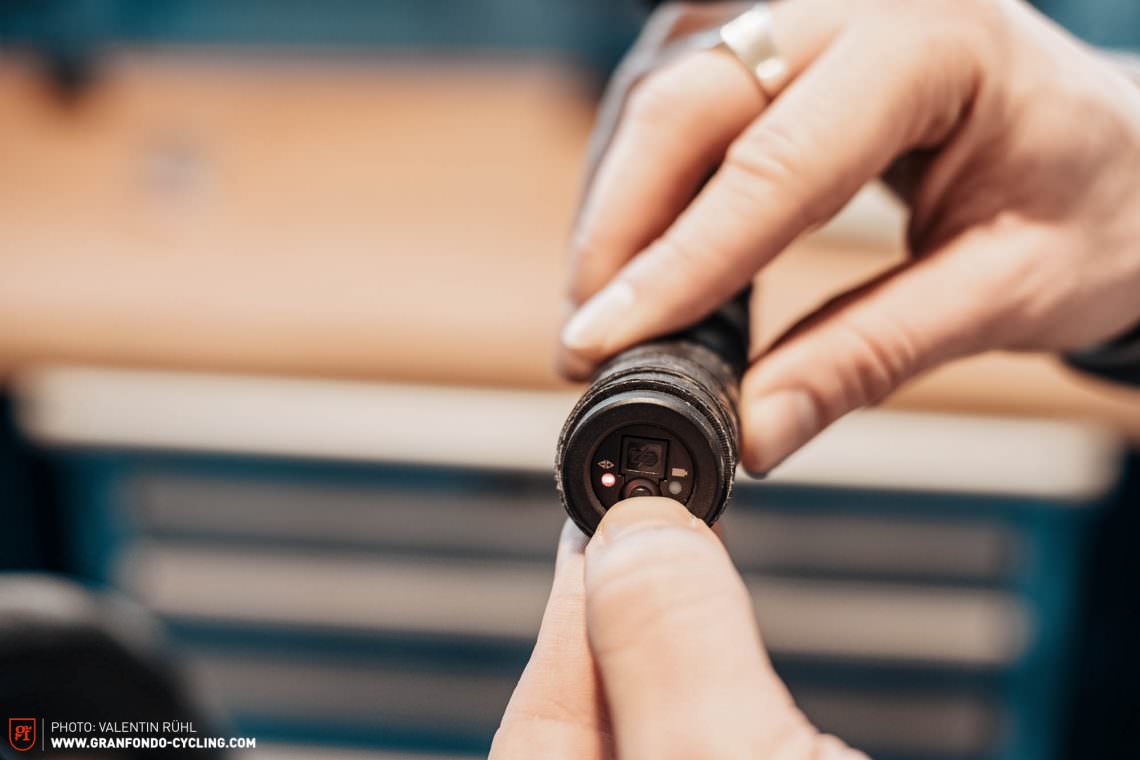
Now switch to adjustment mode. Press and hold the button on the junction box for 5 seconds. The light should now turn red.
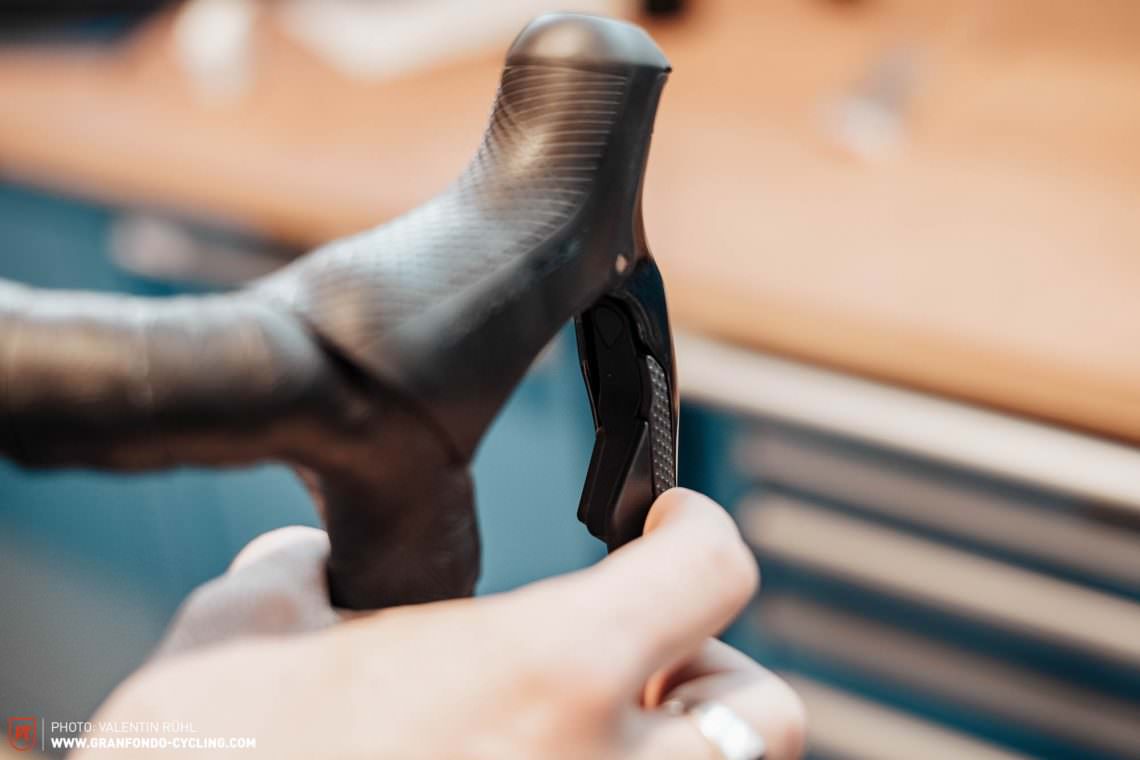
If you press the ribbed switch on the shifter you normally use to change to a lighter gear, the rear-derailleur will move towards the wheel with micro-adjustments. Repeat this operation until you hear the chain rubbing on the fourth largest sprocket.
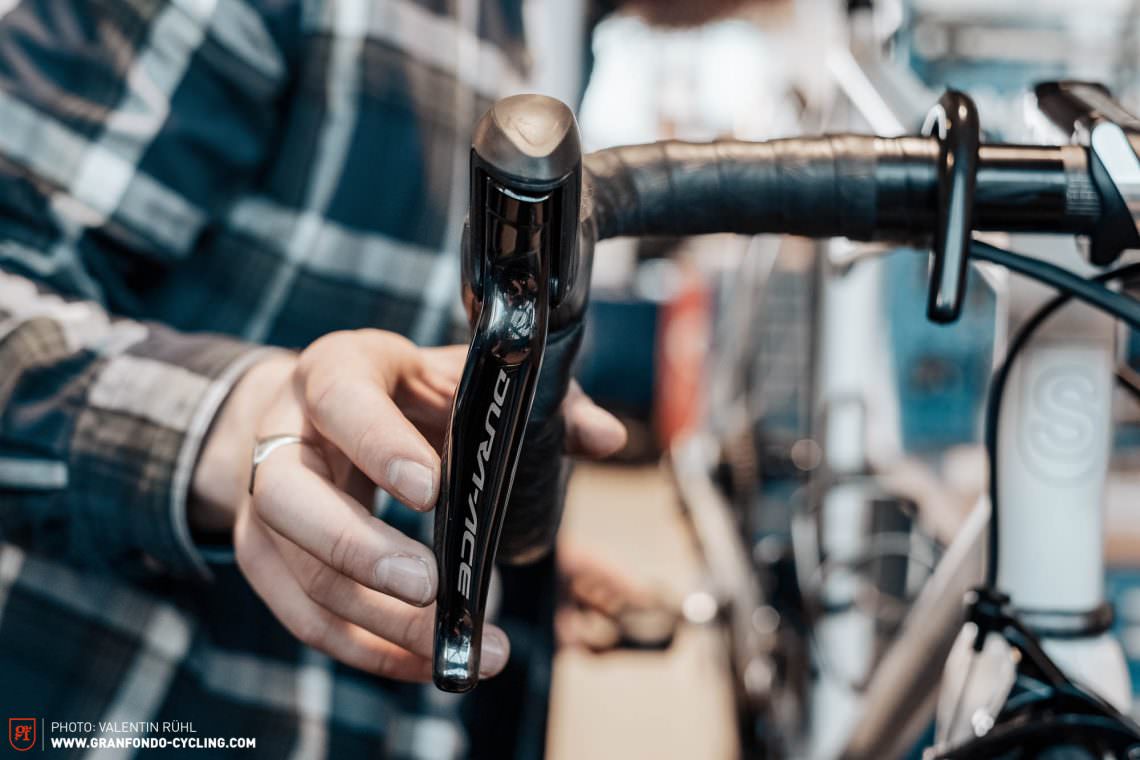
For the following step use the smooth switch on the shifter you normally use to shift to a heavier gear. Press this button 4 times to move the chain away from the wheel again. The setting is now complete, and you can return to the normal mode by pressing the button on the junction box for another 5 seconds.
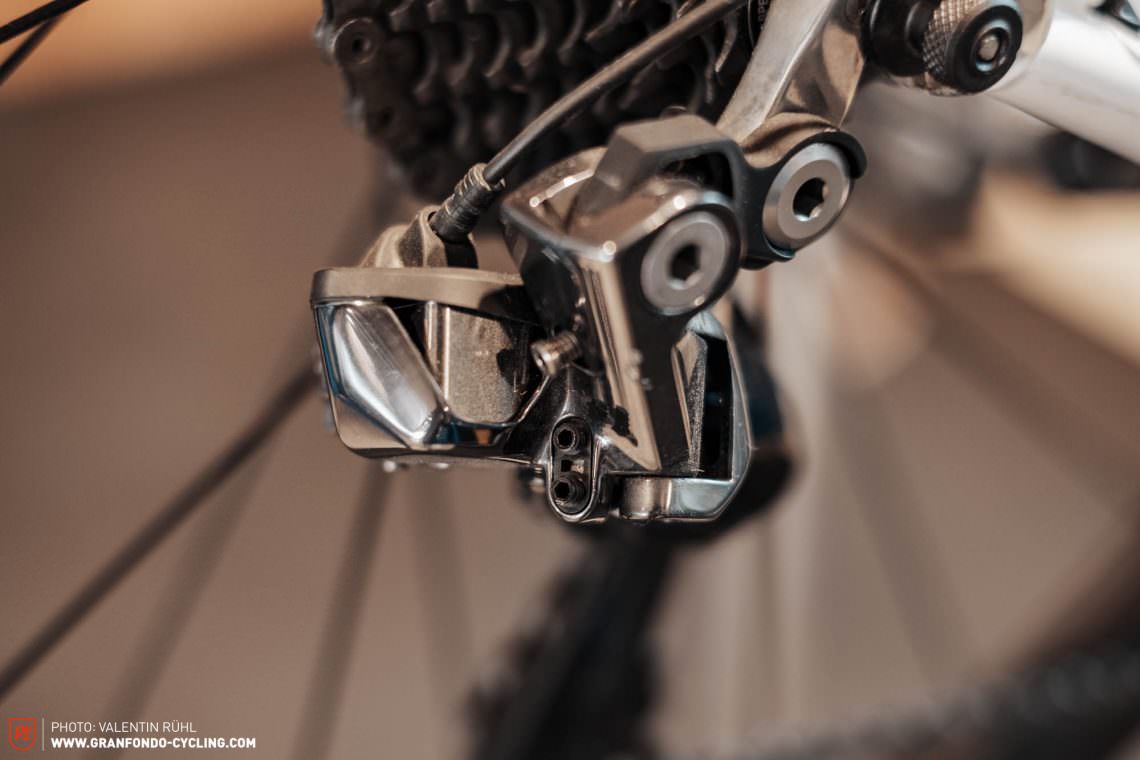
Now check the limit screws on the rear-derailleur again. Before you do this shift to the smallest sprocket. Turn the H limit-screw clockwise until it reaches the upper limit. ATTENTION: If the screw is too tight you won’t be able to shift into the smallest sprocket properly.
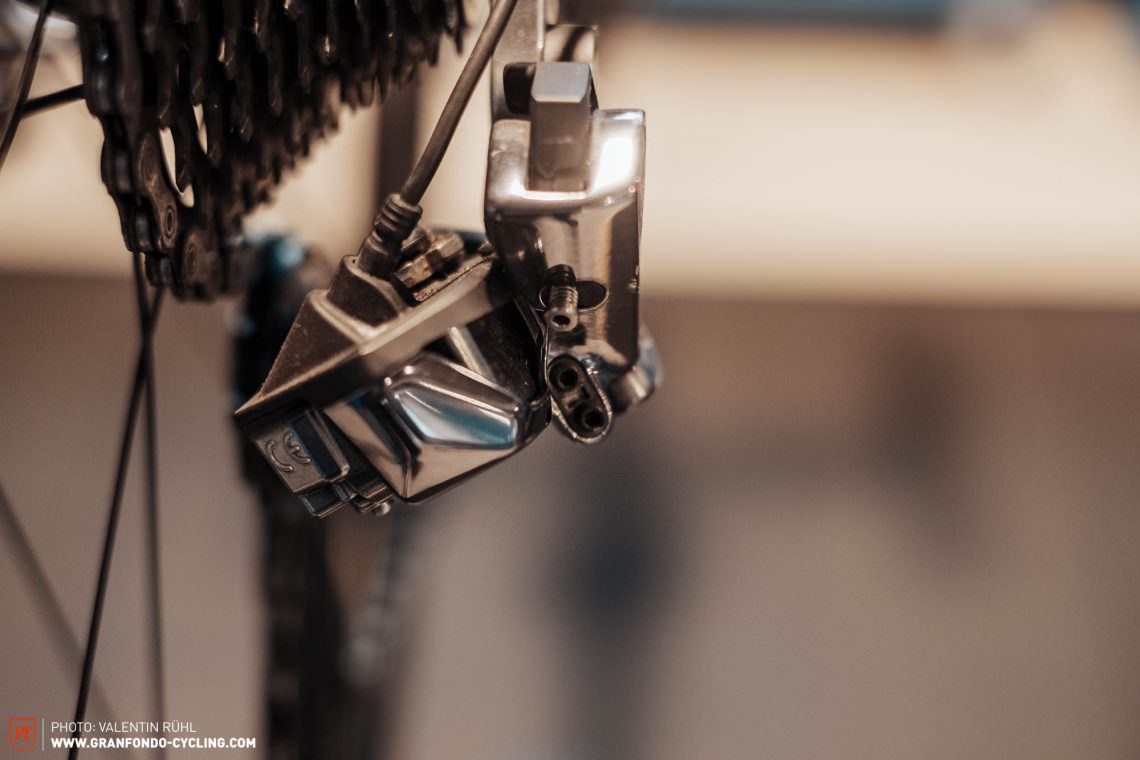
Finally check the limit on the largest sprocket. To do this, shift into the largest cog first. Turn the L limit screw clockwise until it reaches the lower limit. ATTENTION: If the screw is too tight, you won’t be able to shift into the smallest sprocket properly.
Most common issues and troubleshooting:
- If the gears only shift well on one part of the cassette check the mech hanger and see if it’s bent.
- If the top jockey-wheel is too close to the cassette when you’re in the biggest sprocket, you have to increase the B-tension of your rear-derailleur— you do this by using the B screw which adjusts the distance between the rear-derailleur and the cassette
Instructions Part 2 – Adjusting the front derailleur
Dialling in the front derailleur is generally easier than adjusting the rear-derailleur. All you have to do is adjust the upper and lower limit-screws.
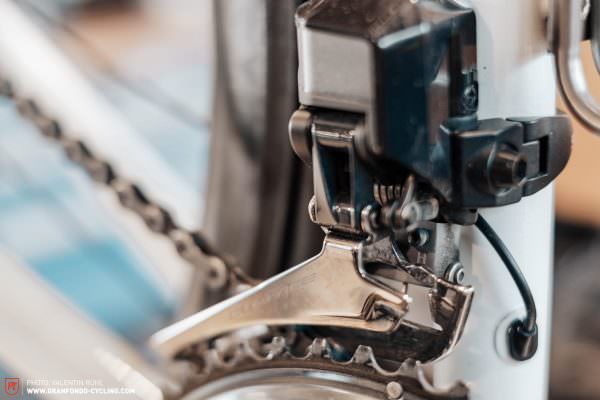
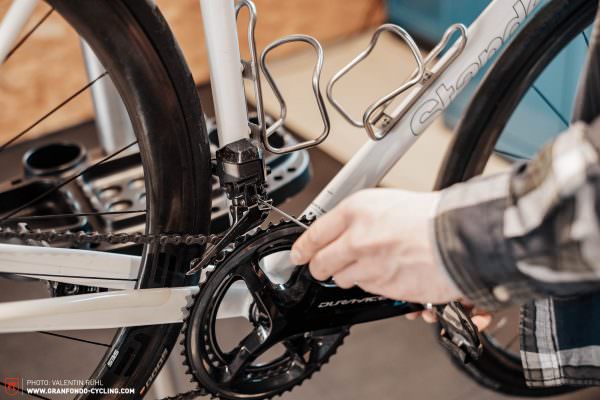
Just like with the rear-derailleur you can set the limit of the front-derailleur using the H and L limit-screws. Once again, the H screw (High) sets the upper limit, only this time on the big chainring. The L screw (Low) sets the lower limit on the small chainring.
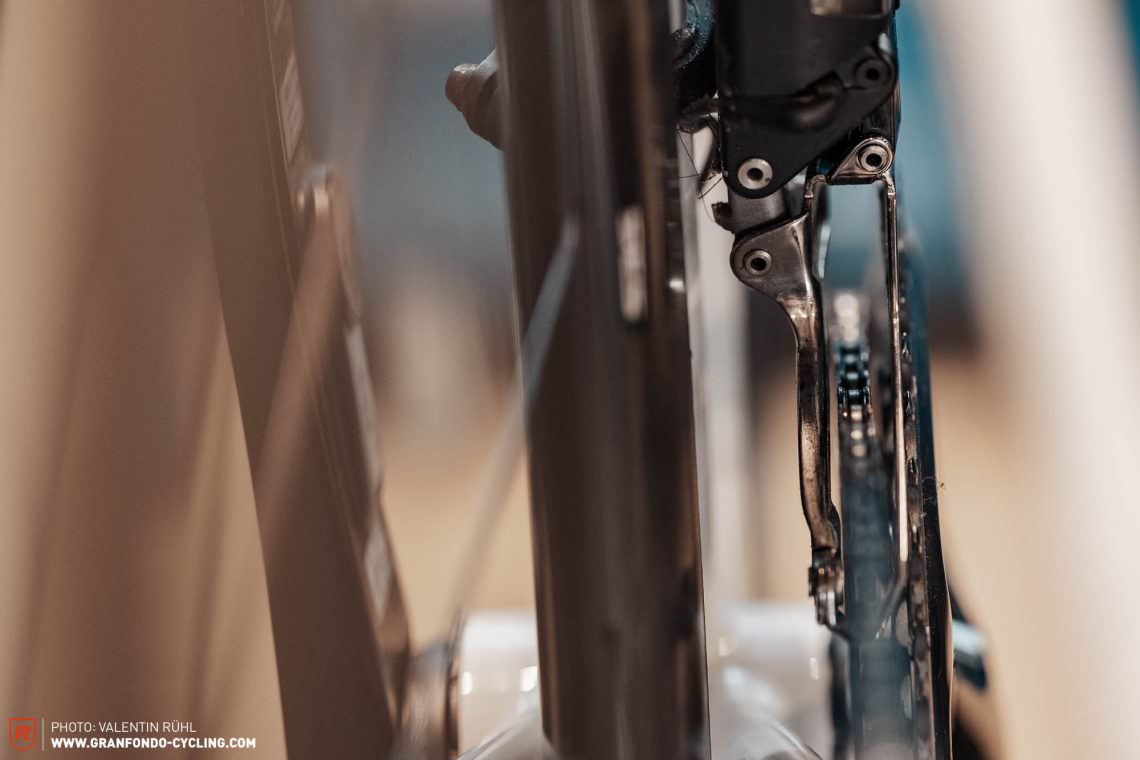
In this first step we’ll show you how to adjust the lower limit of the front-derailleur. Before you do this, shift into the smallest chainring and largest sprocket. When the inner guide-plate is about 1 mm from the chain the front derailleur is correctly positioned. If the guide and the chain are too close together they will touch and make a grinding noise. If the guide plate is too far away from the chain, the chain may fall off the chainring.
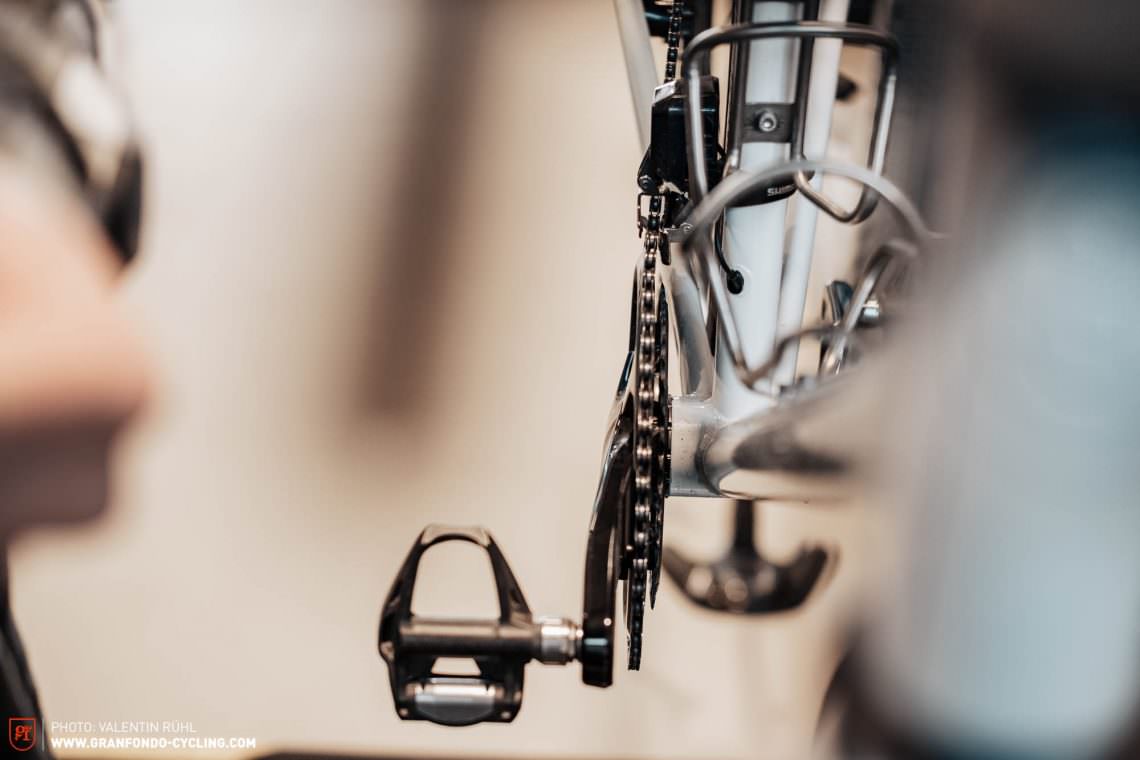
Now it’s time to adjust the upper limit of the front-derailleur. Before you do this shift into the biggest chainring and smallest sprocket. When the outer guide plate is about 1 mm from the chain the front-derailleur is correctly positioned. If the guide plate and the chain are too close together, they will touch and make a metallic grinding noise. If the guide plate is too far away from the chain this could fall off the chainring.

In the next step you’re going to check the shifting performance, changing gears from small to large and large to small and testing all gear combinations. If the gears change smoothly and the chain doesn’t rub on the front-derailleur you don’t have to do anything else.
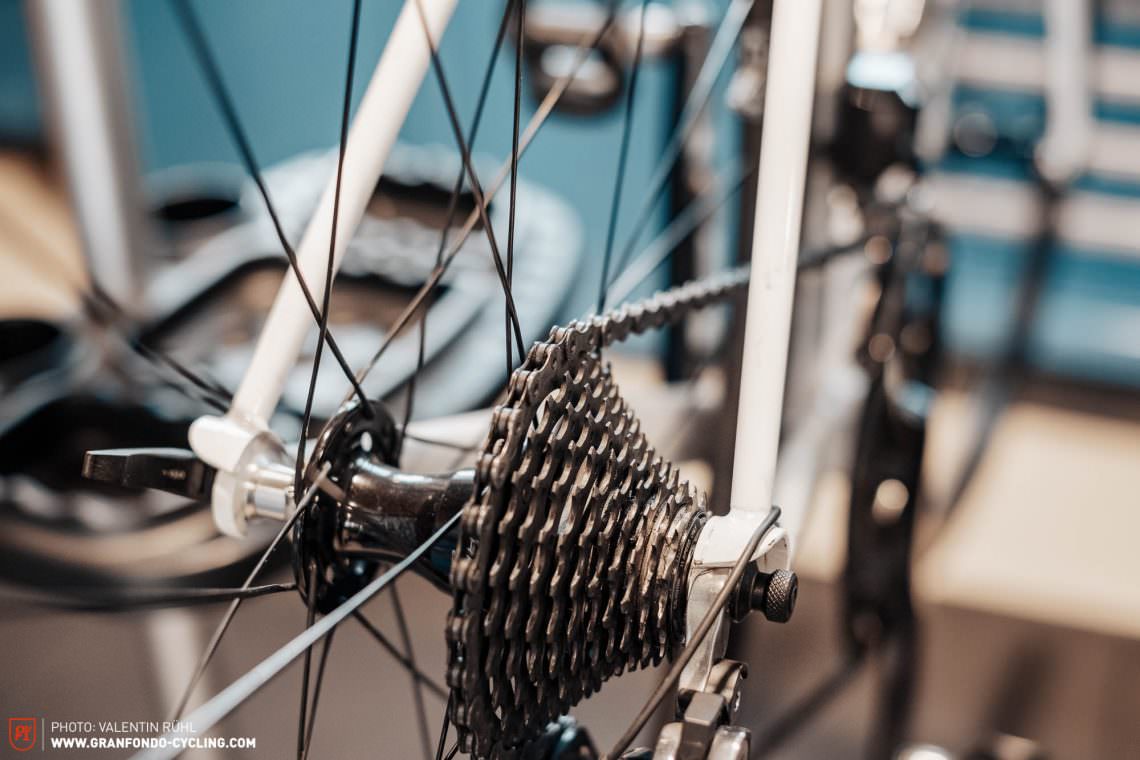
Cross check: briefly shift into the large chainring and largest sprocket. If the chain rubs against the front-derailleur cage, you need to make a final fine-adjustment.
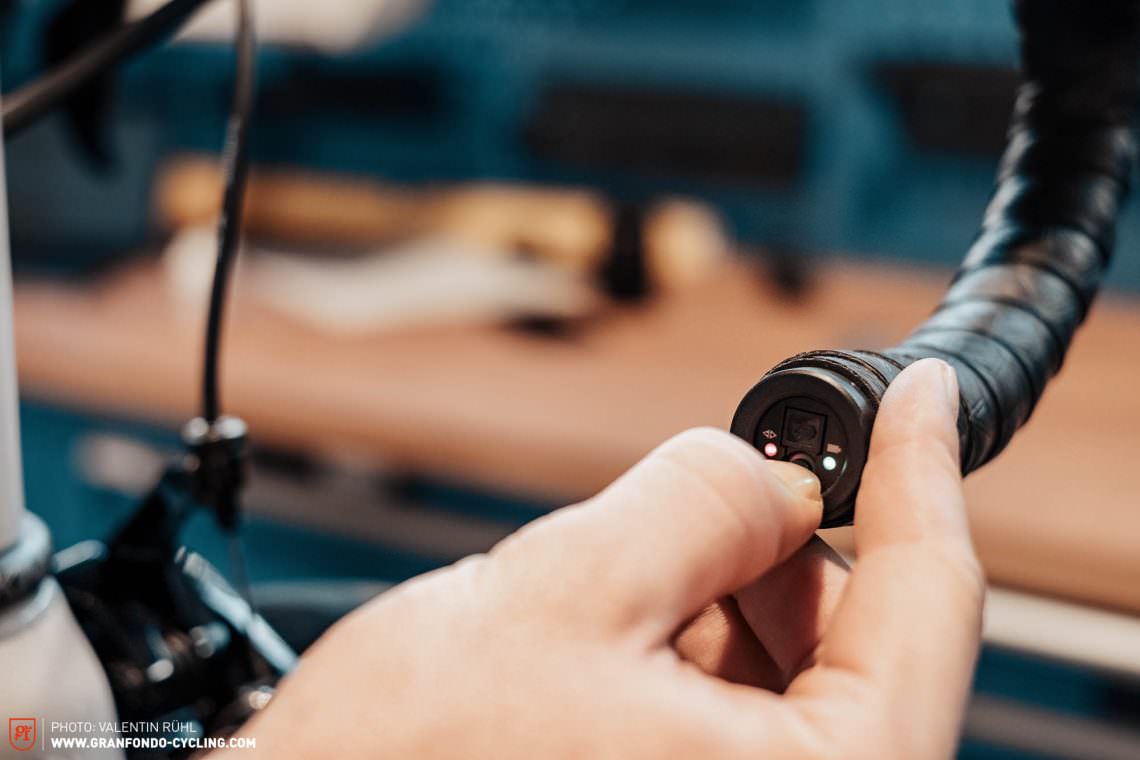
In the next step you’ll be switching to setting mode. Press and hold the button on the junction box for 5 seconds. The light will turn red.
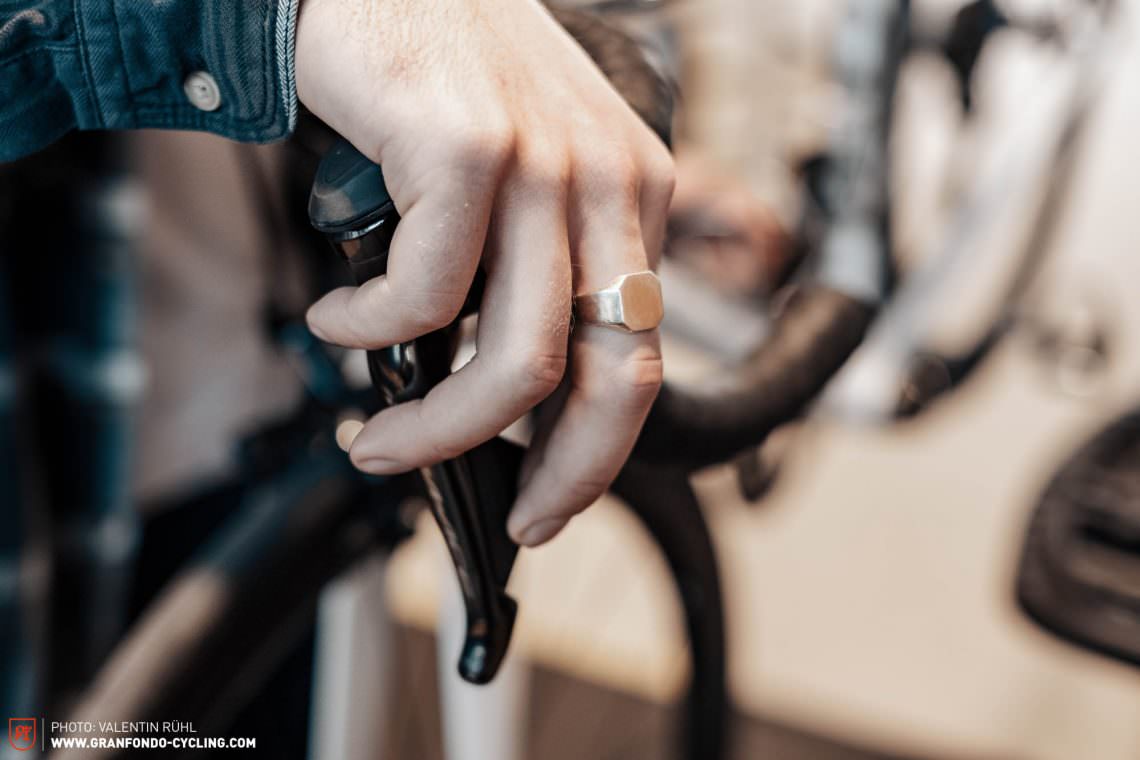
By pressing the ribbed switch on the shifter you normally use to change to a harder gear, the front-derailleur move towards the large chainring with micro adjustments. By pressing the smooth switch on the shifter you normally use to shift into a lighter gear, the front-derailleur moves towards the small chainring with micro adjustments.
Now you can depress the button on the junction box for another 5 seconds to exit the setting mode.
Most common issues and troubleshooting:
- If your drivetrain still makes noises after correct installation, the front-derailleur might be incorrectly installed or even bent.
- If your front-derailleur doesn’t work at all, you want to check the battery status. If your battery is running low, the system will automatically disable the front-derailleur to save electricity. To check your battery status press the smooth switch for several seconds on both levers simultaneously . The light on the junction box now indicates the battery level. Press the button on the junction box for 5 seconds to exit the setting mode.
Did you enjoy this article? If so, we would be stoked if you decide to support us with a monthly contribution. By becoming a supporter of GRAN FONDO, you will help secure a sustainable future for high-quality cycling journalism. Click here to learn more.
Words: Manuel Buck Photos: Valentin Rühl


