
Setting your gravel bike up tubeless may seem a daunting task. However, with the right tips and technique, it’s easy to do. This guide contains everything you need to know for a simple, mess-free tubeless setup.
There really is no cheaper, easier and more effective upgrade for your bike than setting up your wheels tubeless. However many people still seem to prefer using inner tubes, often because they dread the setup process. We’ll show you how easy it can be and promise you won’t cover your living room in tire sealant. You wonder what tires to put on your gravel machine? We recently tested the best gravel tires against each other in our gravel tire group test.
Tubeless setup – an overview
- Difficulty: easy
- Time required: 15–30 mins per tire
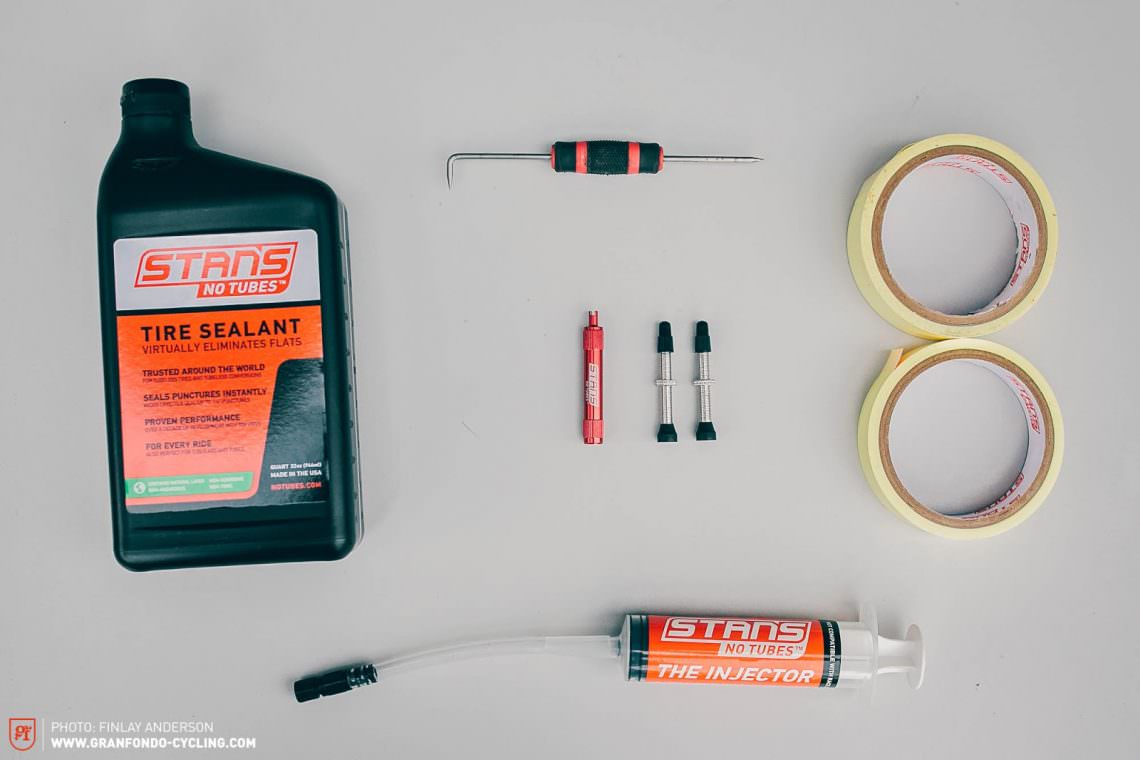
What do you need for a tubeless setup?
Before you start your tubeless setup, you should make sure you have the necessary parts and equipment ready. You will need tubeless-ready rims and tires, sealant and a pair of tubeless valves. If your rims aren’t pre-taped, you’ll need to install tubeless-specific rim tape as otherwise, the rim bed won’t be airtight. To inflate the tire, you may need a tubeless inflator or a compressor.
Quick checklist – here’s what you need for a tubeless setup
- a compatible rim and tire
- tubeless sealant
- a high-volume pump (tubeless inflator pump recommended)
- tubeless valves
- tubeless tape (if your rims aren’t pre-taped)
- tire levers (optional)
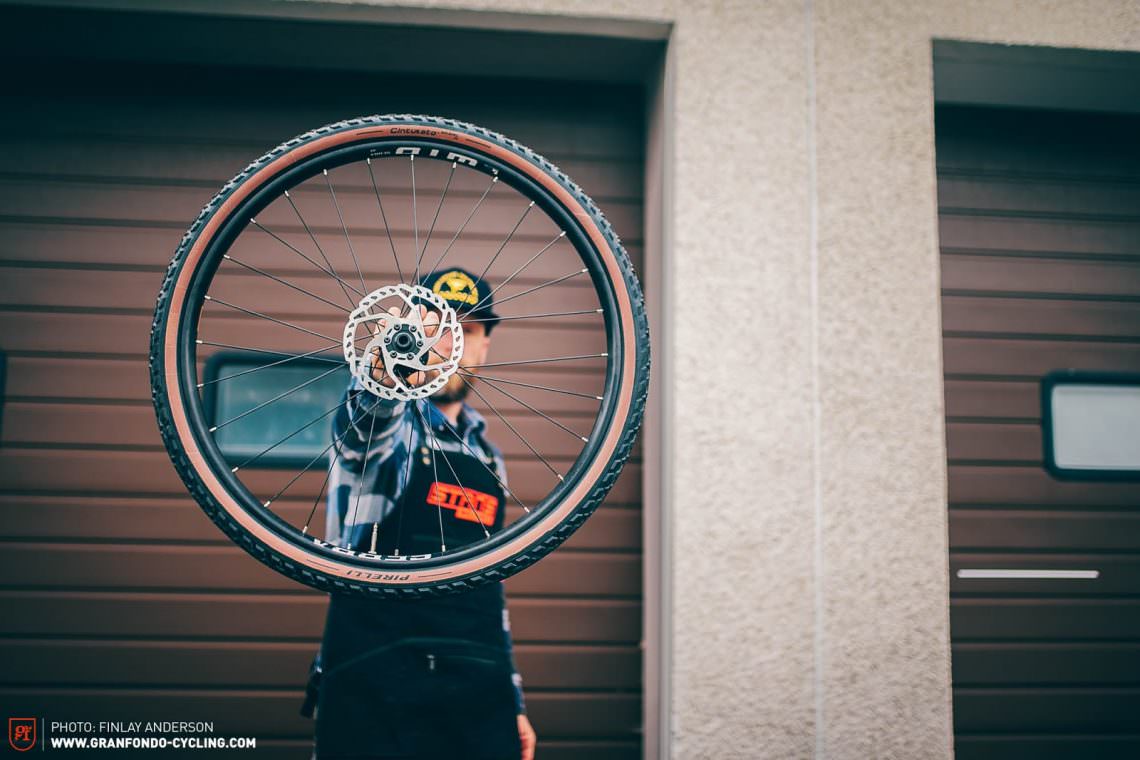
How to set up a tubeless tire
To set your tires up tubeless, both the tires and rims must be tubeless-ready. Luckily, these days almost all current tires and rims are tubeless-ready. The next step is to check if your rim is pre-taped. Pre-taped rims only require you to install a valve and sealant before mounting and inflating the tire. If your rims are pre-taped, lucky you! For the purposes of this guide, we are going to assume the rims aren’t taped and require a full setup.
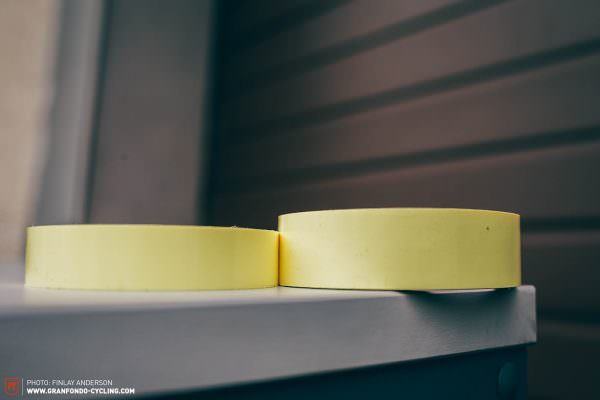
Step 1: Taping the rim (skip if using pre-taped rims)
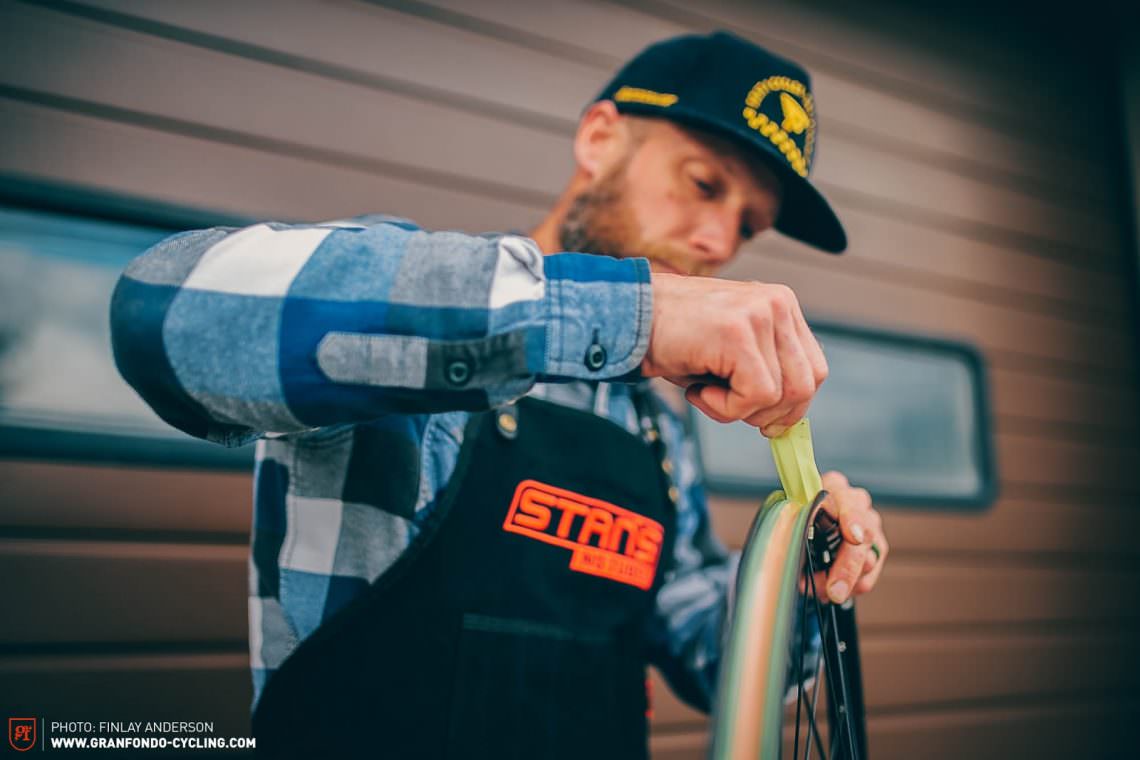
Before installing the tubeless tape, make sure your rims are clean and dry and make sure that you have the correct size of tape for your rim’s internal width. Use isopropyl alcohol (which evaporates without leaving any residue) and a clean rag to ensure there is no dirt or oily residue left in the rim bed. Then, starting 5 cm to the left of the valve hole, carefully begin to apply the tape 12 cm (5”) at a time, taping clockwise and maintaining constant force to ensure the tape is under tension. While maintaining tension, firmly press down the section you have just applied using your thumb. Repeat this process until you meet the start of the tape. Continue past the valve hole, overlapping the tape by a further 5 cm on the other side of it. Then, carefully cut the tape and press down firmly.
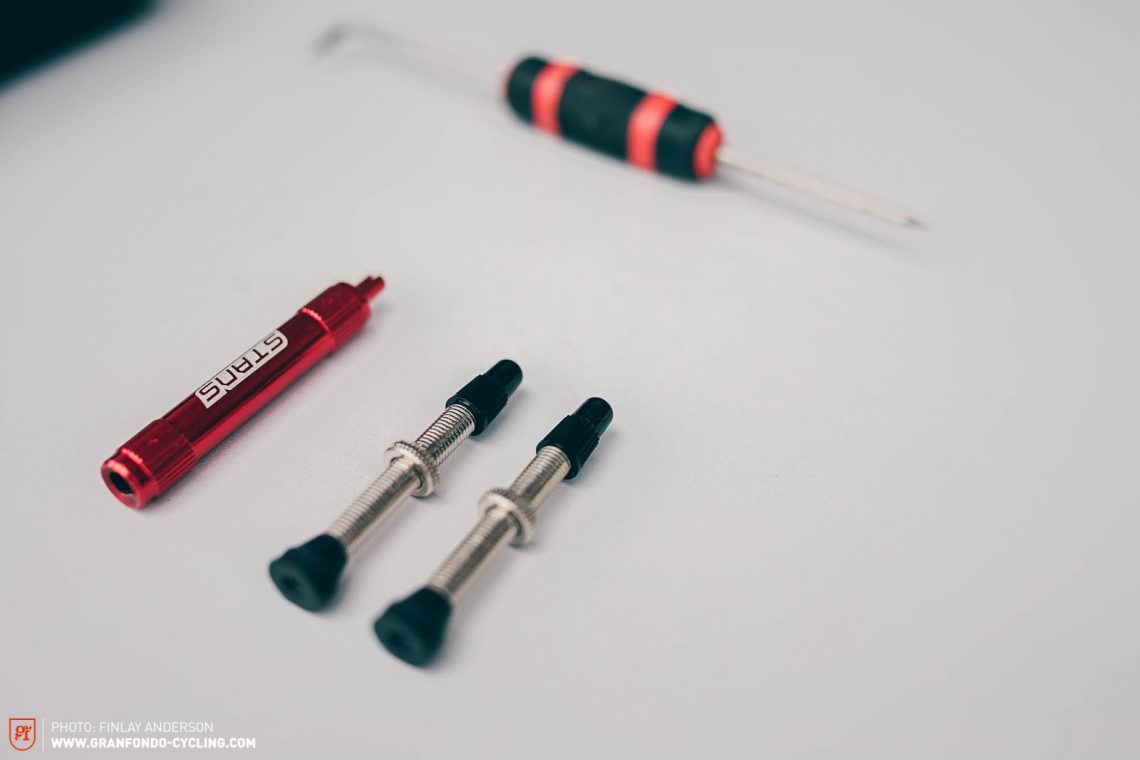
Step 2: Installing the tubeless valve
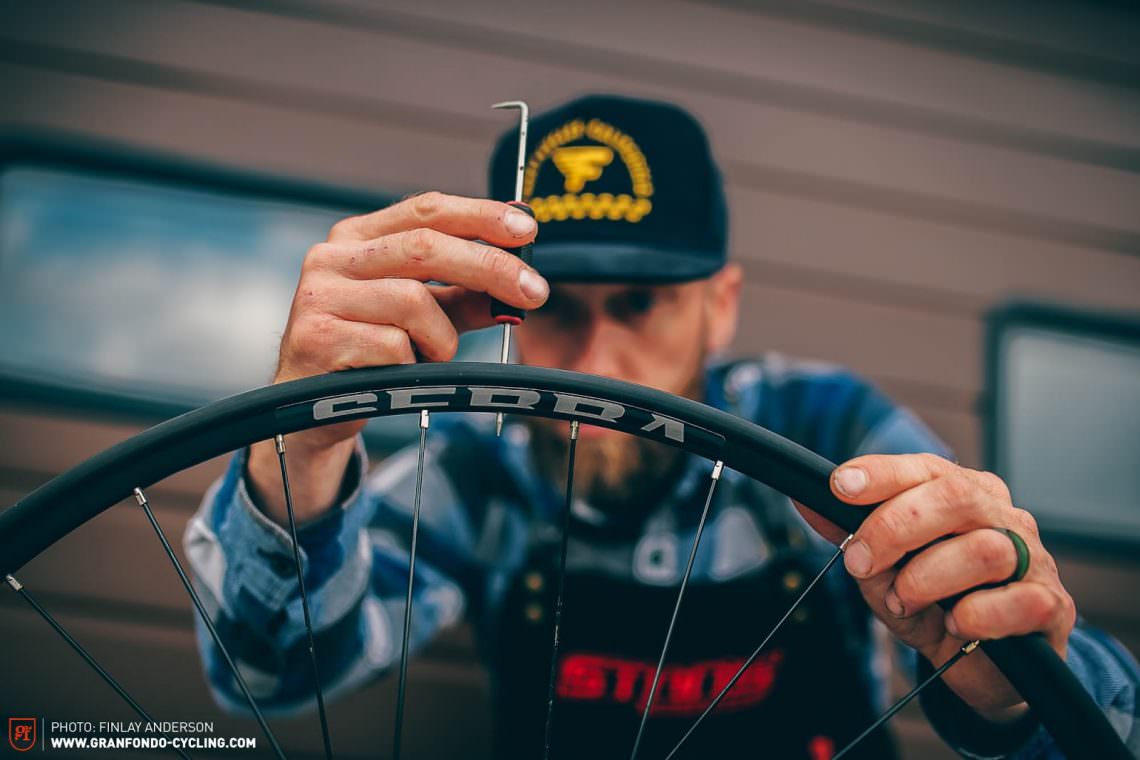
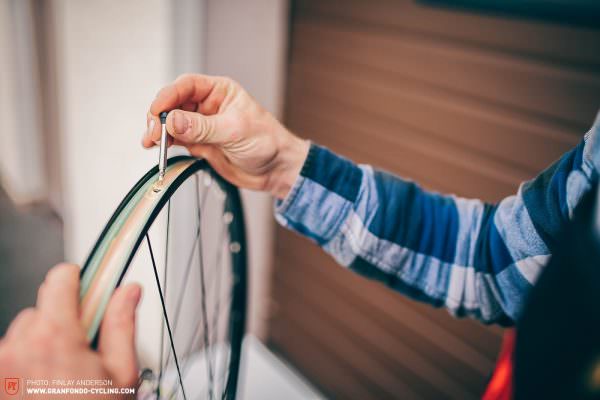
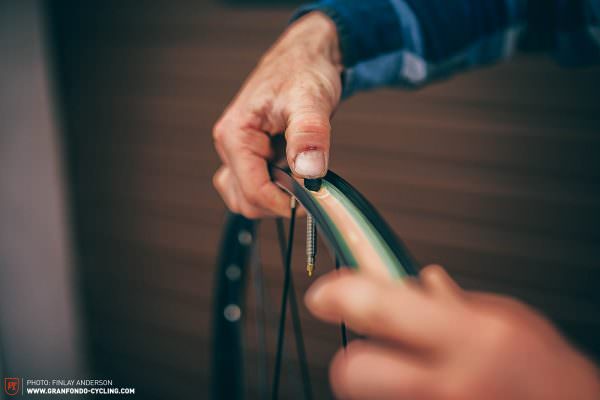
Locate the valve hole and carefully puncture the tape using a pick (or similar). Using a round spike to create the valve hole ensures a clean circular puncture, as opposed to a knife or razor which cuts a long slice in the tape that is prone to splitting. Insert the valve into the rim and carefully push it through the valve hole, making sure the base of the valve sits flush with the rim tape. Then, add the valve locknut and tighten finger-tight. Never use pliers or tools to do this job – you don’t want to be stuck mid-ride with a mechanical and an impossibly tight locknut or risk damaging your precious carbon rims.
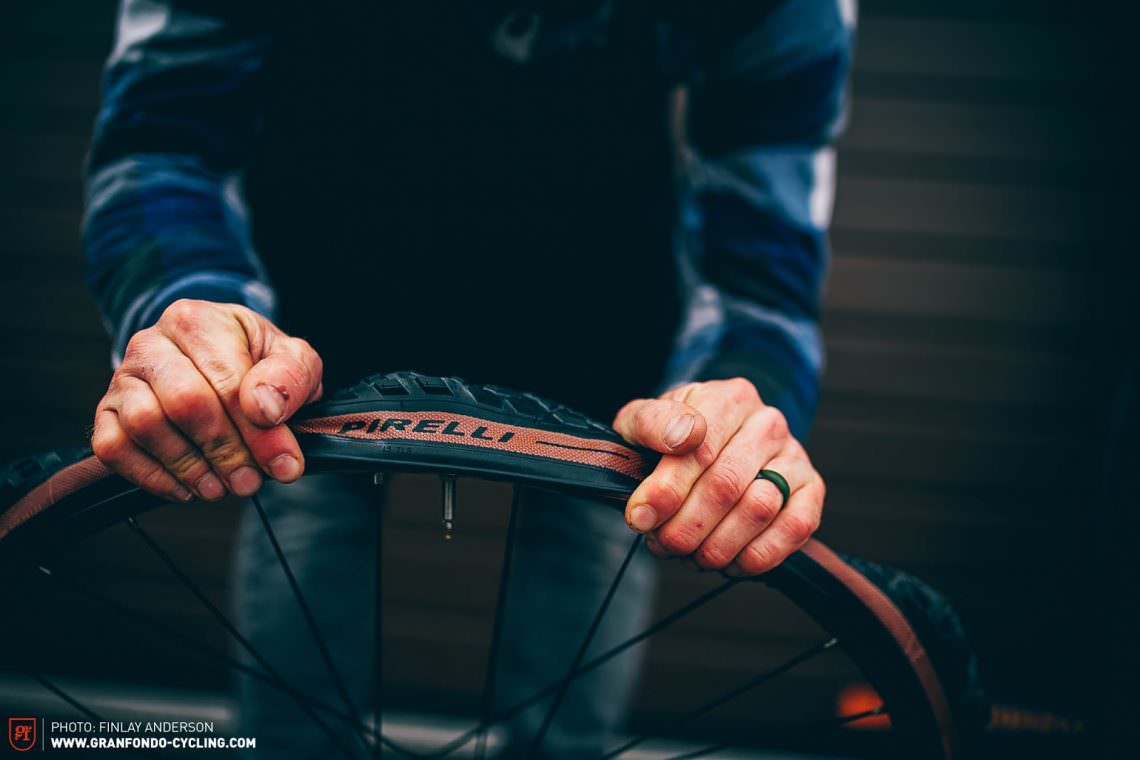
Step 3: Mounting the tire
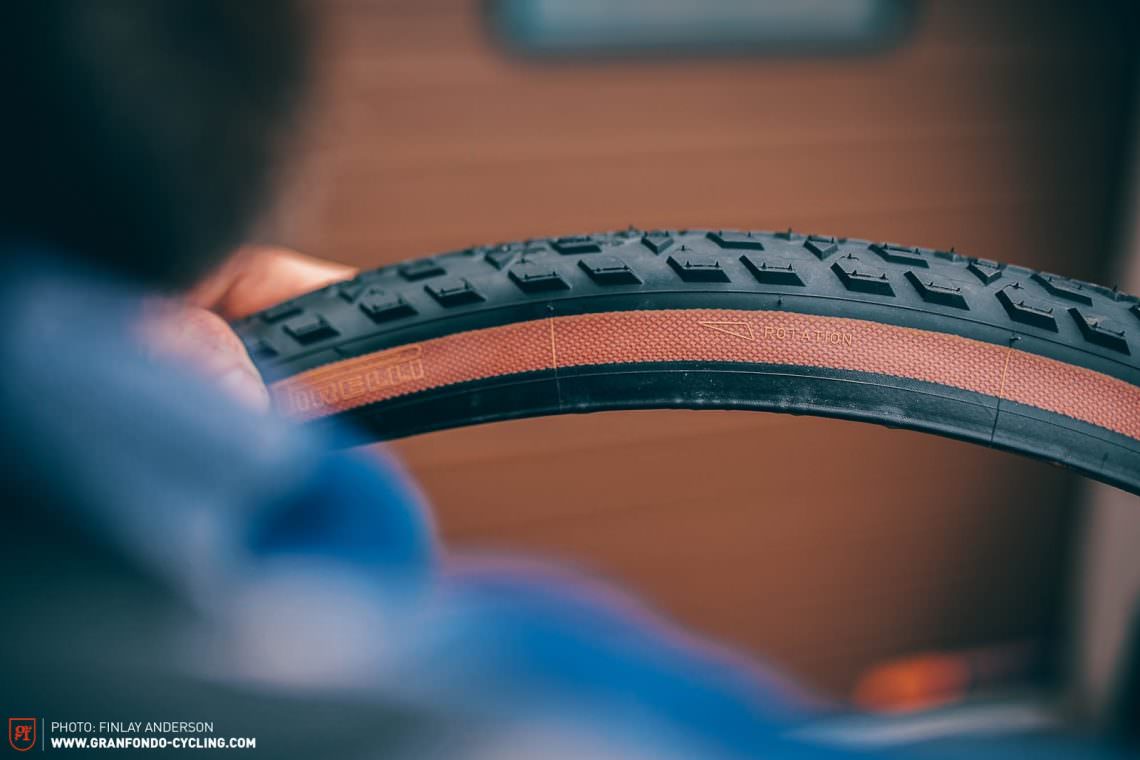
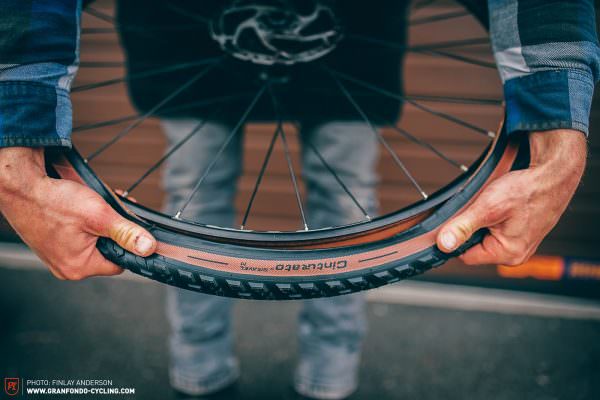
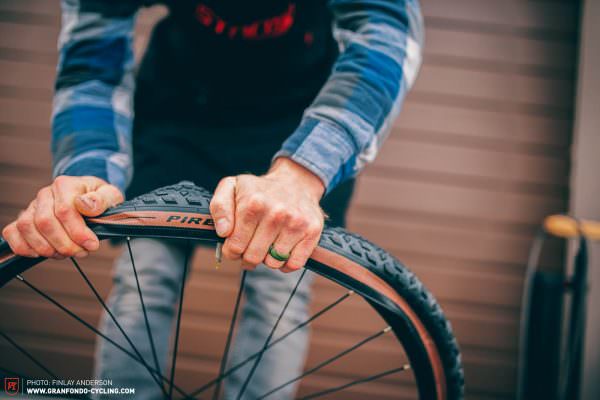
Before mounting the tire, make sure to check the orientation arrow on the sidewall. Sit one bead of the tire into the rim, and install one side of the tire. Pro tip: make sure to align your tire logo with the valve. Then, starting opposite the valve, push the other tire bead into the rim using both hands. By resting the rim on your legs or the floor you can push the tire bead deep into the rim. The closer you get to the valve, the harder it will get. Make sure that both tire beads are sitting as deep in the rim as possible – this gives you the slack needed to install the last part of the bead.
Step 4: Adding tubeless sealant
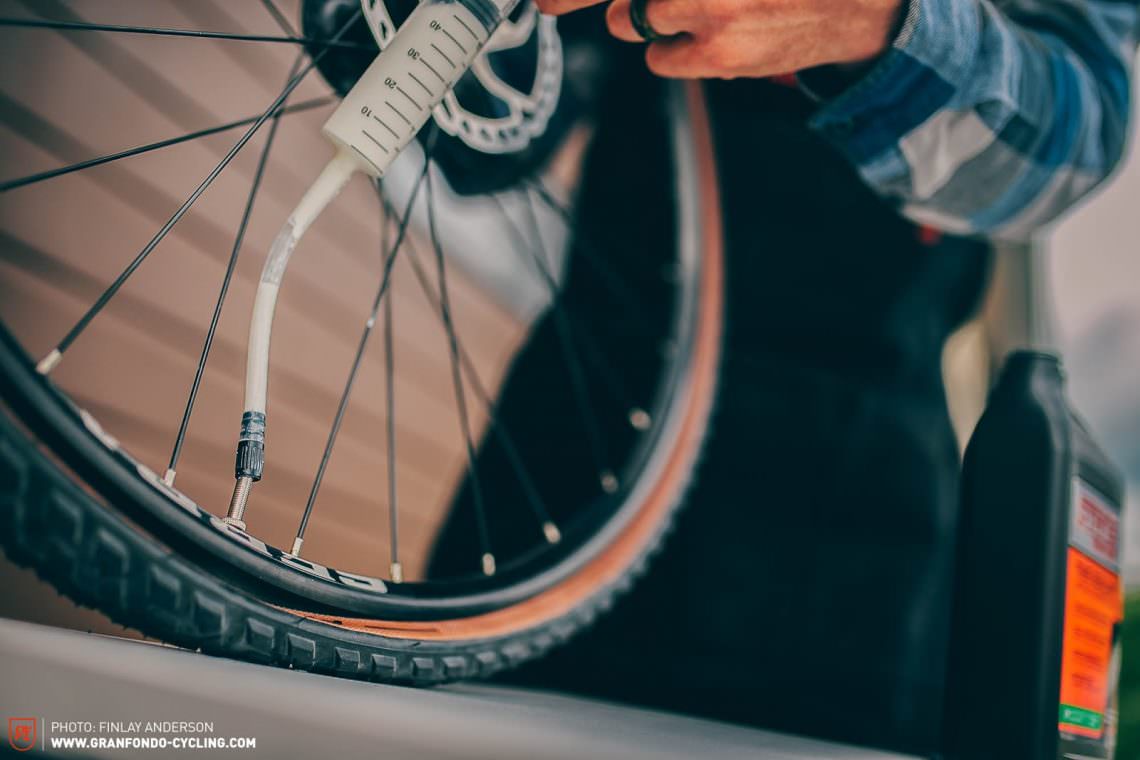
The easiest and cleanest way to install tubeless sealant is by injecting it straight through the valve. To do this, you simply remove the valve core and squirt the sealant in using a sealant injector or nozzle bottle, before refitting the valve core. Alternatively, the sealant can be added before the final section of bead is seated into the tire. We recommend 50–70 ml of sealant per tire. It’s not worth saving weight by using less sealant – skimping here will reduce the effectiveness of the system dramatically.
Step 5: Inflating the tire
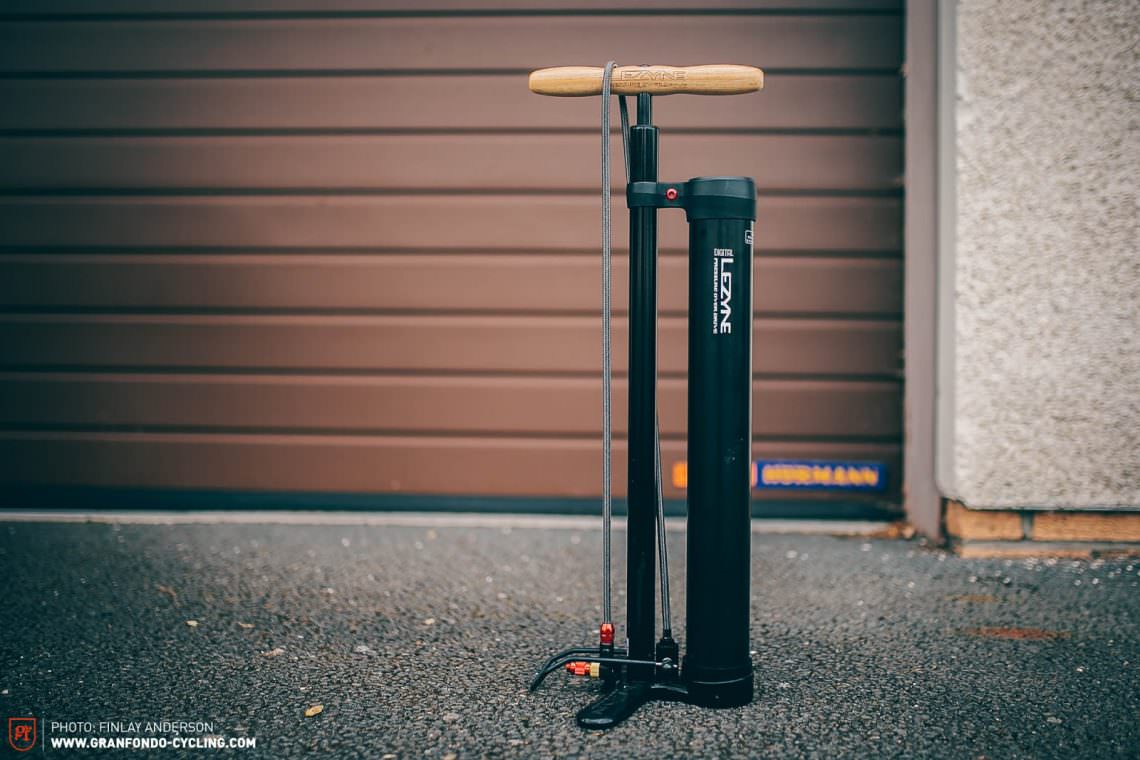
All that’s left now is to inflate your tire. Using a tubeless inflator makes this a lot easier. However, it is also possible to inflate some tire and rim combinations with a standard track pump. If your tire is being stubborn, you can remove the valve core to increase airflow. Once inflated, give the wheel a spin and a shake to make sure the sealant coats the inside of the tire evenly. Pro tip: take your bike for a short spin immediately after successfully inflating the tire to test the setup and let the sealant coat the tire.
4 tips for setting up stubborn tires
- Pump up the tire WITHOUT the valve core: this increases the airflow into the tire and has often worked miracles for us. Just remember to install the valve core immediately after removing the pump to prevent air loss. Even if you do lose most of the air, the tire bead will now be sitting perfectly in the rim bed and can be easily reinflated.
- Use some Schwalbe Easy Fit or soapy water on the sidewalls: if the tire is putting up a fight, some soapy water or Schwalbe Easy Fit will help the tire beads slip into place on the rim.
- Use a tire booster or compressor: if your standard track pump isn’t doing the trick, a tubeless inflator or compressor will help to blast the tire into place. If in doubt, ask a friend or your local bike shop for help!
- Use 2 layers of rim tape: this will make for a tighter fit between the tire and rim.
Tubeless FAQ
CO2 and tubeless – do they work together?
While CO2 does help to reinflate your tire in a pinch, it can also have negative long-term effects on your sealant. When CO2 is released from its pressured canister into the much bigger tire volume, a drastic drop in temperature occurs. This temperature drop activates the coagulant of some sealants, causing them to react and form large balls of latex inside the tire. Rides just as bad as it sounds.
Is tubeless sealant bad for the environment?
Most tubeless sealants are based on natural or synthetic latex which is degradable. However, each brand adds different additives and particles to their sealant to improve its performance. Therefore it is impossible to determine exactly how eco-friendly sealants are, as it varies from brand to brand.
Can I mix tubeless sealants?
We do not recommend mixing tubeless sealants, even if both sealants are latex-based. This is because different manufacturers use different additives and particles, which can cause coagulation and degradation of performance if mixed.
How do I get sealant residue off my components?
If you get tubeless sealant on your rims, components or floor whilst setting up your tires simply wipe it up with a wet paper towel and clean the area with isopropyl alcohol.
Does the sealant evaporate over time?
Tubeless sealant can dry out over time, reducing its effectiveness. How fast it dries out depends on where you ride (how hot or dry the climate is) and how often you ride. When sealant totally dries up it often forms a skin or spiky latex ball inside your tire, rendering it useless.
Have you caught gravel fever and want to know everything there is to know about gravel? Then you should take a look at our detailed gravel bike buyer’s guide!
Did you enjoy this article? If so, we would be stoked if you decide to support us with a monthly contribution. By becoming a supporter of GRAN FONDO, you will help secure a sustainable future for high-quality cycling journalism. Click here to learn more.
Words & Photos: