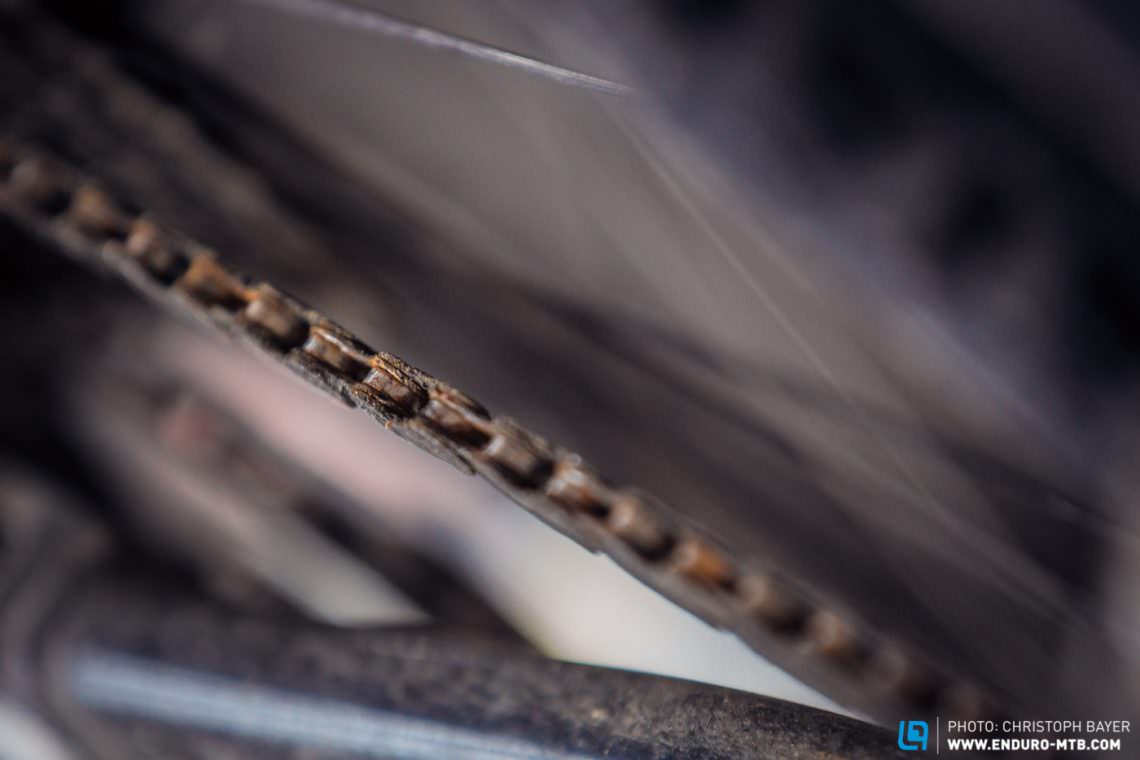
Every watt your legs churn out needs to be transferred to the rear wheel: that’s where your chain comes into the picture. But this core component is under constant strain. It gets yanked, stretched, pulled and carelessly thrown over the sprockets. This constant abuse combined with adverse conditions lead to wear and tear. In this tutorial we’ll explain how to replace a worn-out chain and how to determine the correct length for your new one.

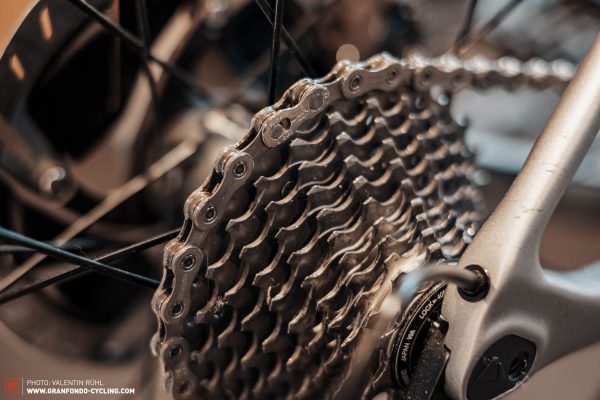
If you don’t replace your chain in time, it will being to wear and damage your cassette and chainrings at an ever increasing rate. Staying on top of maintenance and replacing a chain is a lot cheaper than replacing your whole drivetrain!It’s important that you regularly check the length of your chain and replace it when needed. Tip: get yourself a chain-gauge! Many manufacturers offer them for under € 20.
If you don’t have a chain gauge at hand you can use a conventional ruler. With a new chain, place the 0 of your ruler on any of the pins and on a fresh chain, another pin should sit at exactly 254mm. If this measures 256mm or more, the chain is worn-out and must be replaced.
Difficulty
- Easy
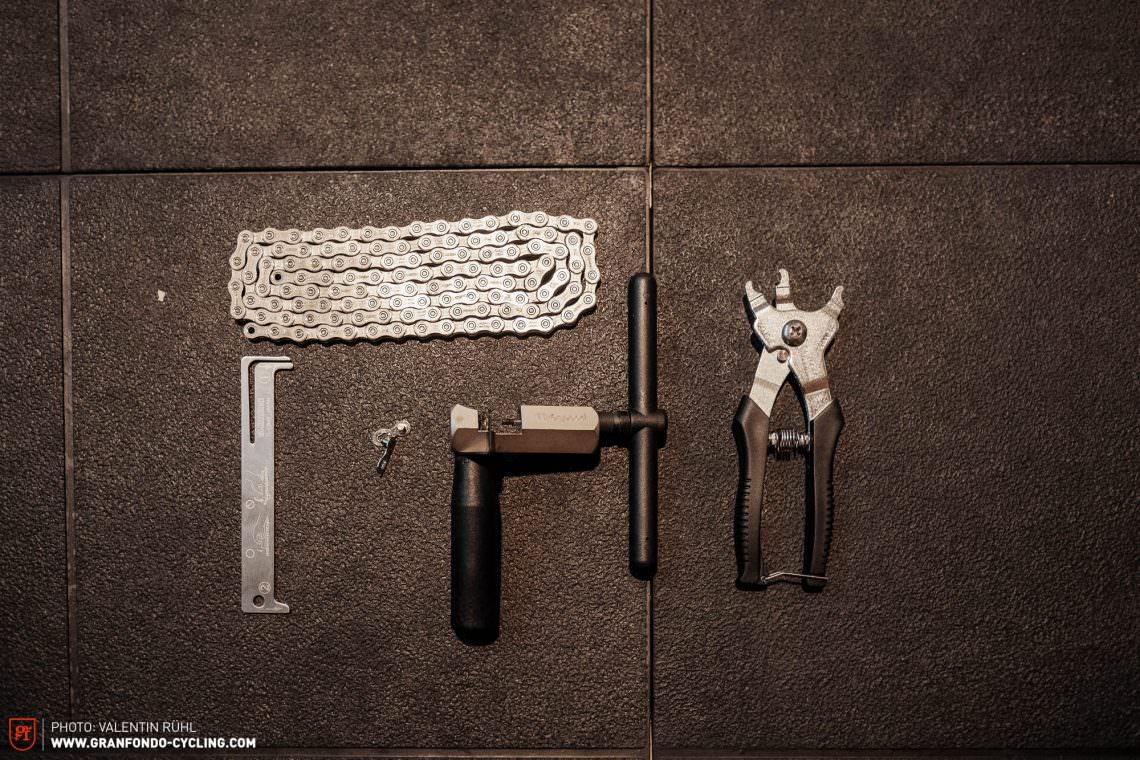
Required tools
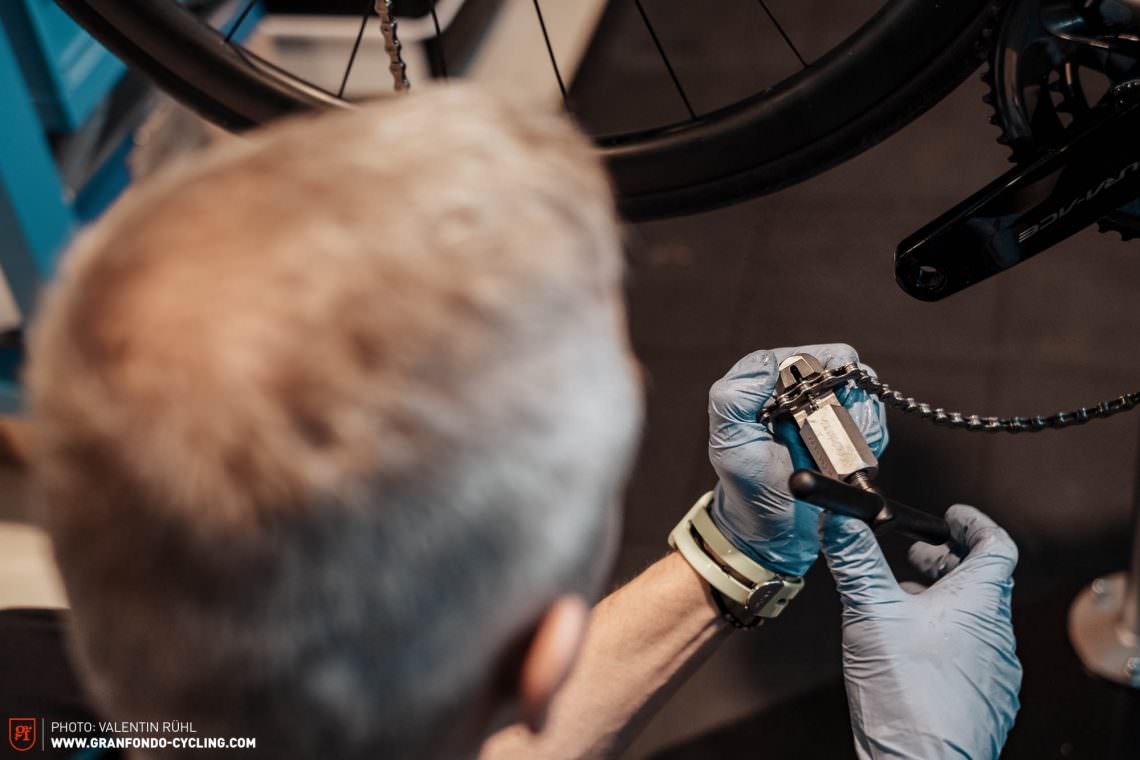
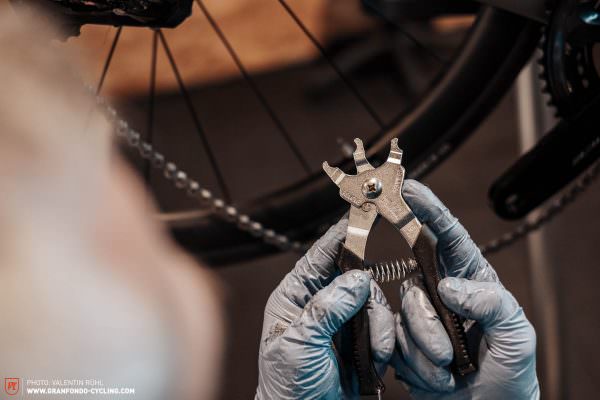
- Chain tool
- Quick-link remover or pliers if needed
- Power lock pliers
- Chain gauge (to check the chain)
Instructions
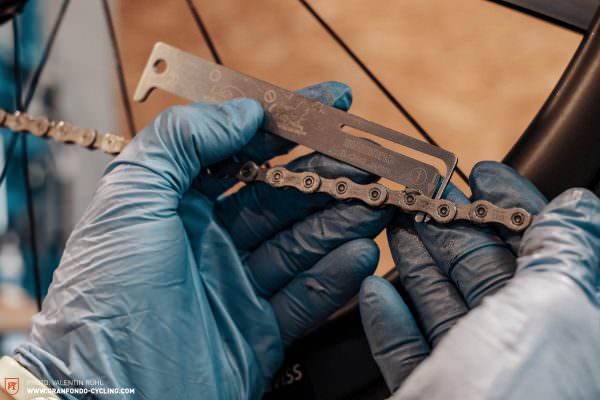
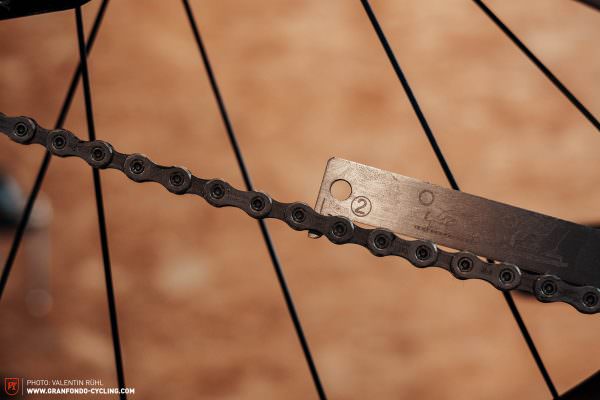
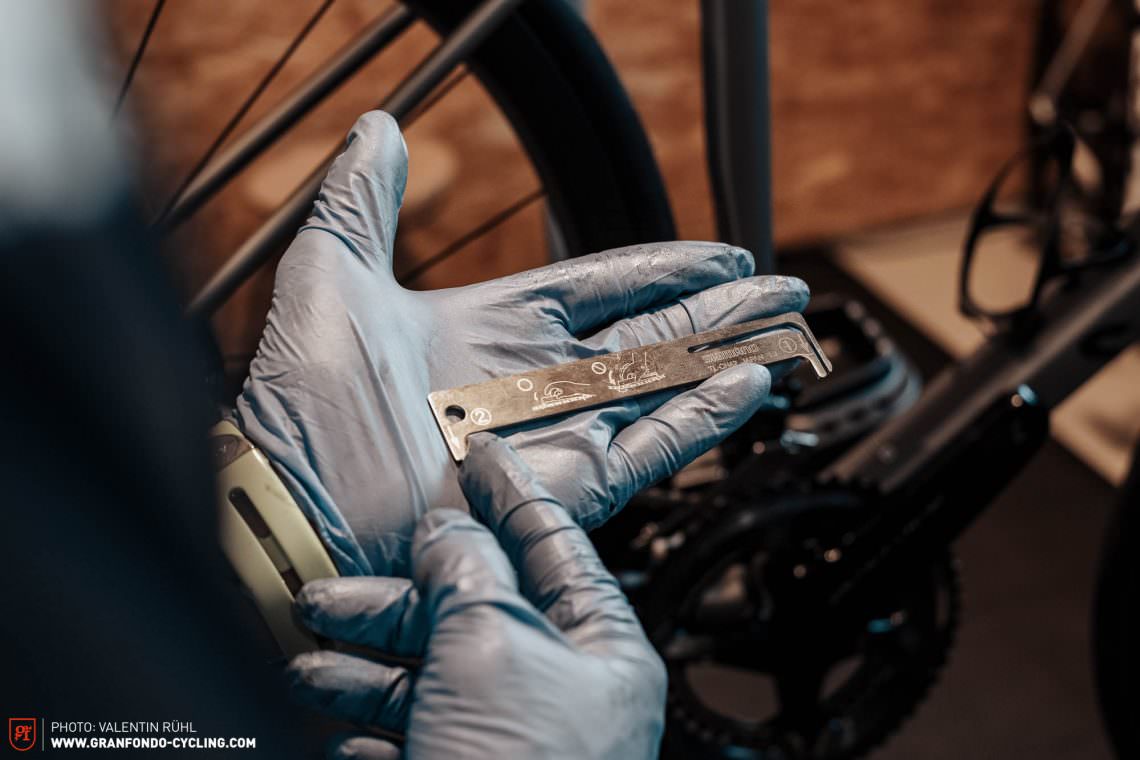
There’s a wide range of chain gauges on the market. This handy tool will help you determine the wear of your chain.
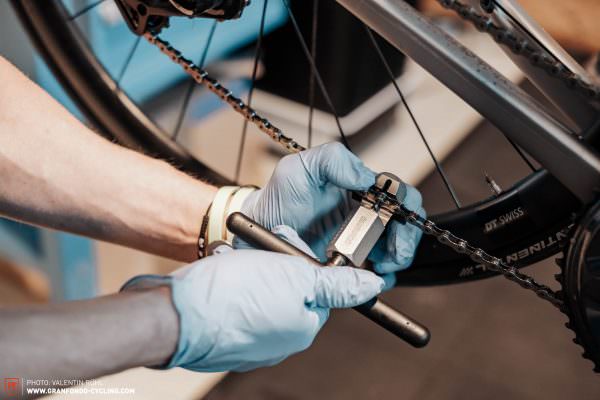
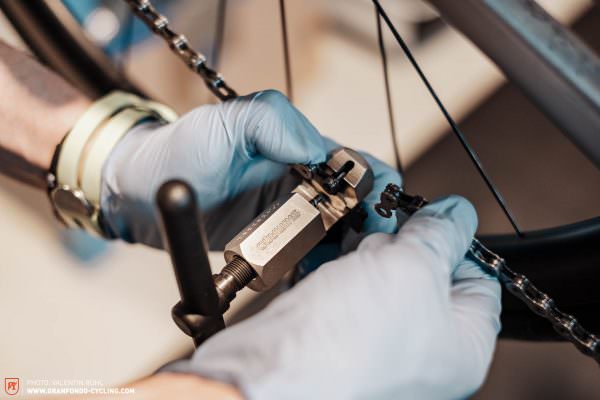
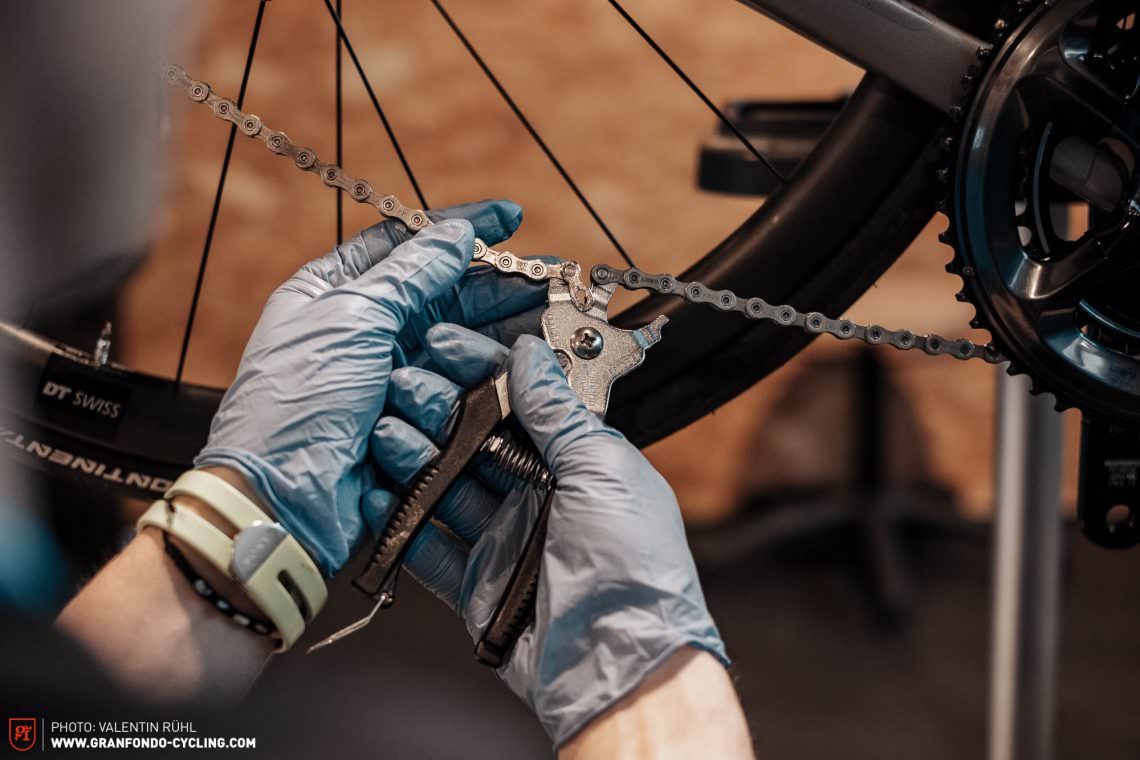
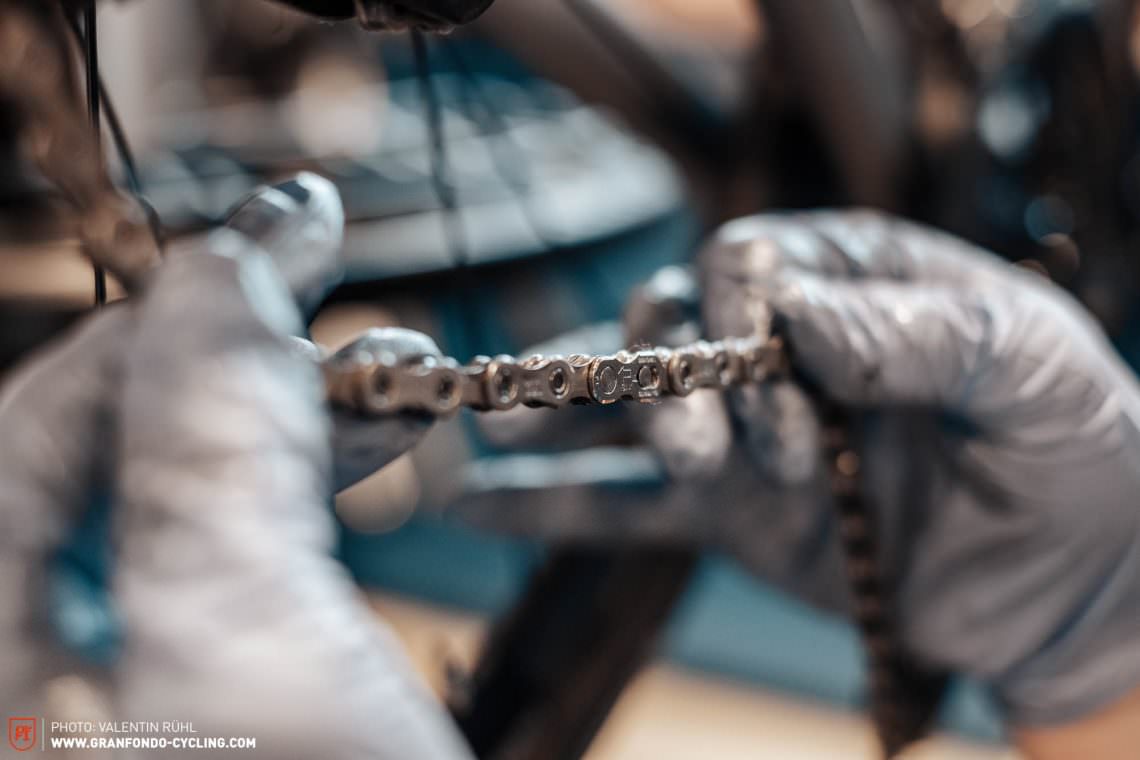
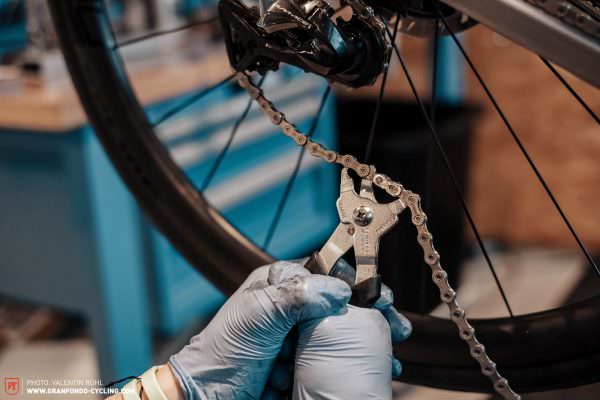
Split your old chain with a chain tool and remove it from the drivetrain – if you don’t have a quick-link on your chain use a chain tool and remove one of the pins.

Now pull the new chain over the big chainring and largest sprocket without threading it through the rear derailleur. This little trick helps you determine the correct length for your new chain.
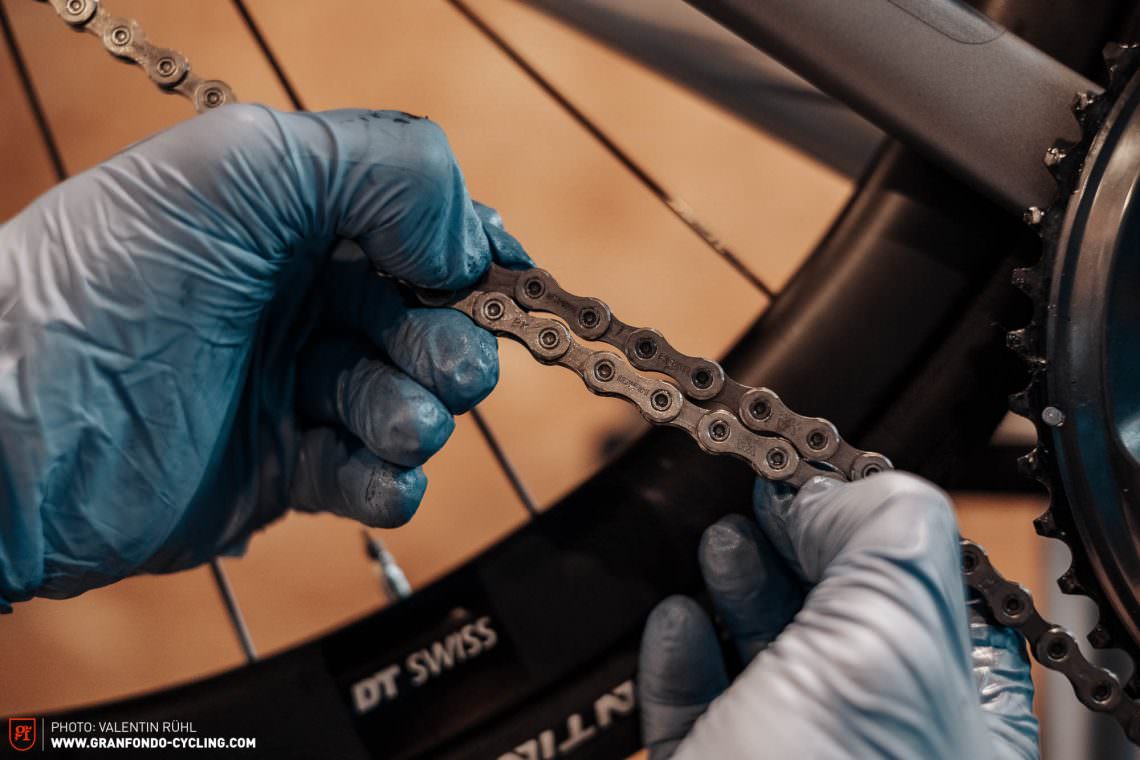


Now thread the chain over the sprocket and through the jockey wheels on the rear-derailleur.
Tips & tricks:
- Unlike SRAM chains, Shimano chains usually have a running direction
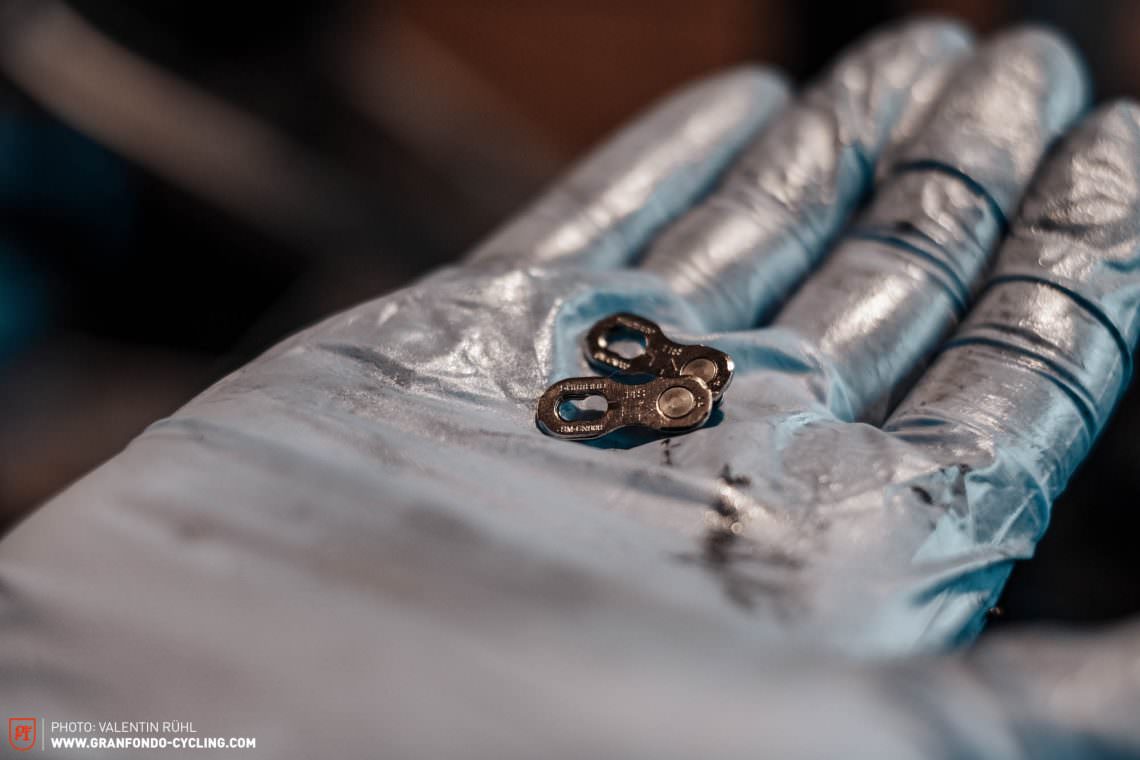
- If you use a quick-link make sure you put it the right way round (direction marker)
- Quick-links can only be used once
Did you enjoy this article? If so, we would be stoked if you decide to support us with a monthly contribution. By becoming a supporter of GRAN FONDO, you will help secure a sustainable future for high-quality cycling journalism. Click here to learn more.
Words: Christoph Bayer, Manuel Buck Photos: Valentin Rühl