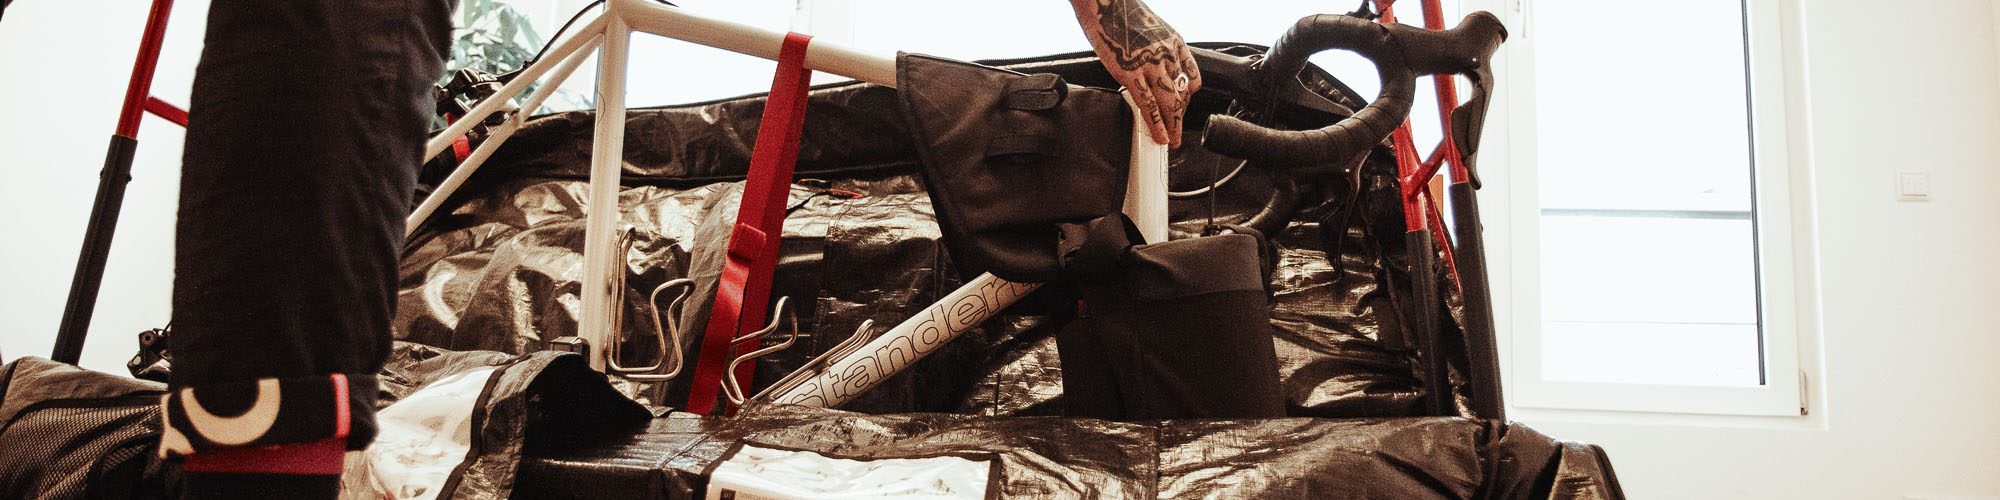
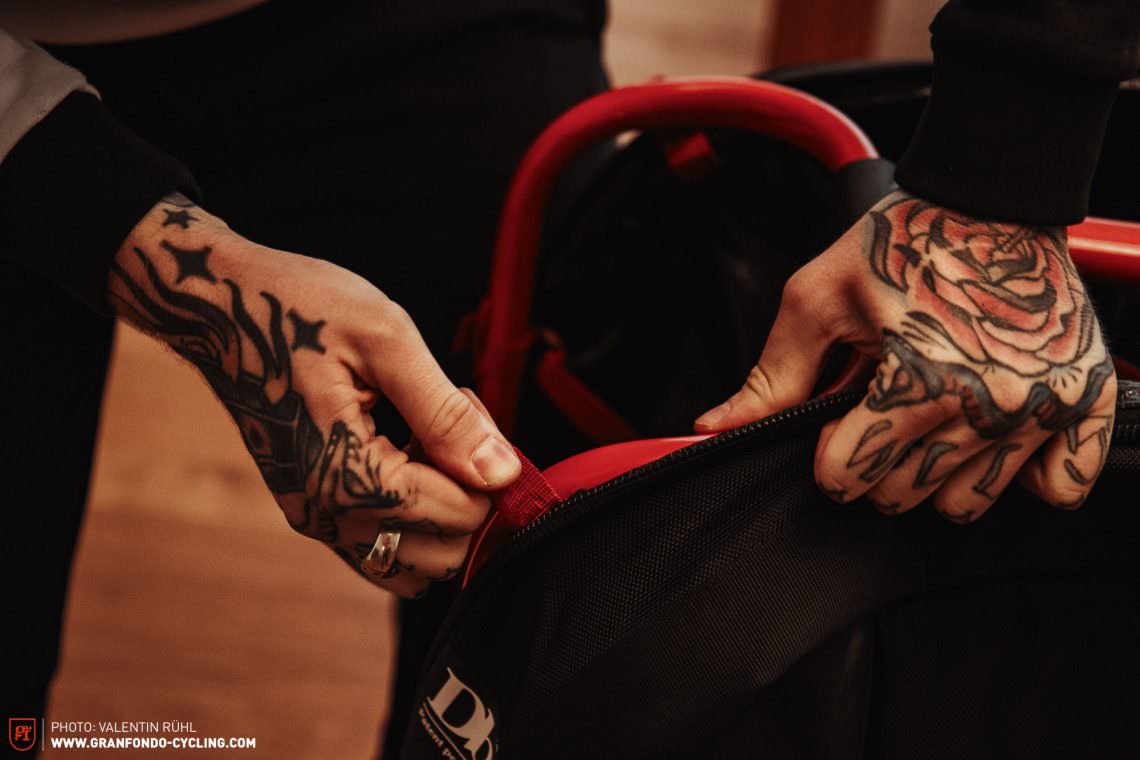
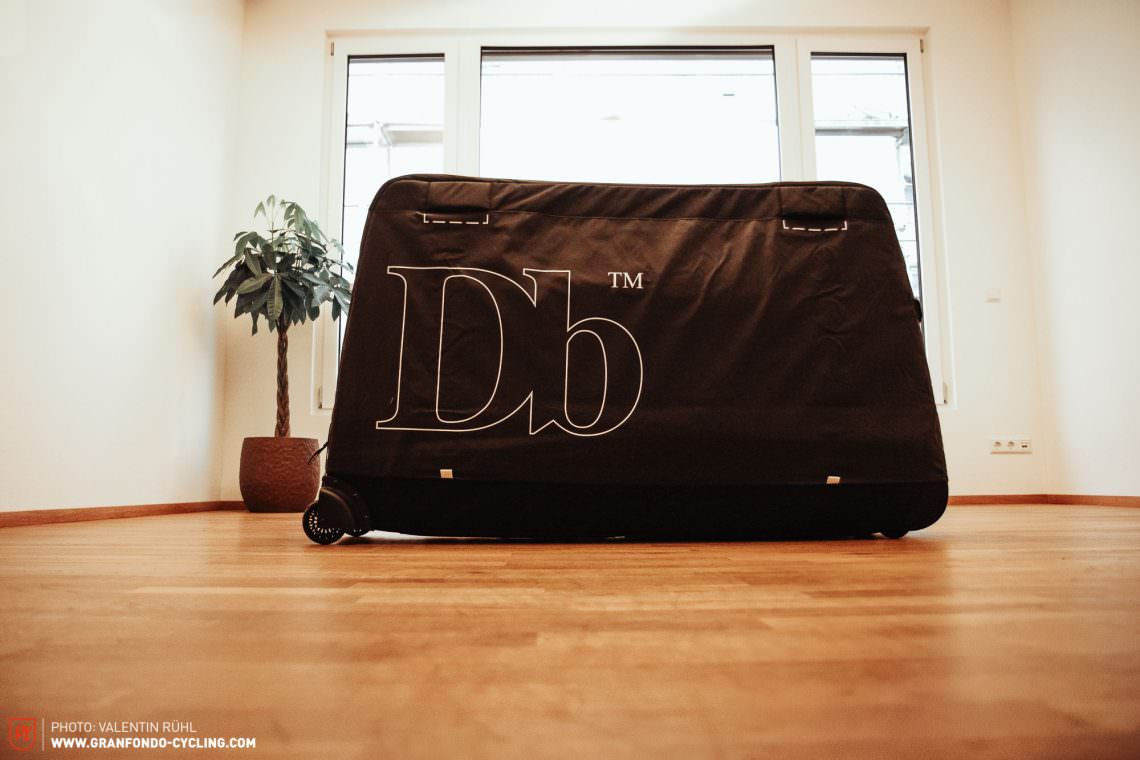
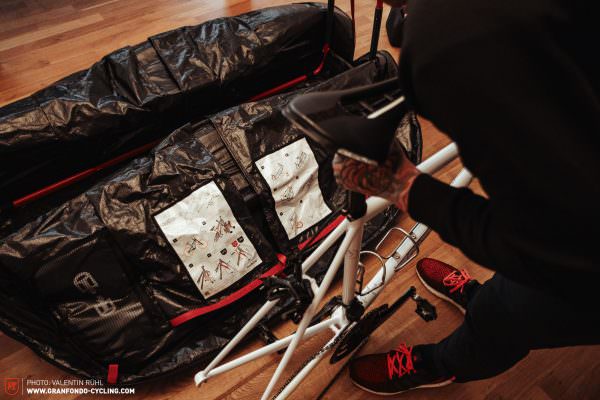
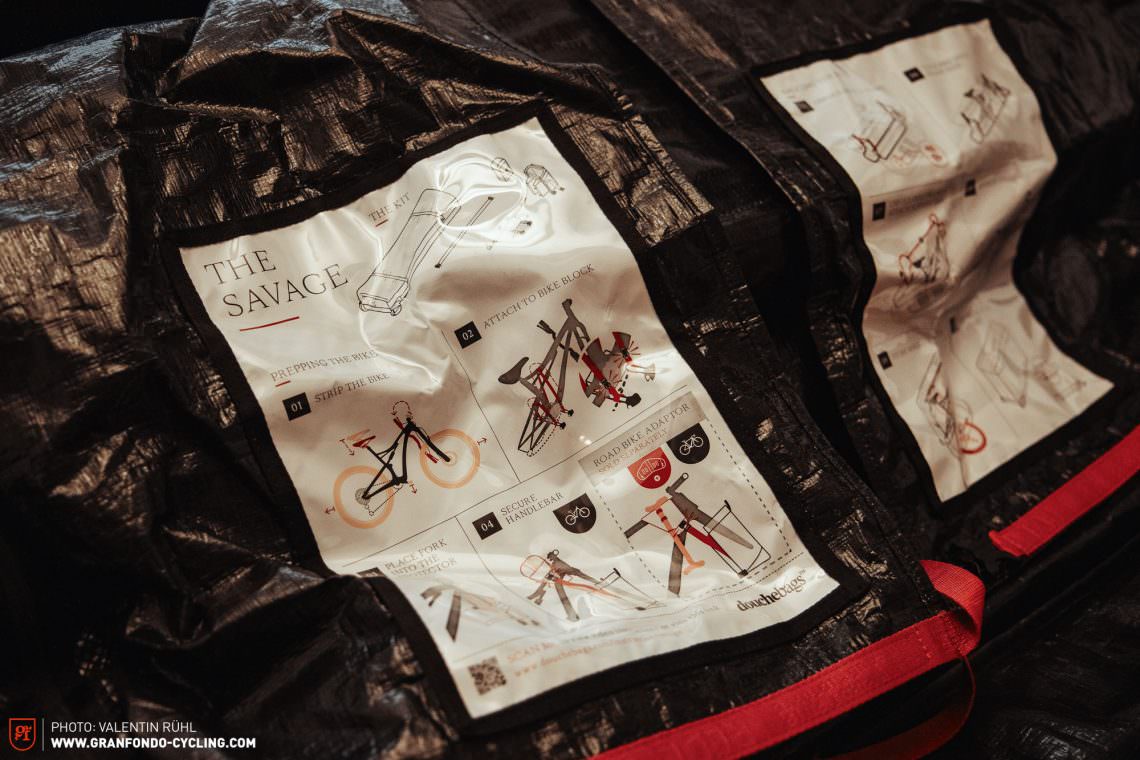
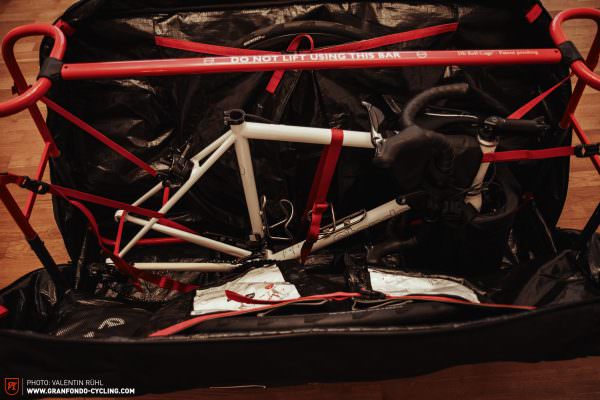
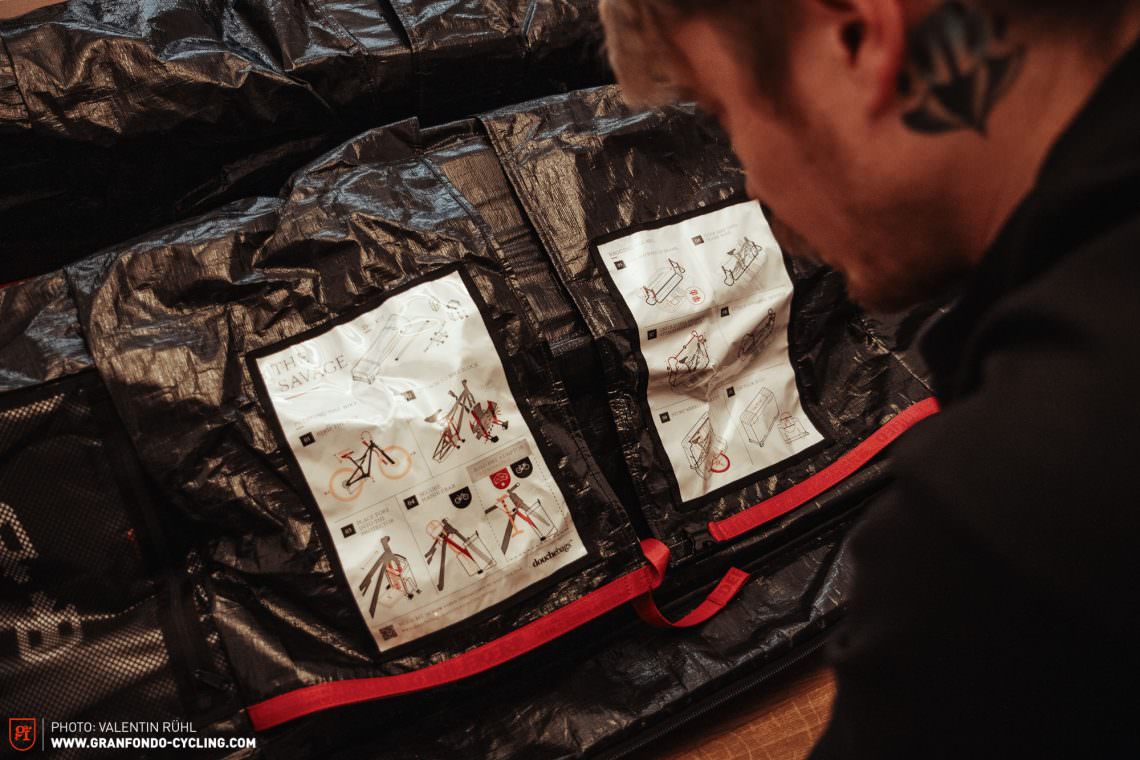
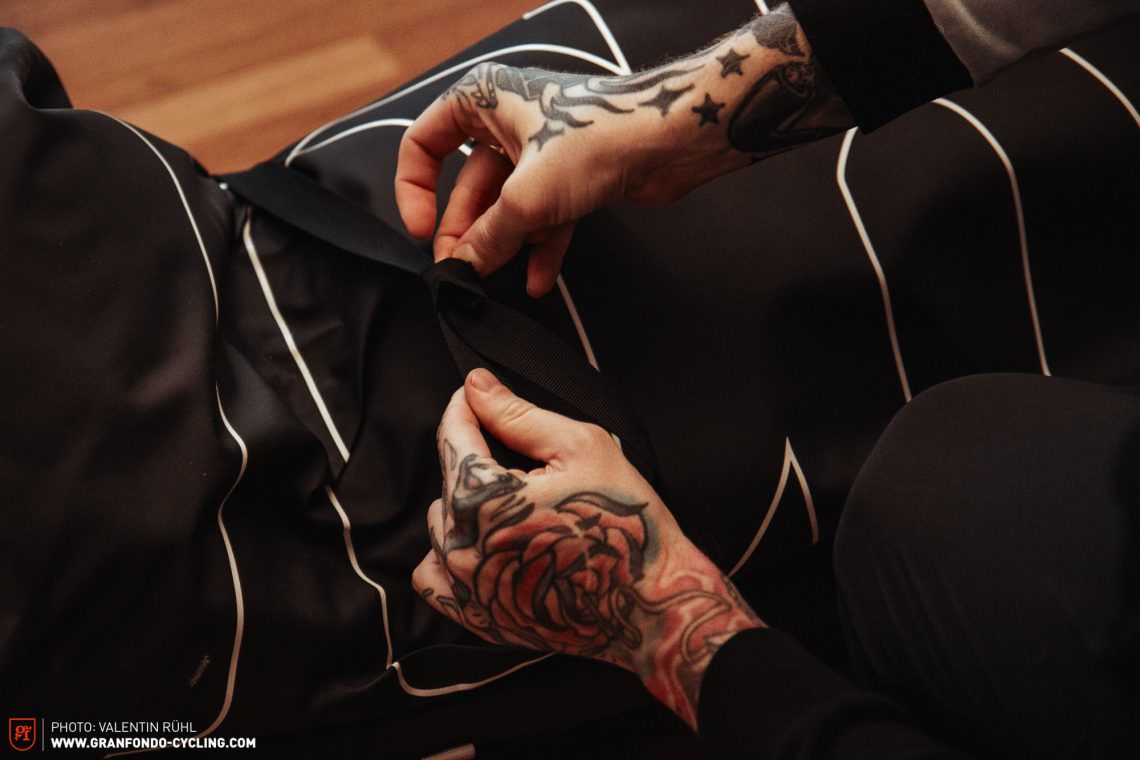
How will your beloved racing bike survive a flight? We’ll give you a few handy tips on how to pack your bike and show you how it’s done with one of our favourite travel-bags: The Savage by Douchebags.
“Travel and change of place impart new vigor to the mind”(Seneca). Head off on a new adventure, maybe for a week or maybe forever — but never leave your beloved road bike behind. Unfortunately your most precious travel companion can easily fall victim to rough baggage handling machines and careless airport staff who like to play curling with heavy luggage items. That’s why flying with a racing bike can become very stressful. Since we’re used to travel a lot with our bikes we’re pretty savvy on the subject. So we thought it would be a good idea to guide you through the whole packing procedure and give you a detailed checklist with all the most important steps and tips. Simply follow our instructions and your bike will get to destination safely.
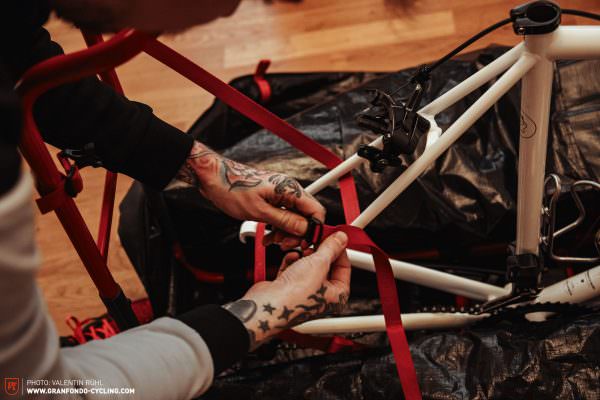
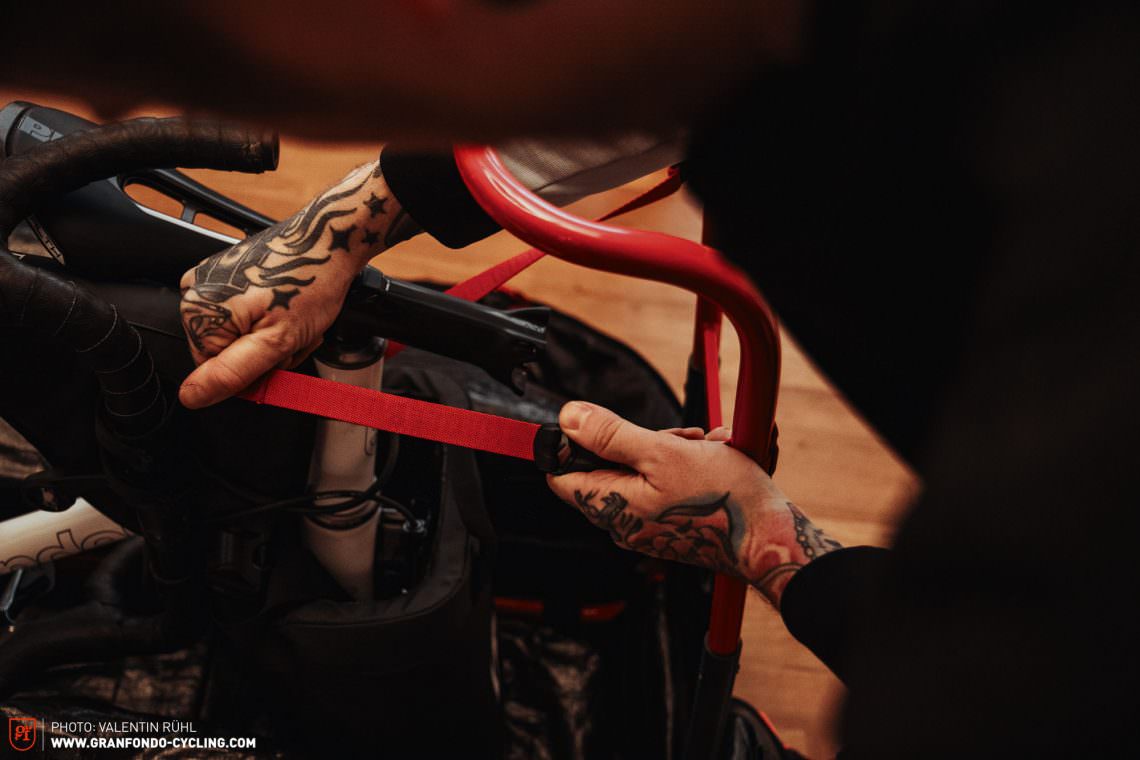
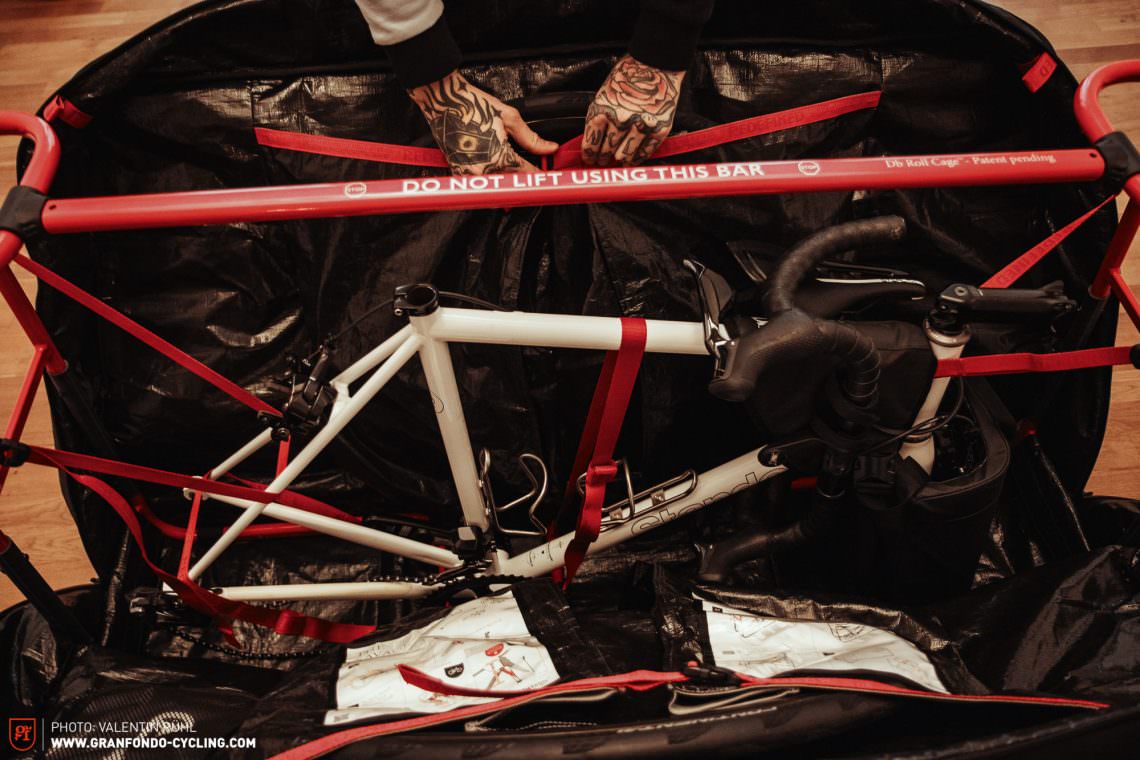
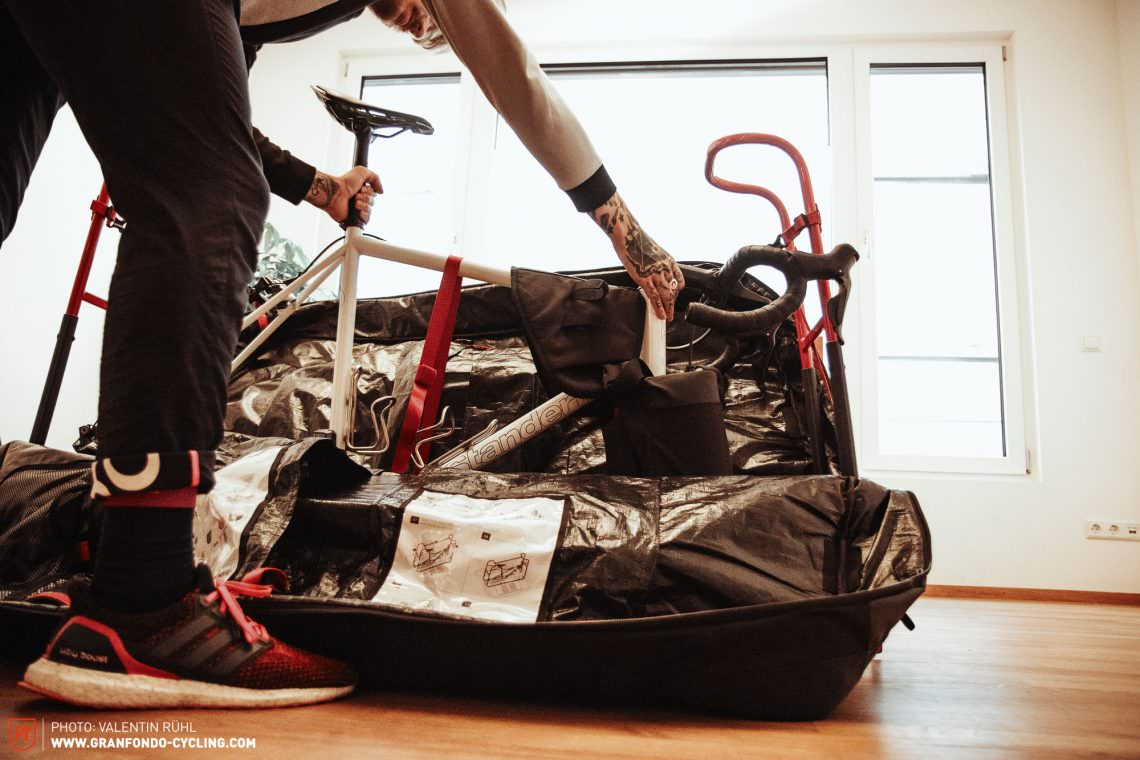
1. Protect the top-tube individually. When you turn the handlebars backwards and rest them against the top tube they will pass on every single hit directly to the top tube and damage it. Since this area is close to the head tube it is very vulnerable. If you don’t take extra care and protect the top tube you could end up with dents in your steel frame or cracks in your carbon or aluminium frame.
2. Remove the rear derailleur. This way you’ll prevent the rear-derailleur from getting damaged or even torn off and protect the mech hanger from major knocks which could cause it to bend . Wrap the rear-derailleur in bubble wrap or even a thick cloth and tape it to the frame right between the seat-stays and chainstays. By doing so you will protect your derailleur from external impacts.
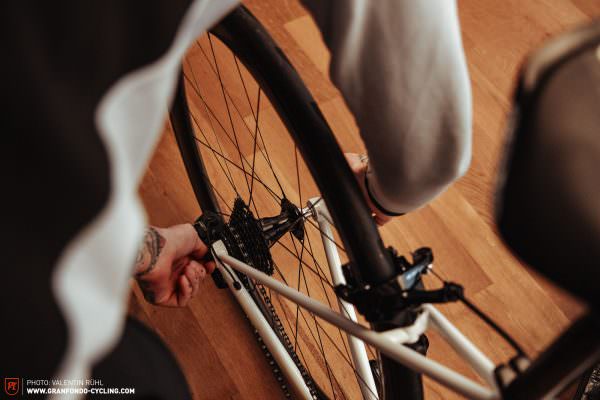
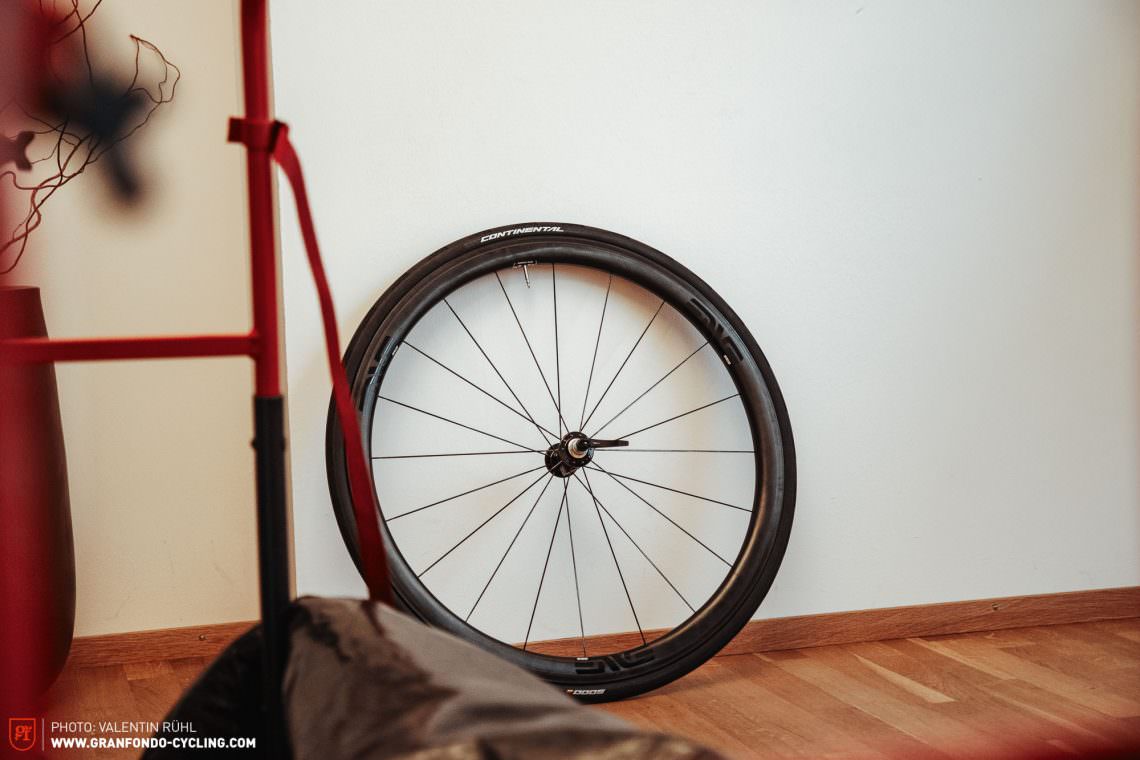
3. If you’re storing your wheels in the bag make sure the cassette is facing outwards — i.e. away from the frame. This way the cassette will protect the spokes from impacts and reduce the chances of damaged spokes. Remove both quick-release skewers.
4. Try to keep any sort of object away from the seatstays. On road bikes these are very thin and are therefore more susceptible to breaks and cracks than other frame areas.
5. If you run through-axles leave them in the dropouts throughout the journey. If you’re running quick-release skewers however you should use a special plastic protector to hold the dropouts in place.
6. If you’re running disc brakes on your bike it’s important to use brake-pad spacers and keep the callipers apart to prevent them from popping out of their housing (a right pain and also lengthy repair!).
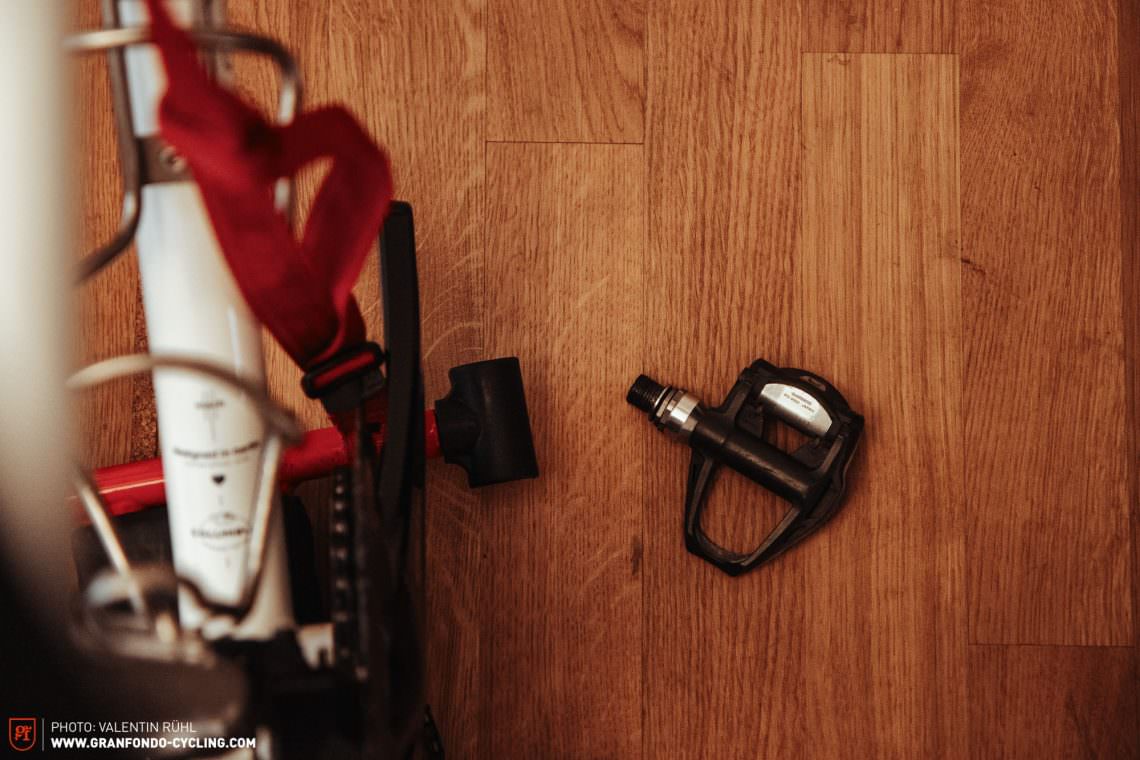
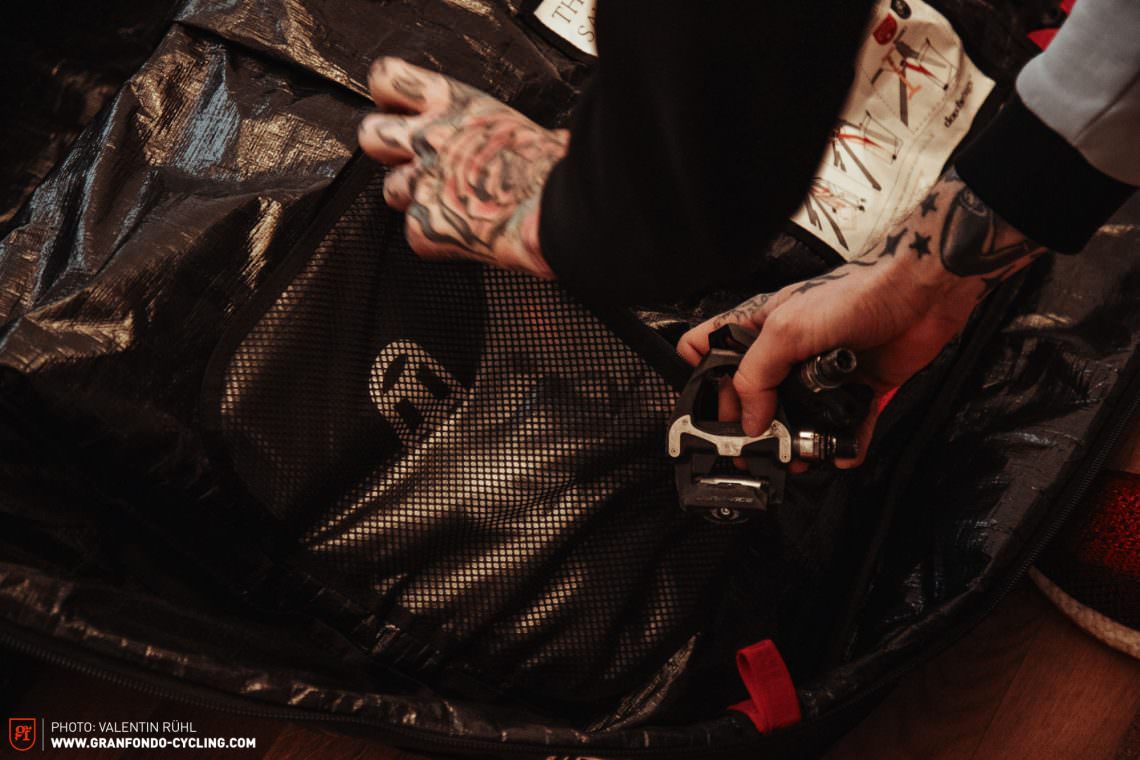
7. Remove the pedals. If you don’t these pedals will press against the side wheel-pockets and damage your rims — and that’s the case with most bike bags!
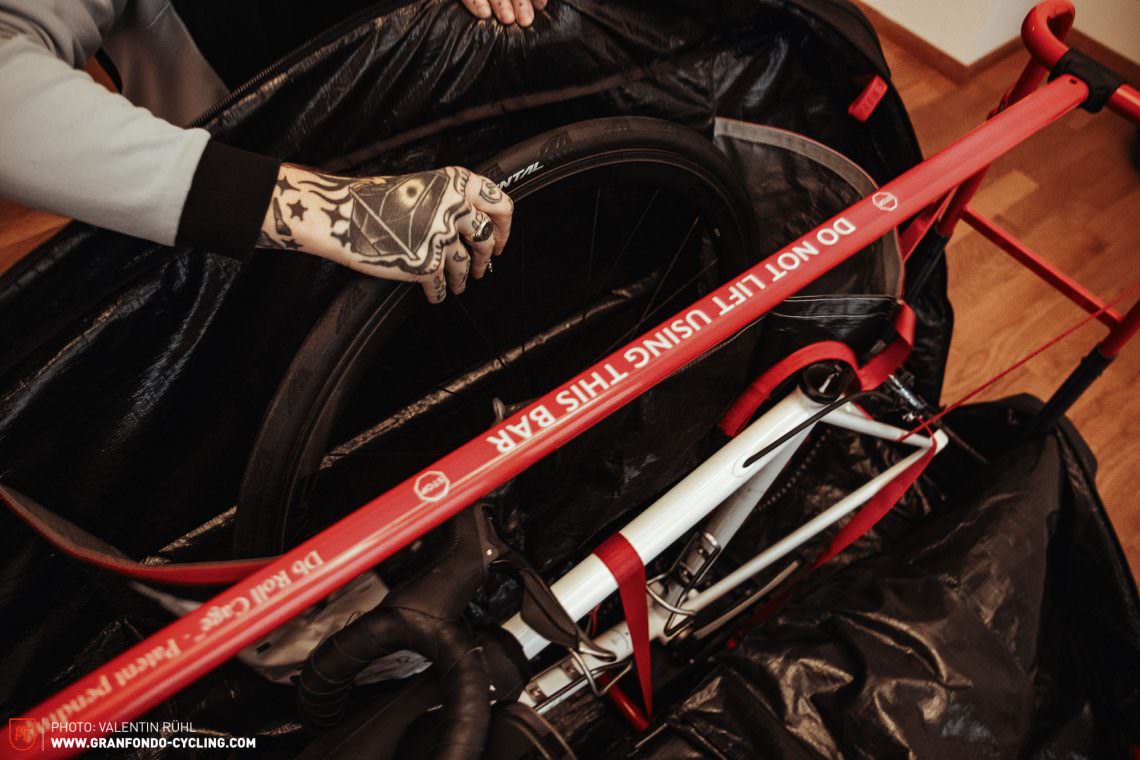
8. Deflate your tires entirely or at least let some air out to reduce the pressure. If you’re running a tubeless setup you should only partially deflate your wheels otherwise the tire bead will come off the rim — the exact pressure varies depending on the tire.
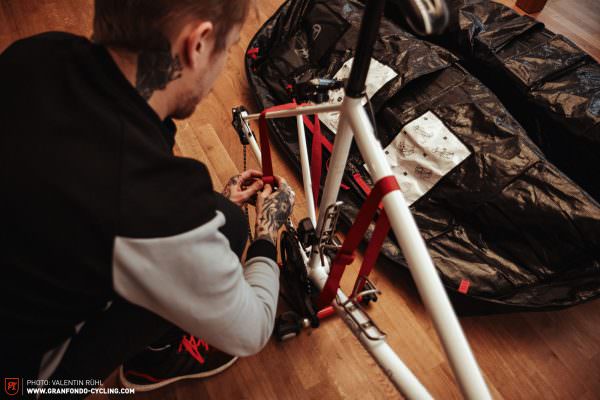
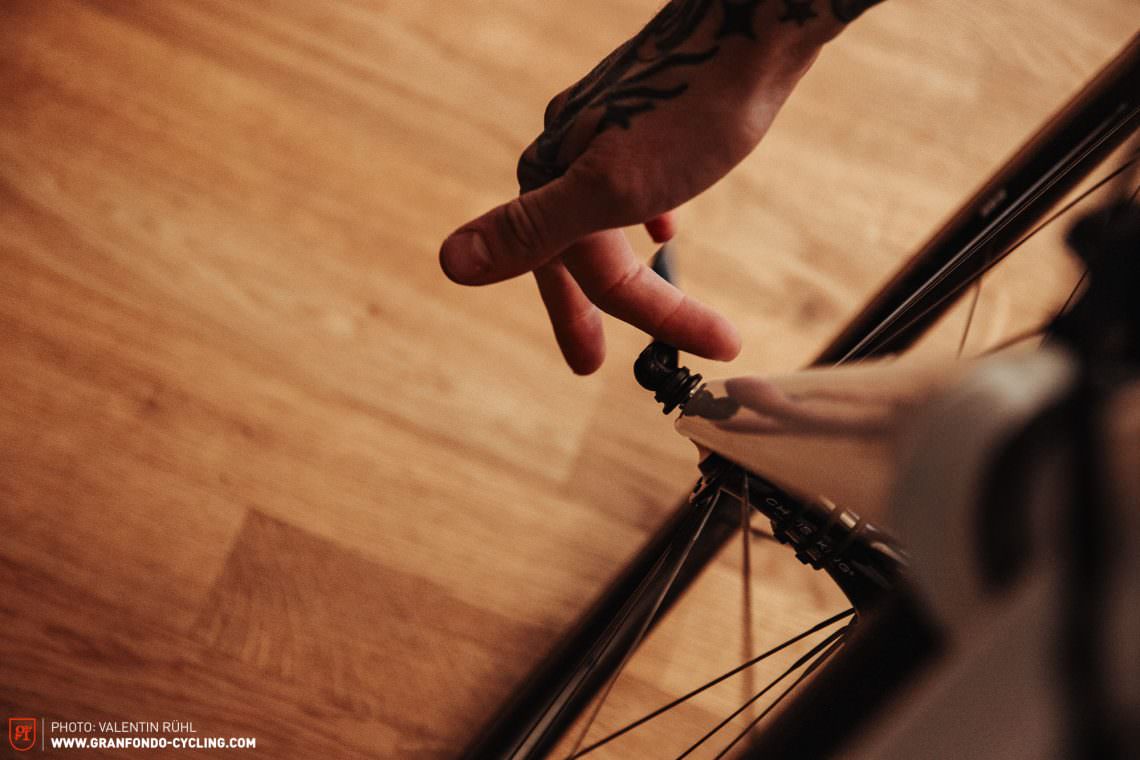
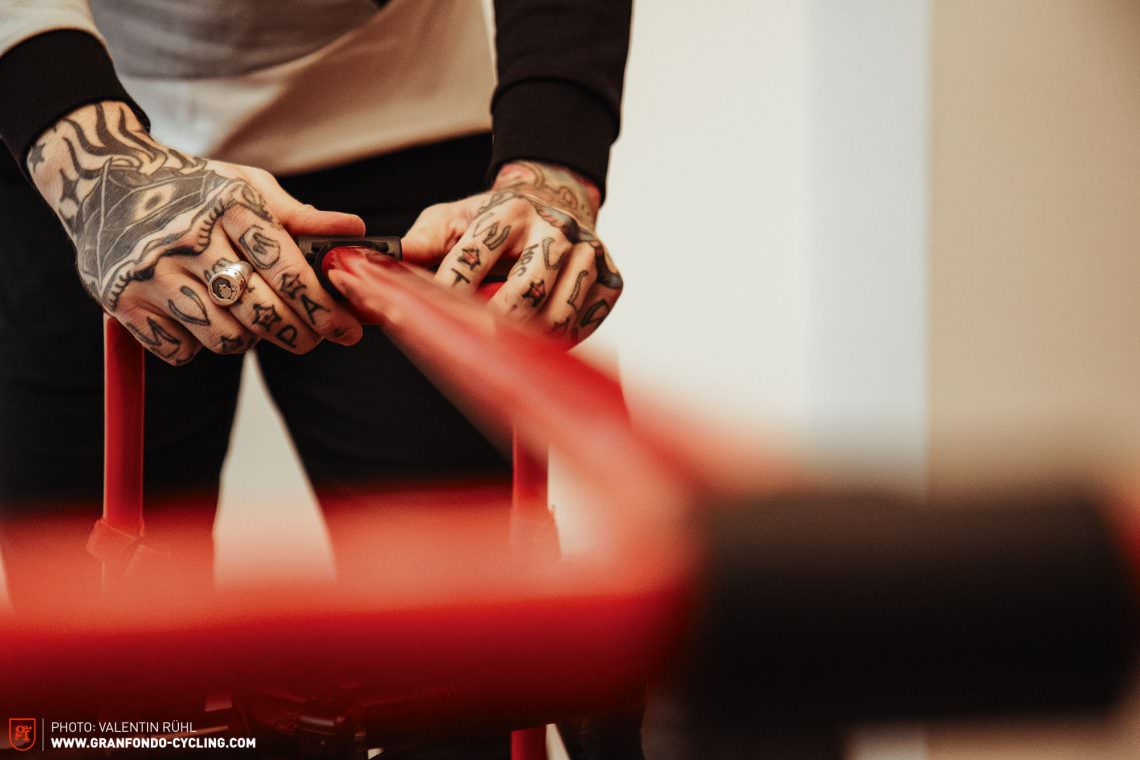
9. If you’re removing the handlebars put the stem screws back into place and tighten them by hand — losing them would be a right nightmare.
→ important for assembly: if you can always travel with a torque wrench. This allows you to tighten your handlebar/ stem screws properly.
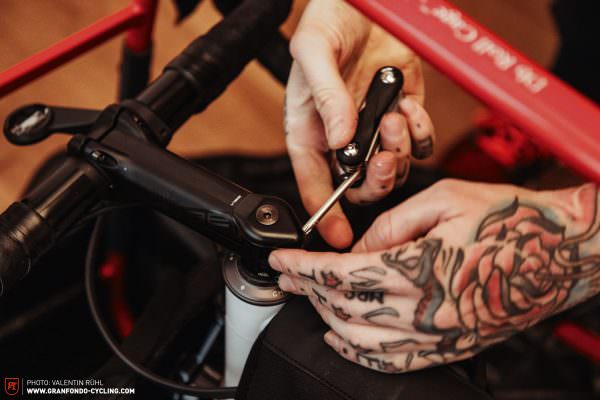
10. If you remove the handlebar make sure the hoses and cables don’t bend or stretch excessively when putting the bike in the bag.
11. Don’t remove the stem from the fork but remove the handlebar from the stem instead. Why? This way you’ll maintain the preload on the headset and the fork won’t come loose.
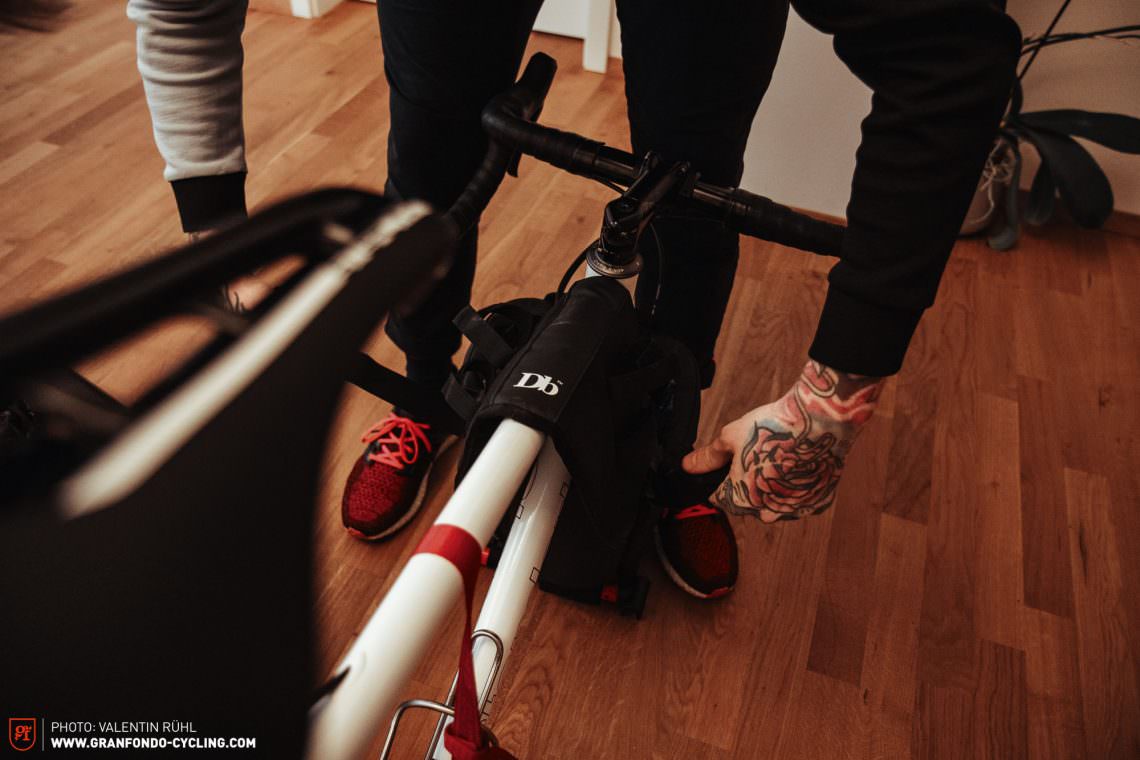
12. Use electric tape to mark your seat post height and saddle position — this make the assembly-procedure way easier and allows you to keep your ideal riding position.
13. Keep the bottle in the bottle cage. Especially “weight-weenie” carbon bottle cages resist impacts better with the bottle in place. If you want to be on the safe side you could remove the fragile carbon holder altogether and store it in a safer place.
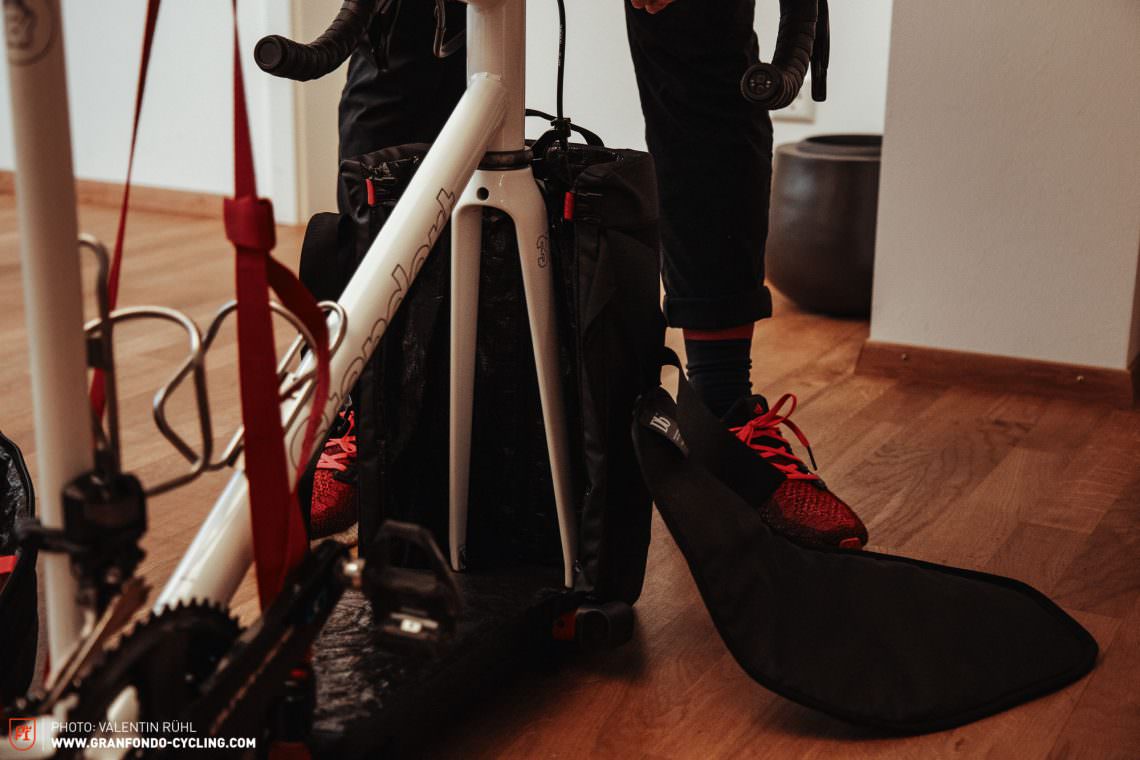
14. Hand luggage. We recommend putting your helmet, shoes, pedals and maybe even a riding kit in your hand luggage. Should your bike arrive later than you (we hope this won’t happen, but it can!) at least you’ll have some essentials on you. Helmets and shoes especially can be hard to rent.
15. Check your airline’s weight limitations. With a weight limit of 23 kg for your sport-goods you can fit lots of accessories and clothing in your bike bag. IMPORTANT INFORMATION! CO2 cartridges and other aerosol spray cans are not allowed on plains.
Conclusions
Sending your racing bike safely on a well-deserved holiday or taking it on a short trip is a nerve-racking affair. By following our handy tips you can minimise the risk of damage and drastically reduce your stress levels.
Did you enjoy this article? If so, we would be stoked if you decide to support us with a monthly contribution. By becoming a supporter of GRAN FONDO, you will help secure a sustainable future for high-quality cycling journalism. Click here to learn more.
Words: Benjamin Suhr, Manuel Buck Photos: Valentin Rühl
You may also like

Cold start – Getting a jump start on the season with an e-gravel bike and the...

Endurance road bikes with an adventurous spirit – Shootout of four of the hottest...

Fancy an epic road trip? Come with us for our unique roof-top tent comparison test!

First Test of the BMC Roadmachine Line-Up 2024 – One Name, Three Bikes!

130 BPM – Riding under doctor’s orders